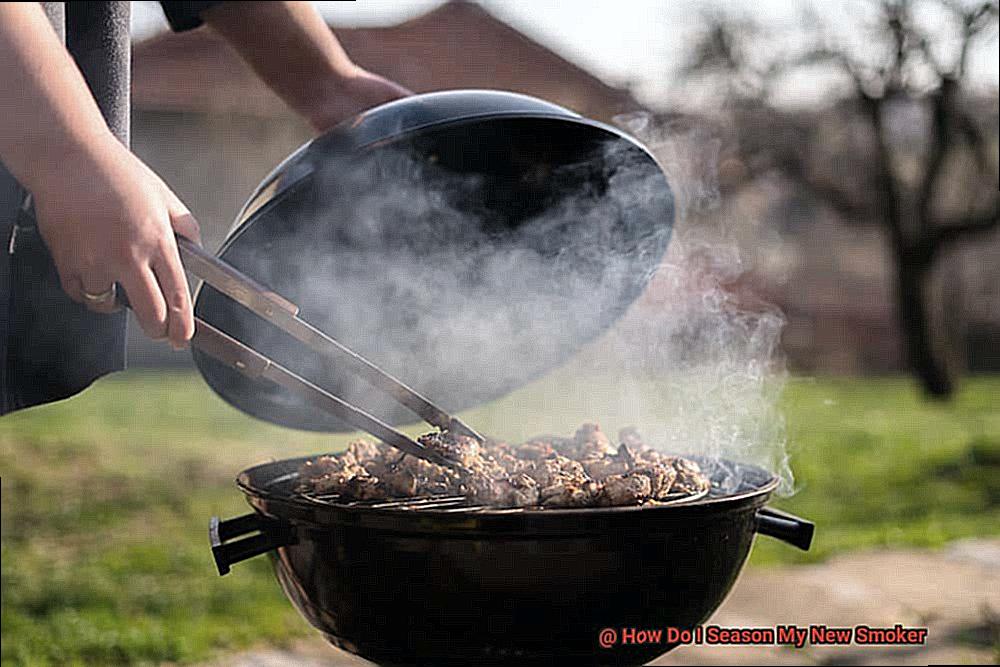
So, you’ve finally taken the plunge and bought yourself a shiny new smoker. Congratulations. You’re now one step closer to becoming a true pitmaster. But hold your horses, before you get all fired up and start cooking up a storm, there’s an important step you need to take – seasoning your smoker.
Just like how cast iron pans require seasoning, smokers too need to be seasoned properly. This process involves burning off any oils, manufacturing residues or chemicals that might have been left over from the manufacturing process. Not only does this ensure that your smoker is clean and safe for use, but it also helps in creating a protective layer of smoke and oil on the interior of your smoker. This layer acts as a barrier between the metal and food, preventing rusting while enhancing the flavors of your smoked meats.
But wait, how do you go about seasoning your new smoker? Don’t fret. We’ve got you covered with our step-by-step guide on how to season your smoker correctly. Whether you’re an experienced pitmaster or just starting out in the world of barbecue, this guide will help ensure that your new smoker is perfectly seasoned and ready for action.
So, get ready to impress your friends and family with mouth-watering smoked meats by following our expert tips on seasoning your new smoker. With our help, you’ll be well on your way to becoming a legendary pitmaster in no time.
Contents
Step 1: Clean the Interior of Your Smoker
Before you start seasoning it, it is crucial to ensure that the interior is squeaky clean. Any residue or debris left from the manufacturing process can ruin the taste of your food and even be harmful to consume.
Here’s how you can get your smoker’s interior sparkling clean:
Remove all racks and trays and give them a good scrub with warm soapy water. Be gentle and use a non-abrasive sponge or cloth to avoid scratches. Rinse thoroughly and allow them to air dry completely before putting them back in the smoker.
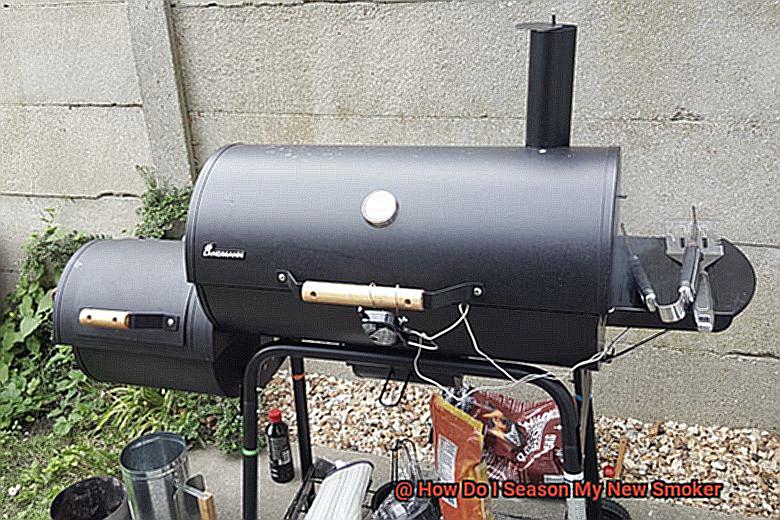
Use a wire brush or scraper to scrape off any grease or built-up debris from the interior walls and grates. Protect your hands by wearing gloves and protective eyewear.
Wipe down the walls and grates with a damp cloth to remove any remaining dust or debris.
Allow the interior of the smoker to air dry completely before starting with the seasoning process.
By starting with a spotless interior, you’ll guarantee that your smoker is ready for seasoning, and you’ll achieve the best possible flavor and results. Remember to follow the manufacturer’s instructions carefully, and re-season regularly for optimal performance.
Step 2: Apply a Thin Coat of Cooking Oil or Spray
Before you start cooking, it’s important to give it some TLC. Step 2 of seasoning your smoker involves applying a thin coat of cooking oil or spray to the inside of the smoker. This step not only protects your smoker from rust and corrosion but also creates a non-stick surface that makes cleaning effortless.
To ensure that you choose the right cooking oil, opt for one with a high smoke point such as vegetable oil, canola oil, or peanut oil. This will prevent the oil from burning and affecting the flavor of your food. You could also consider using a cooking spray specifically designed for high-heat cooking.
Now, let’s get down to business. Grab a clean cloth or paper towel and spread your chosen oil or spray evenly over every nook and cranny of the inside surfaces of the smoker, including the grates and walls. Remember that a thin layer is all you need.
After application, preheat your smoker to about 250°F and let it run for approximately 2 hours. This will help to cure the oil and create a protective layer on the inside of the smoker.
In summary, applying a thin coat of cooking oil or spray is an essential step in seasoning your new smoker. It protects your smoker from rust and corrosion while creating a non-stick surface that makes cleaning easier. Here’s a quick recap:
- Choose an oil with a high smoke point
- Apply it evenly over all surfaces
- Preheat your smoker before use
Step 3: Heat Up Your Smoker to Around 250°F
You’re about to embark on a delicious journey filled with succulent smoked meats, perfectly cooked veggies, and all sorts of other tasty treats. But before you dive in and start cooking up a storm, there’s one critical step you need to take: seasoning your smoker.
Seasoning your smoker is an essential process that ensures your new appliance is ready to use and will provide you with the best possible results. And the first step in this process is heating it up to around 250°F.

To begin, make sure your smoker is clean and free of any debris. You don’t want any leftover manufacturing residue getting in the way of your delicious meals. Once you’ve given it a good scrub down, it’s time to get started.
Depending on the type of smoker you have, you can use wood, charcoal, or gas to heat it up. If using wood or charcoal, be sure to add enough fuel to maintain a consistent temperature throughout the seasoning process. And speaking of temperature, 250°F is the sweet spot for this step.
Once your smoker has reached the desired temperature, let it run for at least 2-3 hours. This will ensure that any remaining residue or impurities are burned off and your smoker is ready for use. And don’t forget to keep an eye on the temperature throughout this process to ensure that it remains consistent.
But why is it important to heat up your smoker to 250°F? Heating up your smoker to this temperature first helps remove any residue or debris left over from the manufacturing process and preps your smoker for future use. Plus, it allows any coatings or finishes on the interior of the smoker to cure properly and prevents rust from forming.
After the seasoning process is complete, allow your smoker to cool down completely before cleaning it out. This will prevent any damage to the interior of your smoker and ensure that it’s ready for use for your next grilling adventure.
Step 4: Allow the Smoker to Cool Down Completely
Now it’s time to let your smoker cool down completely. This critical step is vital for achieving smoking success and ensuring that your smoker is ready to use.
Allowing your smoker to cool down naturally is crucial for preventing any damage to your equipment. Just like anything else that gets hot, your smoker needs time to cool off before it’s safe to handle. Trying to speed up the process with water or other liquids can cause damage and ruin your smoking experience. So, take a deep breath, relax, and let nature do its thing.
A completely cooled-down smoker is necessary for a successful seasoning process. Remember, this step is all about getting rid of any manufacturing residue and curing the interior of your smoker. To achieve this, the smoker needs to be at a consistent temperature throughout the whole process. If you rush through this step or skip it altogether, you risk not fully seasoning your smoker and potentially affecting the flavor of your food.
Waiting for your smoker to cool down completely will ensure that your food is free from any unwanted flavors. When the smoker is still hot, there may be leftover smoke and residue that can give off unpleasant tastes and aromas. By letting your smoker cool down naturally, you’re giving it time to release any remaining smoke and residue, leaving you with a clean slate for your next smoking session.
So, how long should you wait? As a general rule of thumb, it’s best to let your smoker cool down completely before attempting to use it again. This will prevent any unwanted flavors from being introduced to your food and ensure that your smoker is ready for use when you need it.
Step 5: Wipe Down the Interior Surfaces with a Clean Cloth
We’re thrilled to continue our series on seasoning your new smoker, and this week’s focus is on step 5: wiping down the interior surfaces with a clean cloth. Now, you may be thinking that any old rag will do – but trust us, using a clean cloth is essential for ensuring your smoker performs at its best.
Wiping down the interior surfaces is vital for removing any loose debris or particles that may have accumulated during the seasoning process. This step ensures that your smoker is clean and ready for use, and who wants leftover gunk ruining their next smoking session? Not us.
But why specifically use a clean cloth? Using a dirty or chemical-laden cloth can introduce unwanted substances into your smoker, affecting the taste of your food and even damaging your equipment over time. Furthermore, using a rough or abrasive cloth can scratch or damage the interior surfaces, impacting the smoker’s performance.
So, what should you use instead? We recommend using a microfiber cloth. It’s gentle on surfaces, doesn’t leave behind any lint or fibers and is free from harsh chemicals or residues. Begin by wiping down the walls of your smoker, ensuring you get into every nook and cranny. Then move on to the racks or grates, ensuring they’re free from any debris or particles.
Finally, take a moment to inspect all surfaces for remaining debris or residue. If you notice anything, use a damp cloth to gently wipe it away. And just like that – your smoker is now clean and ready for your next smoking adventure.
By following this step and using a clean cloth, you’re not only ensuring the longevity of your smoker but also guaranteeing that you’ll get the best possible results from every smoking session. So go ahead and wipe away – and get ready to enjoy some seriously delicious smoked meat.
Benefits of Seasoning Your Smoker Regularly
Look no further than the simple yet essential step: seasoning your smoker regularly. Not only will this extend the life of your equipment, but it will also make cleaning up a breeze and enhance the taste of your food.
Let’s dive into some of the benefits of seasoning your smoker:
- Non-Stick Surface: Seasoning your smoker creates a non-stick surface that prevents food from sticking, making cleaning up a breeze. Say goodbye to scrubbing away at stubborn grill marks. This layer of oil that fills in small cracks or gaps in the metal prevents rust and extends the life of your smoker.
- Temperature Regulation: Seasoning your smoker conditions it to hold heat evenly throughout the cooking process, leading to more even cooking and a better texture and flavor for your food. This also helps prevent hot spots or fluctuations in temperature that can affect the quality of your food.
- Customization: Seasoning your smoker allows you to customize it to your personal taste preferences and gives you a sense of ownership over your equipment. You can experiment with different oils, herbs, and spices to create a unique flavor profile that’s all your own.
Not only are these practical benefits enough to convince you to season your smoker regularly, but it can also be a fun and rewarding experience. You can experiment with different flavors and techniques before cooking for guests or family members. Who knows? You might even discover a new favorite recipe.
Common Mistakes to Avoid When Seasoning Your Smoker
Before you start cooking up a storm, it’s essential to season your smoker. Seasoning not only enhances the flavor of your food but also prolongs the life of your smoker. However, many people make common mistakes when seasoning their smoker. Don’t worry though, we’ve got you covered. Here are some tips on what to avoid when seasoning your smoker.
Mistake #1: Skipping the Preheating Step
Preheating your smoker is crucial as it helps burn off any residue or contaminants that may have been left behind during the manufacturing process. Skipping this step can result in an unpleasant taste in your food and even damage to your smoker. So don’t forget to preheat your smoker before applying oil to the interior surfaces.
Mistake #2: Using Insufficient Oil
Oil acts as a protective layer on the interior surfaces of your smoker, preventing rust and corrosion. It’s essential to use enough oil during the seasoning process. Don’t skimp on oil as this may result in your smoker being prone to rusting and other forms of damage.
Mistake #3: Using Excessively High Temperature
While it may be tempting to crank up the heat to speed up the seasoning process, using too high of a temperature can actually cause damage to your smoker and make it more difficult to regulate temperature in the future. Stick to the recommended temperature for seasoning your smoker.
Mistake #4: Not Thoroughly Cleaning Your Smoker
Cleaning your smoker thoroughly before seasoning is essential. Any leftover debris or ash can hinder the seasoning process and lead to uneven heat distribution in the future. Take the time to clean your smoker thoroughly before seasoning to ensure that it is properly prepared for use.
Other Tips for Getting the Best Results from Your Smoker
Smoking meat is a delicious and rewarding way to cook food, but it does require some knowledge to get the best results. To help you achieve mouth-watering smoked meats, we have compiled a list of tips that can take your smoking game to the next level.
Keep it clean
A dirty smoker can impact the flavor of your food. So, it is essential to keep your smoker clean. After every use, make sure you remove all the ashes and residue from the smoker. You can also use a wire brush or scraper to remove any buildup on the grates. A clean smoker will not only improve the flavor of your food but also prolong the life of your smoker.
Invest in a good thermometer
Temperature control is crucial when smoking meat. Investing in a good thermometer is a must. Make sure you get one that is accurate and easy to read. It will help you monitor the temperature inside the smoker and ensure that your meat is cooked perfectly. Accurate temperature control is essential for producing tender and juicy smoked meats.
Use quality wood chips
The type of wood you use can significantly impact the flavor of your food. So, it is important to use quality wood chips that are appropriate for the type of meat you are smoking. Different types of wood impart different flavors to meat, so it’s worth experimenting to find your favorite flavor profile. From applewood to hickory, there’s no shortage of options to try.
Patience is key
Smoking meat takes time, and it is essential to be patient throughout the process. Don’t rush it by turning up the heat or opening the smoker too often. Letting your meat smoke low and slow will produce tender and flavorful results that will be worth the wait. Remember that smoking meat is all about patience and attention to detail.
Experiment with rubs and marinades
Rubs and marinades can add a lot of flavor to your meat. You can experiment with different combinations of spices, herbs, oils, and acids to create your own unique blend. A good rub or marinade can elevate the flavor of your meat, making it more interesting and delicious. Don’t be afraid to get creative and try out new recipes.
Conclusion
In conclusion, seasoning your new smoker isn’t just a suggestion – it’s a must-do if you want to achieve the best possible results from your equipment. And who doesn’t want that?
Lucky for you, our expert tips on how to season your smoker correctly are here to guide you on your path to becoming a legendary pitmaster. The first step is always cleaning the interior of your smoker thoroughly to remove any debris or manufacturing residues. Then, apply a thin coat of cooking oil or spray before preheating your smoker to around 250°F and letting it run for approximately 2 hours.
Afterward, allow the smoker to cool down completely before wiping down the interior surfaces with a clean cloth. This process creates a non-stick surface that makes cleaning up a breeze while also improving temperature regulation and allowing for customization of flavor profiles.
But don’t stop there. Regularly seasoning your smoker has numerous benefits beyond the initial setup process. By keeping it clean, investing in a good thermometer, using quality wood chips, being patient throughout the smoking process, and experimenting with rubs and marinades, you’ll be able to achieve mouth-watering smoked meats every time you fire up your new smoker.
On the other hand, avoid common mistakes such as skipping the preheating step, using insufficient oil or excessively high temperature, and not thoroughly cleaning your smoker. These errors can lead to subpar results that leave you feeling disappointed.
So, go ahead – follow these tips and techniques with confidence and impress your friends and family with delicious smoked meats every time.

