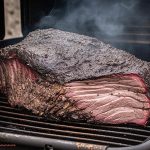
Are you a grill master who loves smoking and grilling your favorite meats to perfection?
Then you know the importance of having a reliable grill that consistently delivers the perfect flavor. Traeger grills are a popular choice for outdoor cooking enthusiasts because they offer consistent heat and a unique pellet-fired taste.
However, even the best grills can experience issues with faulty sensors, which can be frustrating for any pit master. One common issue for Traeger owners is calibrating their pellet sensor.
If you’re experiencing temperature fluctuations or problems with pellet feed, it might be time to calibrate your sensor. But what does calibrating mean exactly?
And how do you do it? Calibrating your pellet sensor ensures that your grill accurately reads the amount of fuel available so that you can have confidence in your cooking times and temperature settings.
Don’t let a faulty sensor ruin your next cookout. In this post, we’ll walk you through the simple steps to calibrate your Traeger pellet sensor and keep your grill running smoothly.
So grab a cold drink, fire up the grill, and let’s get started.
Contents
Step 1: Clean the Grill and Allow it to Warm Up
Look no further than this ultimate guide on how to calibrate the pellet sensor on your Traeger grill. As an expert in this field, I’m here to guide you through the process and help you achieve perfectly cooked food every time you use your Traeger grill.
Step 1: Clean the Grill and Allow it to Warm Up
Before starting the calibration process, it’s important to begin with a clean grill. This means removing any excess ash or debris from previous grilling sessions and wiping down the grill grates with a damp cloth. By doing this, you’ll ensure that the sensor is properly reading the temperature of the pellets without being affected by any leftover residue.
Once the grill is free of any dirt or debris, turn it on and allow it to warm up for at least 15 minutes. This will give the grill enough time to reach its desired temperature and allow the pellet sensor to properly detect the heat. Make sure that your Traeger grill is set to its maximum temperature during this process.
With your grill now at peak performance, open the lid and locate the pellet sensor. You can find it towards the bottom of the hopper, with a small white box attached to a wire. Gently remove the pellet sensor from the hopper, taking care not to damage any wires or components.
Now, fill the hopper with fresh pellets of the same brand and variety as those you plan to use for your grilling session. By using consistent pellets, you’ll ensure that your calibration is accurate and reflective of your actual grilling experience.
With the pellet sensor removed from the hopper, turn off the grill and wait for it to cool down completely. Once cooled, reattach the pellet sensor to its original location in the hopper. You’re now one step closer to perfectly cooked food.
Step 2: Locate and Remove the Pellet Sensor
To achieve this, we must first calibrate the pellet sensor on your Traeger grill. But before that, let’s locate and remove the sensor.
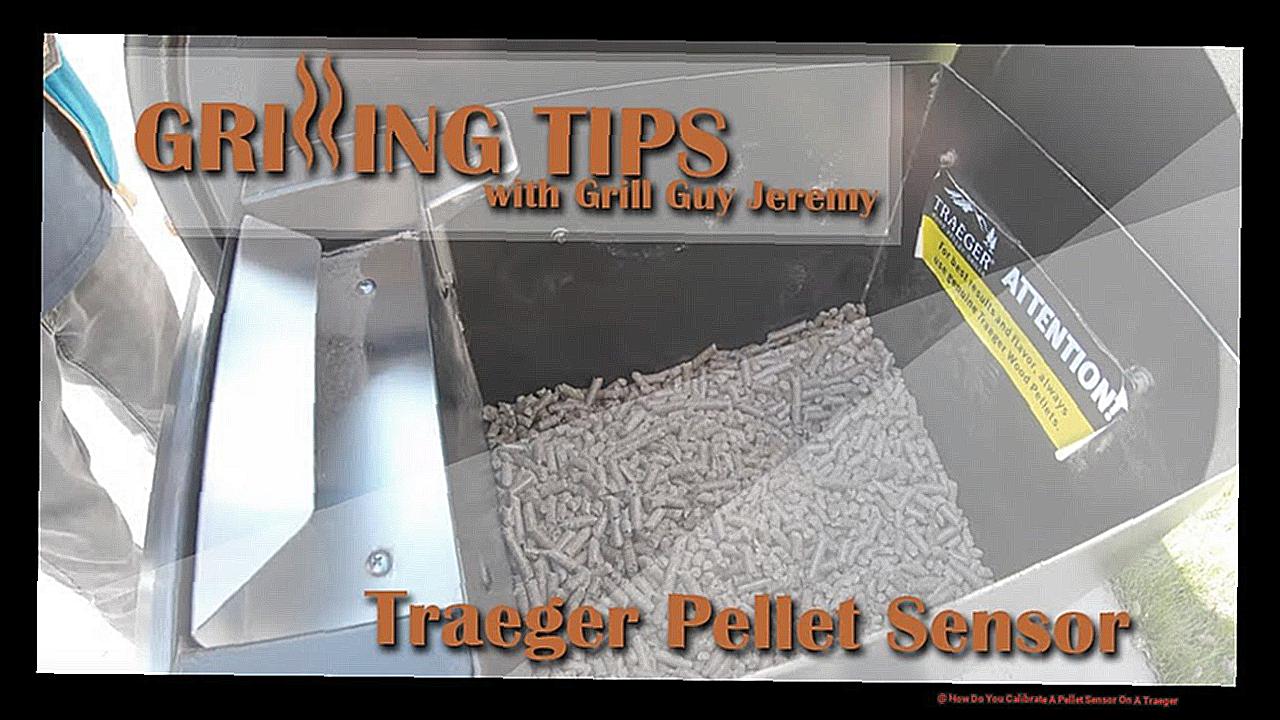
Begin by accessing the hopper on your Traeger grill. Remove any leftover pellets and take a good look inside. There you will find a small metal rod or probe extending into the hopper from the side of the grill – this is your pellet sensor.
Gently pull the pellet sensor out of its housing on the side of the grill, ensuring that you don’t damage any wiring or connectors attached to it. Refer to your trusty Traeger manual for specific instructions if needed.
With the pellet sensor removed, it’s time to calibrate it for optimal temperature readings. Keep in mind that this process involves adjusting the sensitivity of the sensor based on various factors such as humidity, altitude, and the type of pellets you’re using.
Step 3: Clean the Pellet Sensor
We’re here to help you achieve mouth-watering meals every time you fire up your grill. In today’s episode, we’re diving into step 3 – the critical process of cleaning your pellet sensor.
The pellet sensor is a crucial component of your Traeger grill that helps regulate the flow of pellets into the firepot. Over time, it can get clogged with dust, ash, and debris, leading to inaccurate readings and affecting your grill’s performance. But worry not, we’ve got you covered with a simple cleaning process.
To clean your pellet sensor, you’ll need a soft-bristled brush (a toothbrush works great) and some compressed air. First things first, remove the grate above the firepot and disconnect the wiring harness from the sensor. Now take your brush and gently scrub away any visible debris from the surface of the sensor. Be careful not to damage any of its delicate parts.
Next up, it’s time to blow out any remaining dirt or ash inside the sensor using compressed air. Hold the can upright and direct the nozzle towards the sensor while being careful not to spray too hard or too close. This step will help dislodge any stubborn debris inside and ensure that your pellet sensor is squeaky clean.
Once you’ve completed cleaning your pellet sensor, reconnect the wiring harness and replace the grate above the firepot. You’re now ready to move on to the next step in calibrating your pellet sensor.
Step 4: Reinsert the Pellet Sensor into the Hopper
Now that you’ve cleaned your Traeger pellet sensor, the next step is to reinsert it into the hopper. This simple task requires a bit of attention to detail, but don’t worry, I’m here to guide you through it.
Before reinserting the pellet sensor, take a moment to inspect it for any visible damage or wear. If you spot any issues, it’s best to replace the sensor before continuing with calibration. A faulty sensor will compromise the accuracy of your grill’s temperature readings and can lead to inconsistent cooking results.
Assuming your pellet sensor is in good shape, place it back into the hopper in its original position. Ensure that it’s firmly seated and not loose. You can give it a gentle push down to make sure it’s securely in place.
Excellent work. With the pellet sensor reinserted, you’re now ready to move on to the next steps of calibration. These involve adjusting the settings on your Traeger grill and testing the accuracy of the pellet sensor.
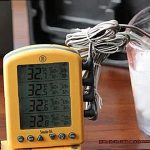
To do this, you’ll need to follow a few more simple steps. First, preheat your grill to 350°F and set it to smoke mode. Then, insert a temperature probe into the center of a few pellets and wait for them to ignite. Finally, compare the temperature reading on your grill display with that of the temperature probe. If there is a significant difference, adjust your grill settings accordingly until they match.
Step 5: Wait for Temperature Stabilization
Step 5 in calibrating your Traeger grill’s pellet sensor is a crucial one – waiting for temperature stabilization. After adjusting the P-Setting, it’s vital to give your grill enough time to stabilize at the desired temperature to ensure accurate and consistent readings.
But how long should you wait? Experts recommend waiting for at least 10-15 minutes, giving your pellet sensor enough time to adjust and provide accurate temperature readings. During this time, keep an eye on your grill’s display screen to monitor any fluctuations in temperature. Any significant changes may require repeating the calibration process or adjusting the P-Setting accordingly.
While waiting for temperature stabilization, resist the urge to peek inside your grill. Keeping the lid closed is essential to maintain a consistent temperature. Opening the lid can cause a sudden drop in temperature, which can affect the calibration process and lead to inaccurate readings.
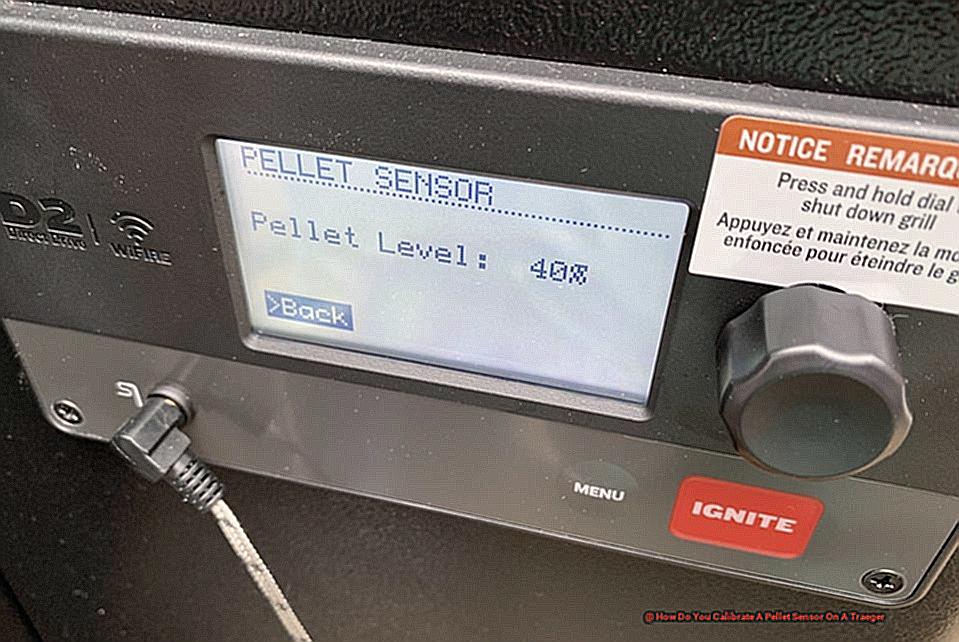
Then step 6, navigating to the Calibration Menu, is crucial. This menu is where you will fine-tune your grill’s settings to ensure that it’s operating at optimal levels. Let me guide you through the process.
First, make sure your Traeger grill has fully heated up before pressing the “Menu” button on the control panel. This will take you to the main menu where you can access various settings and options.
Next, find the “Settings” option using the arrow buttons and press “Select”. Then scroll down again to find the “Calibration” option and press “Select” once more. Congratulations, you’ve made it to the Calibration menu.
Remember, each Traeger model may have slightly different options or phrasing in the calibration menu. So, consult your owner’s manual if you’re unsure about any settings to avoid accidentally changing something that could affect your grill’s performance.
Once in the Calibration menu, follow the on-screen instructions to adjust your grill’s settings as needed. You may need to increase or decrease the temperature or adjust the pellet feed rate to achieve the desired results.
Step 7: Follow Instructions to Calibrate Pellet Sensor
Then it’s time to calibrate the pellet sensor on your Traeger grill. The pellet sensor plays a vital role in ensuring that your food is cooked to perfection every time, and it’s a simple process that can make a big difference.
To begin, consult your owner’s manual for specific instructions on how to calibrate the pellet sensor for your Traeger grill model. Once you have the information, follow these straightforward steps:
- Disconnect the power source and remove the pellet hopper from your grill. This will give you access to the pellet sensor inside the hopper assembly.
- Locate the mounting screws that hold the sensor in place and loosen them.
- Rotate the sensor until it lines up with the “empty” mark on the hopper assembly, ensuring that it accurately measures the pellets and preventing over or underfeeding.
- Tighten the mounting screws to hold the sensor in place.
- Reinstall the hopper and reconnect the power source to your grill.
To ensure that your Traeger grill recognizes the newly calibrated pellet sensor, you’ll need to reset your controller. Here’s how:
- Hold down the “P” button until “Ad” appears on your controller screen.
- Pressing the “down” arrow will then display “A0,” which confirms that you have successfully reset your controller.
Test Your Grill by Cooking a Small Amount of Food
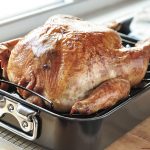
Before you dive into your next BBQ feast, it’s always a smart move to test your grill with a small amount of food. Not only will this ensure that your grill is functioning correctly and that the temperature is accurate, but it will also give you a chance to make any necessary adjustments before cooking up larger quantities of food.
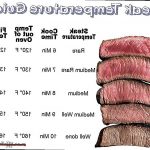
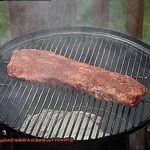
To start, preheat your Traeger grill to the desired temperature. Once it’s preheated, place a single chicken breast or burger patty on the grill and cook it for the recommended time. Keep an eye on the temperature and adjust it if necessary to ensure that your food is cooking evenly.
After your small amount of food is cooked, check it for doneness and flavor. Is it juicy and delicious? Then congratulations. Your Traeger grill is ready for larger batches of food. However, if you encounter any issues such as uneven cooking or a burnt taste, it’s time to calibrate your pellet sensor.
Calibrating your pellet sensor is a crucial step for ensuring that your Traeger grill is functioning properly. Empty the hopper of pellets and remove the sensor from the hopper. Clean the sensor with a soft cloth and reinsert it into the hopper.
Next, reset your Traeger grill by turning it off and unplugging it from the power source for at least 30 seconds. Once it has been reset, turn it back on and set it to your desired temperature.
As the grill heats up, pay close attention to the temperature reading on the control panel. If it doesn’t match the actual temperature inside the grill, you may need to manually adjust the calibration settings.
To do this, go to the settings menu on your control panel and look for an option to calibrate the pellet sensor. Follow Traeger’s instructions to adjust the calibration settings and test the temperature reading again.
Conclusion
To achieve mouth-watering meals every time you fire up your Traeger grill, calibrating the pellet sensor is of utmost importance. A faulty sensor can cause temperature fluctuations and problems with pellet feed, leading to inconsistent cooking results and frustration for any pit master. But don’t worry, calibrating your pellet sensor is an easy process that will keep your grill running smoothly.
First, start by cleaning the grill and allowing it to warm up before locating and removing the pellet sensor. Thoroughly clean the sensor using a soft-bristled brush and compressed air before reinserting it into the hopper. Wait for temperature stabilization before navigating to the calibration menu and following instructions to adjust your grill’s settings as needed.
Next, calibrate the pellet sensor by rotating it until it lines up with the “empty” mark on the hopper assembly and tightening the mounting screws to hold it in place. Reset your controller by holding down the “P” button until “Ad” appears on your controller screen and pressing the “down” arrow until “A0” is displayed.
Finally, test your grill by cooking a small amount of food to ensure that it’s functioning correctly before diving into larger batches of food. By following these simple steps outlined in this guide, you can calibrate your Traeger grill’s pellet sensor like a pro.
In summary, ensuring that your pellet sensor is calibrated properly is critical in achieving consistent cooking results every time you use your Traeger grill.