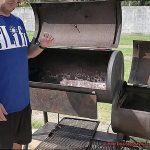
Summertime is here, and that means it’s time to fire up the grill and enjoy some deliciously smoked meat. But what happens when your Pit Boss isn’t cooperating? Maybe it’s not heating up correctly or not working at all. It’s enough to make any backyard chef throw in the towel and order pizza instead. But don’t give up just yet. Troubleshooting your Pit Boss is easier than you think. With a little bit of knowledge, you can solve many common problems on your own without having to call in the pros.
The first step is identifying the issue. Is the grill not heating up as it should? Are the flames uneven? Is the temperature gauge acting up? Once you’ve pinpointed the problem, finding a solution becomes much easier. This could mean replacing a part, cleaning the grill, or adjusting temperature settings.
To help get you started, we’ve compiled some tips and tricks for troubleshooting your Pit Boss. From simple fixes like cleaning out ash buildup to more complex solutions like replacing faulty parts, we’ve got you covered. With a little bit of patience and a willingness to get your hands dirty, you’ll be back to grilling up mouth-watering ribs, brisket, and burgers in no time.
So grab your toolkit and let’s get started. Don’t let a malfunctioning Pit Boss ruin your summer cookouts – with our expert advice, you’ll be back to impressing your friends and family with perfectly smoked meats in no time.
Contents
Check the Power Source
Before you get started, it’s crucial to ensure that your grill’s power source is in tip-top shape. Without a reliable power source, your grill won’t work, and your culinary creations will have to wait. Let’s dive into the steps you need to take to check the power source and troubleshoot any issues.
First things first, double-check that your grill is firmly plugged into an electrical outlet and that the outlet is functioning correctly. Don’t assume that just because you’ve plugged it in, everything is good to go. To be sure, plug in another appliance to test the outlet’s functionality.
If you’ve confirmed that the outlet isn’t the issue, try resetting the circuit breaker or replacing any blown fuses. These simple steps may solve the problem and save you from having to call in an electrician.
Next, take a look at your control panel for any error codes or messages. These codes can provide valuable insight into what’s causing the problem with your power source. Refer to your Pit Boss manual for specific troubleshooting steps related to your model.
As you inspect the electrical components, be sure to check for any signs of damage or wear on the power cord and connections. Frayed cords or loose connections can cause issues with your grill’s power source. If you spot any damage, replace the affected component immediately.
Inspect the Ignition System
Don’t let frustration ruin your cooking plans. Instead, take the time to inspect the ignition system to ensure its smooth operation. As an expert, let me guide you through the steps needed to troubleshoot any issues you may be experiencing.
First and foremost, let’s check the battery. Your Pit Boss grill relies on a battery-powered ignition system, so if the battery is dead or low, it can cause issues with starting the fire. A simple battery replacement can make all the difference in getting your grill to ignite and stay lit.
Next, let’s examine the wiring connections between the battery and the igniter. Ensure that all connections are tight and secure, as loose connections can prevent the igniter from receiving enough power to start the fire. Double-checking these connections can save you from a lot of frustration and disappointment.
If the battery and wiring connections are in good condition, let’s dive deeper into inspecting the igniter itself. The igniter may be dirty or damaged, preventing it from sparking properly. Use a soft-bristled brush to clean any debris or buildup from the igniter tip. If this doesn’t work, it may be time to replace the igniter entirely for optimal performance.
Last but not least, make sure that there is enough propane or pellets in your grill. It may seem like a no-brainer, but a lack of fuel can prevent your grill from starting or staying lit. Check that your fuel source is connected correctly and adjust as necessary.
Uneven Cooking Temperatures
As any seasoned Pit Boss grill user knows, uneven cooking temperatures can be a real headache. But fear not. With a few simple troubleshooting tips, you can ensure that your meals come out perfectly cooked every time.
First and foremost, preheating your grill to the correct temperature is essential. This will ensure that heat is evenly distributed throughout the grill, preventing any hot spots that can lead to uneven cooking. And if you’re still experiencing temperature issues, don’t despair. There are plenty of other steps you can take.
One such step is rearranging the placement of your food on the grill grates. By moving items around, you can balance out any hot or cool spots and ensure that everything cooks at an even pace. This is an easy fix that can make all the difference in the world.
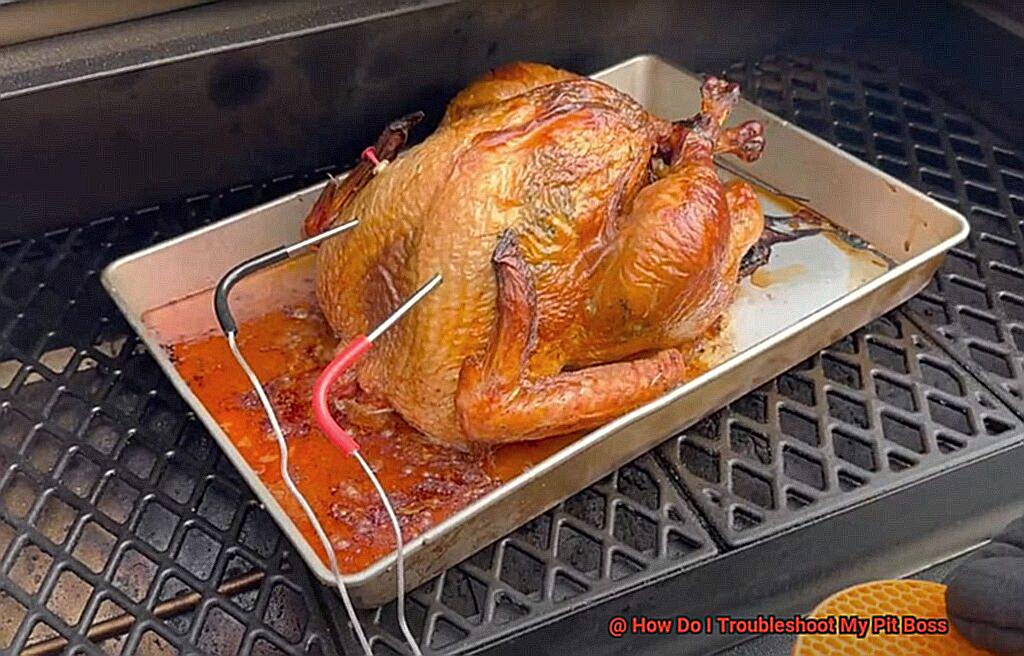
Another possible culprit of uneven temperatures could be an issue with your Pit Boss grill’s internal temperature gauge. To check this, use an external thermometer to compare the actual temperature inside the grill with what’s displayed on the gauge. If there’s a significant difference, it may be time to replace the gauge.
It’s also important to check for any obstructions or clogs in your grill’s air flow system. A blocked air flow can cause pockets of hot and cold spots which lead to uneven cooking temperatures. Cleaning out any debris or ash from the grill’s vents and inspecting the chimney for any obstructions can help prevent this from happening.
In addition to these troubleshooting tips, here are some other things to keep in mind when dealing with uneven cooking temperatures:
- Use a meat thermometer to check the internal temperature of your food and ensure that it’s cooked to your desired level.
- Try using indirect heat for certain types of food, such as thicker cuts of meat or delicate items like fish.
- Consider investing in a dual-zone cooking system, which allows you to have different heat levels on different areas of the grill.
Smoke Production Issues
When it comes to grilling, smoke production is a vital component to achieving that signature smoky taste. However, Pit Boss owners may encounter problems with smoke production, whether it’s too little or too much. Let’s explore the potential culprits and how to troubleshoot them.
If your Pit Boss is producing insufficient smoke, there could be a variety of reasons. One possible explanation is that your pellets are old or damp. Ensure that your pellets are in good condition before using them. Another issue could be a problem with the auger motor, which transports the pellets from the hopper to the fire pot. Check to make sure that it’s functioning correctly and that there is proper airflow in the fire pot.
Conversely, if your Pit Boss is producing excessive smoke, it may be due to a buildup of grease or a dirty fire pot. Thoroughly clean your smoker before using it again. Additionally, inefficient pellet burning can lead to excess smoke production, so make sure that the temperature settings are correct and that there is adequate airflow.
Another potential factor impacting smoke production is the type of pellets you use. Different types of pellets produce varying levels of smoke, so choose the right pellets for your desired flavor profile. Also, keep in mind that humidity and moisture can affect pellet quality and cause issues with smoke production.
In summary, maintaining your Pit Boss’s cleanliness and ensuring proper temperature control and airflow are crucial to achieving consistent smoke production levels. Here are some additional tips to help you along the way:
- Regularly check and clean your smoker to prevent grease buildup.
- Store pellets in a cool, dry place to maintain their quality.
- Experiment with different types of pellets to find the perfect flavor for your taste buds.
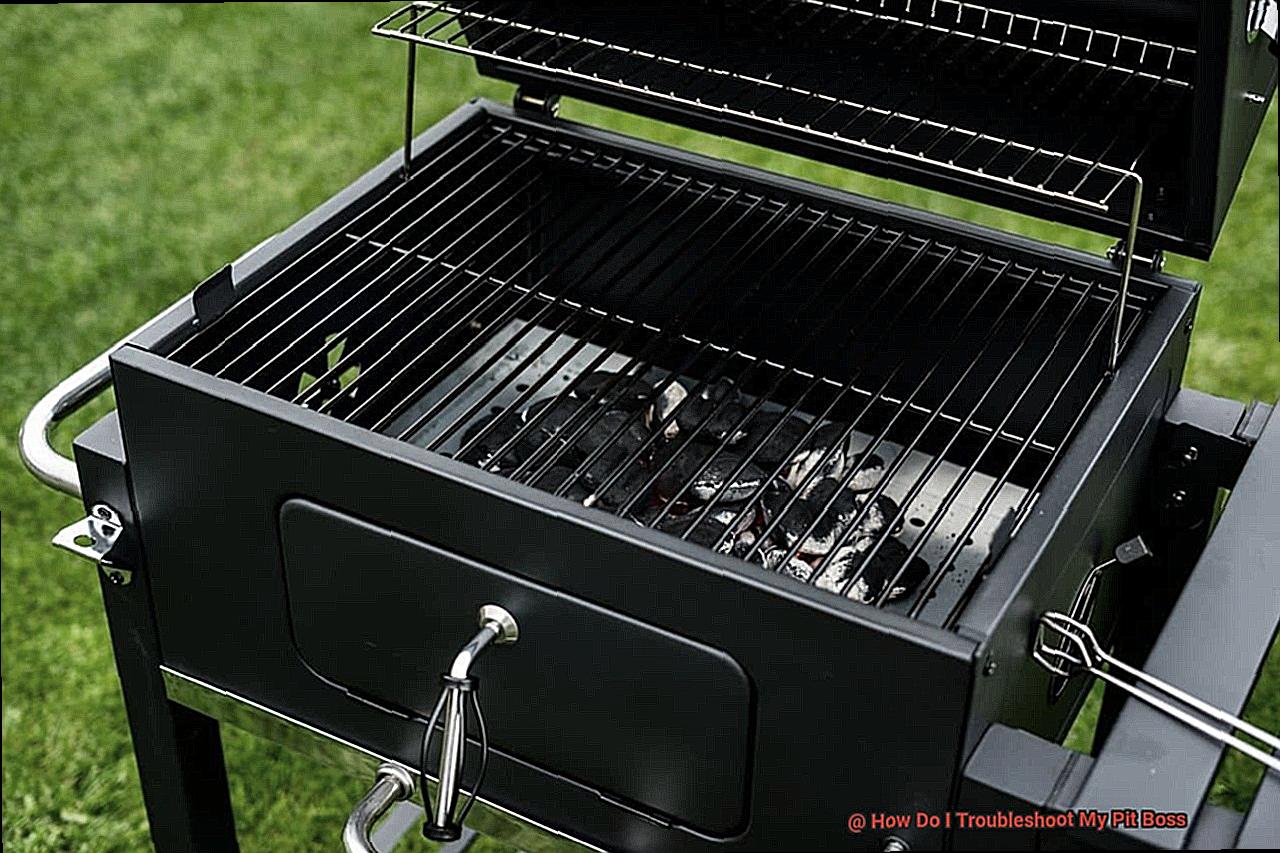
Clean the Grill Thoroughly
It all starts with a clean grill. That’s why we’re here to guide you through the steps for thoroughly cleaning your Pit Boss grill.
First things first, safety is key. Turn off the power and let the grill cool down completely before starting any cleaning.
Step 1: Remove the grates and other removable parts
Take out the grates, heat deflectors, and drip trays, and clean them separately using warm soapy water and a soft-bristled brush. This ensures that every nook and cranny is cleaned thoroughly.
Step 2: Scrape away debris
Use a grill brush or scraper to remove any built-up residue from the inside of the grill. Don’t forget to scrape away any loose debris from the burners and igniter as well. This step is crucial in preventing uneven heating, flare-ups, and damage to the grill.
Step 3: Wipe down the inside of the grill
Using a damp cloth or sponge, wipe down the inside of the grill. This helps get rid of any remaining debris or residue that has been loosened by scraping.
Step 4: Use specialized cleaner
For those tough stains or built-up grease, you may need a specialized cleaner. Choose one that is safe for use on your Pit Boss grill and follow the instructions carefully. Rinse thoroughly with water once you are finished.
Step 5: Reassemble and test
After cleaning everything, reassemble all of the parts and turn on your grill to make sure everything is working properly. This step ensures that everything is back in place and ready for your next grilling adventure.
Adjust Heat Plates Positioning
Uneven heating can be a frustrating issue, but luckily there’s a simple solution – adjusting the positioning of your heat plates.
Heat plates are a crucial component of your Pit Boss grill, designed to distribute heat evenly across the cooking surface. But if they’re not positioned correctly, some areas may be hotter than others, leading to inconsistent cooking results. Here’s how you can adjust the positioning of your heat plates:
Step 1: Remove the grates and any other components that are covering the heat plates.
- Step 2: Take a close look at the heat plates. Are they positioned evenly across the width of the grill? If not, loosen the screws or bolts holding them in place and shift them slightly until they’re even. This simple step can make a significant difference in the temperature distribution on your grill.
- Step 3: Check that the heat plates are level. If they’re tilted or uneven, this can cause hot spots and cold spots on the grill. Use a level to check that they’re flat and adjust as necessary.
- Step 4: Make sure that the heat plates are clean and free from any debris or grease buildup. Grease buildup can cause hot spots on your grill, ruining your food’s texture and taste.
By following these steps, you can ensure that your food cooks evenly, creating a delicious meal every time. Plus, adjusting your heat plates is a simple and cost-effective solution to an annoying problem.
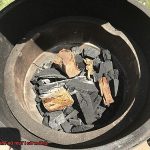
Load Wood Pellets Properly
The culprit is often improper loading of wood pellets. But fear not, with my expertise, I’m here to share the essential steps for loading wood pellets properly into your Pit Boss.
First and foremost, quality matters when it comes to wood pellets. Don’t settle for low-quality pellets that contain sawdust and other materials that can cause blockages in the auger and affect temperature control. Opt for high-quality pellets for optimal performance.
Once you have quality pellets, it’s time to prepare the firepot. Before adding new pellets, clean out any debris or ash from the firepot to prevent blockages caused by old pellets mixing with new ones.
When loading pellets, spread them evenly across the firepot to ensure even heat distribution. It’s crucial not to overload the firepot as this can cause temperature spikes and uneven cooking. However, underloading the firepot can result in temperature drops and inconsistent cooking. Striking a balance is key when loading your pellets.
During cooking, if you experience temperature fluctuations, consider adjusting the damper or fan settings to regulate airflow. Always monitor the temperature regularly during cooking to make necessary adjustments quickly.
Ensure No Blockage in Auger or Chute
One of the first troubleshooting steps you should take is to ensure that there are no blockages in the auger or chute. These components play a crucial role in transferring pellets from the hopper to the firepot and directing them into the firepot, respectively. Any obstruction can lead to subpar results.
To begin, prioritize safety by turning off and unplugging your Pit Boss. Then, remove the hopper and inspect the auger for any signs of obstruction. Use a flashlight if necessary to get a better view. If you spot any debris or pellets stuck in the auger, carefully remove them using a long, thin object such as a wooden skewer or a pipe cleaner.
Next, it’s time to move on to the chute. Remove the grates and heat diffuser plate to inspect the chute for any signs of buildup or obstruction. Again, use a flashlight if necessary to get a better view. If you find any debris or pellets stuck in the chute, carefully remove them using a long, thin object.
With both components cleared of any blockages, reassemble your Pit Boss and turn it on to test its performance. If issues persist, there may be other underlying problems that require further troubleshooting. However, ensuring that there are no blockages in the auger or chute is an important first step in achieving optimal performance from your Pit Boss grill.
Conclusion
In conclusion, troubleshooting your Pit Boss grill may seem like a daunting task, but don’t let that intimidate you. With the right knowledge and tools, solving common problems is easier than you think. By identifying the issue and following some simple steps, you can save yourself time and money without having to call in the pros.
Start by checking the power source and inspecting the ignition system. If those are working fine, move on to adjusting heat plates positioning and loading wood pellets properly for optimal performance. Remember that maintaining cleanliness is essential to achieving consistent smoke production levels.
Proper temperature control and airflow are also crucial factors in ensuring your Pit Boss is working at its best. Always keep safety in mind when troubleshooting – turn off the power and let the grill cool down completely before starting any cleaning or maintenance tasks.
Don’t let a malfunctioning Pit Boss ruin your summer cookouts. With a little bit of patience and willingness to get your hands dirty, you’ll be back to grilling up mouth-watering ribs, brisket, and burgers in no time.