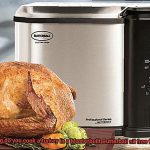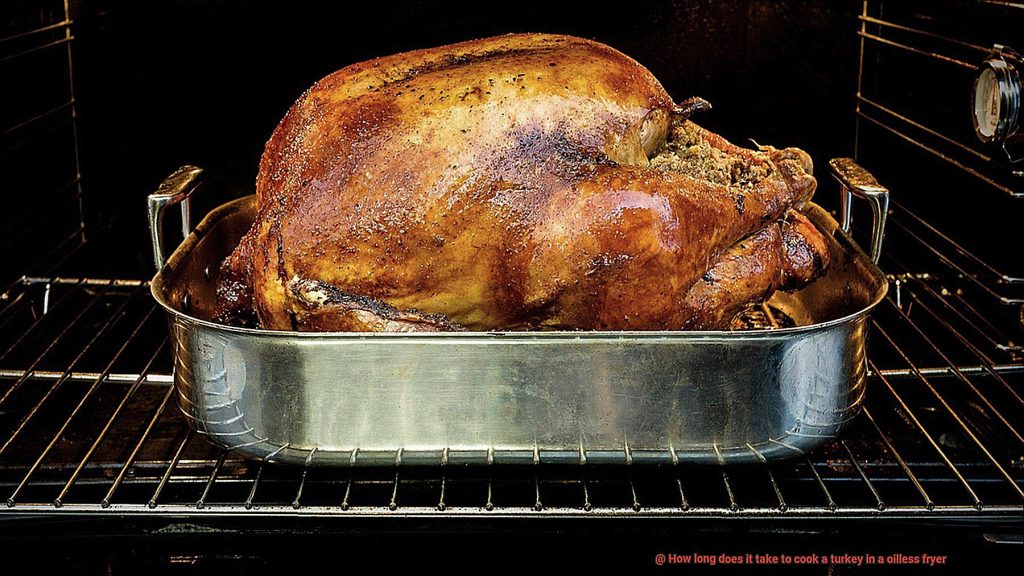
Are you tired of slaving away in the kitchen for hours, only to end up with a dry and overcooked turkey? Well, it’s time to ditch your oven and try an oilless fryer. This revolutionary appliance uses hot air to cook your turkey to crispy perfection, without any added oil. Not only is this method much healthier, but it also saves you precious time and effort.
But let’s get down to business: how long does it take to cook a turkey in an oilless fryer? It’s not as simple as setting a timer and walking away. The cooking time depends on various factors such as the size of your bird, the temperature of your fryer, and other variables. But don’t worry; we’ve got you covered.
In this post, we’ll walk you through everything you need to know about cooking a turkey in an oilless fryer. We’ll cover the optimal temperature settings, cooking times for different turkey sizes, and tips for achieving that coveted golden-brown skin. Plus, we’ll debunk some common myths and address any concerns you may have about using an oilless fryer for your holiday feast.
Get ready to impress your family and friends with a perfectly cooked, juicy turkey that will leave them begging for seconds. So grab your apron and let’s get frying.
Contents
The Benefits of Cooking a Turkey in an Oilless Fryer
Cooking a turkey in an oilless fryer has become increasingly popular in recent years, and for good reason. Not only does it result in a deliciously crispy turkey with evenly cooked skin, but it also boasts numerous health benefits and is much safer than traditional deep-frying methods.
One of the most significant advantages of using an oilless fryer is the reduction in fat and calories. Traditional deep-frying methods require large amounts of oil, which can add hundreds of calories to your meal and increase the risk of heart disease. In contrast, oilless fryers use hot air to cook the turkey, resulting in a healthier and leaner meal without sacrificing taste.
But health benefits aren’t the only reason to consider an oilless fryer. Safety is another key factor to consider. Deep-frying a turkey involves heating large amounts of oil to high temperatures, which can be dangerous if not done properly. Oilless fryers eliminate this risk by using hot air instead of oil to cook the turkey, keeping you and your loved ones safe from potential accidents.
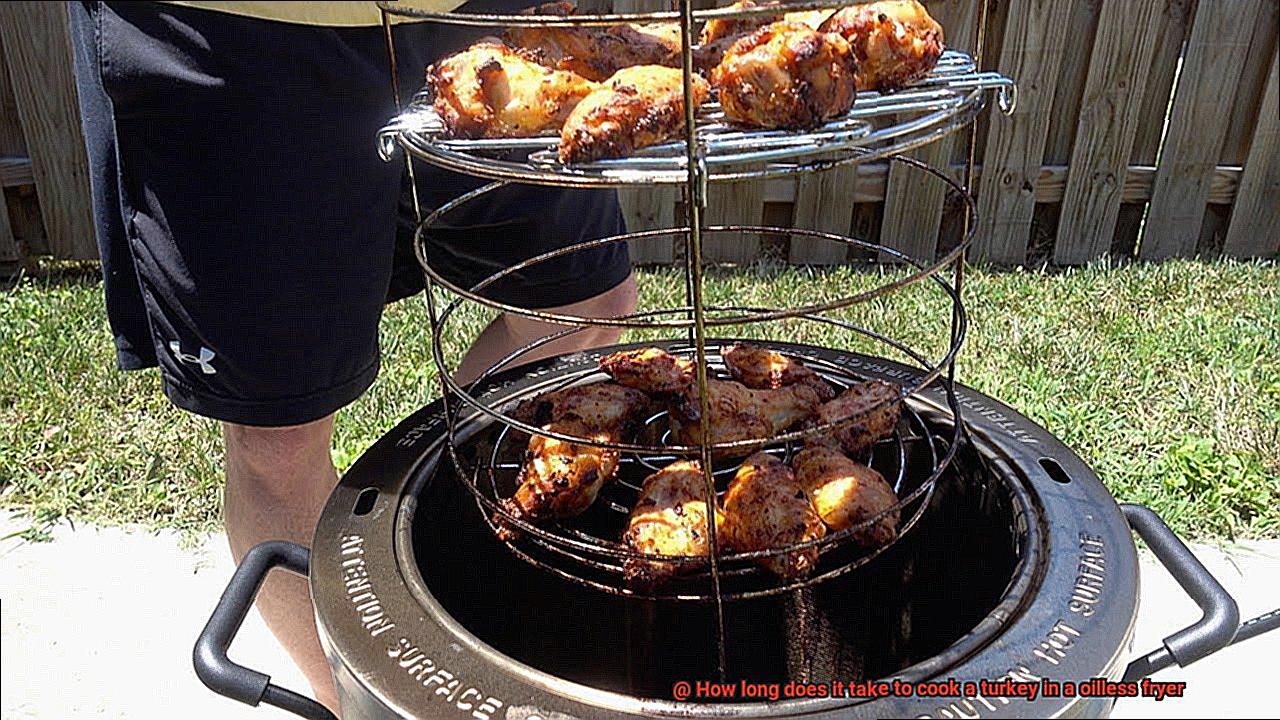
In addition to being healthier and safer, oilless fryers are also incredibly convenient and easy to use. Most models come with built-in timers and temperature controls, making it easy to achieve perfectly cooked turkey every time. And cleanup is a breeze with many oilless fryers featuring removable parts that are dishwasher safe.
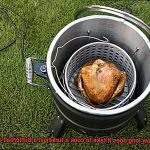
When using an oilless fryer, it’s important to consider factors such as cooking time and temperature control. The cooking time for a turkey in an oilless fryer depends on the size of the bird and may vary based on the specific model used. To ensure safe and thorough cooking, use a meat thermometer to check the internal temperature of the turkey and make sure that it is fully thawed before cooking.
Calculating the Cooking Time for a Turkey in an Oilless Fryer
Before you start, let’s walk through the process of calculating the cooking time to achieve the perfect bird.
First things first: determine the weight of your turkey. As a general rule, an oilless fryer can handle up to an 18-pound turkey. If your bird weighs more, consider cooking it in batches or using a larger oilless fryer.
Now, let’s estimate the cooking time. A good rule of thumb is to cook your turkey for approximately 10-12 minutes per pound. For example, if your turkey weighs 14 pounds, you can expect it to take around 2 hours and 20 minutes to cook thoroughly. Keep in mind that this calculation is just an estimate – other factors like temperature may affect cooking time.
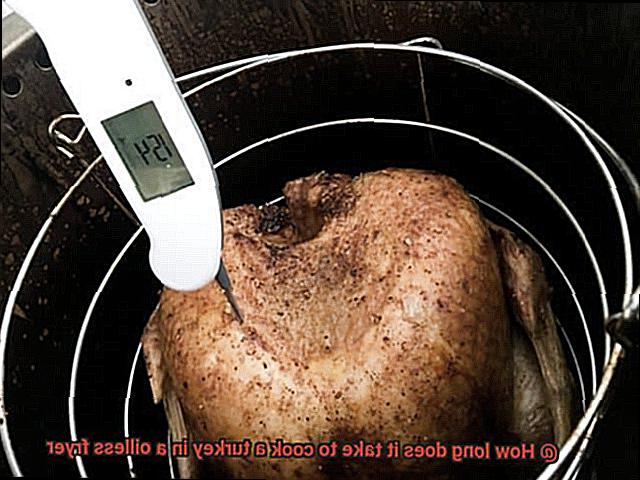
The most important step is checking the internal temperature of your turkey. The USDA recommends cooking a whole turkey until it reaches an internal temperature of 165°F. To be sure that your turkey is cooked correctly, insert a meat thermometer into the thickest part of the thigh without touching the bone. If the temperature hasn’t reached 165°F, continue cooking and checking every 15-20 minutes until it does.
In summary, calculating cooking time for an oilless fryer turkey may seem overwhelming at first. However, with these simple steps and a meat thermometer on hand, you can cook a mouth-watering turkey every time that’s not only healthier but also safer than traditional deep-frying methods. To make things even easier, here’s a quick checklist:
Factors to Consider When Using an Oilless Fryer to Cook a Turkey
Before you start cooking, there are a few essential factors that you should consider to ensure that your turkey turns out delicious and juicy.
Firstly, take note of the size of your turkey. The weight of your bird will determine the cooking time needed to cook it thoroughly. For example, a 12-pound turkey usually takes around two and a half hours to cook, while larger turkeys may require more time. So, make sure to estimate the cooking time based on the size of your turkey.
Secondly, consider the type of oilless fryer you’re using. Different oilless fryers have varying heating capacities and cooking times. To avoid any mishaps, it’s important to read the manufacturer’s instructions carefully before using your fryer.
Thirdly, temperature is crucial when cooking with an oilless fryer. Make sure that your fryer is heated to the appropriate temperature before placing your turkey inside. Most oilless fryers have a temperature range of 350-400 degrees Fahrenheit, which is ideal for cooking a turkey.
Next, preparation is key when it comes to cooking a turkey in an oilless fryer. If you’re using a frozen turkey, it’s important to thaw it completely before cooking. Thawing can take up to three days, so plan accordingly.
Last but not least, don’t forget about the thickness of your turkey. A thicker bird will require more cooking time than a thinner one. To ensure that your turkey is cooked evenly and thoroughly, use a meat thermometer to check if its internal temperature has reached 165 degrees Fahrenheit.
Tips for Ensuring Proper and Safe Cooking
Cooking a turkey in an oilless fryer can be a great way to enjoy a healthy and tasty meal. But before you start, it’s important to follow some essential tips to ensure that your cooking is not only delicious but also safe.
Thaw the turkey completely
One of the most important things to keep in mind when cooking a turkey in an oilless fryer is to thaw it completely. A frozen turkey can cause the fryer to malfunction and lead to uneven cooking. So make sure that the turkey is thawed completely and at room temperature for at least an hour before cooking.
Preheat the oilless fryer
Another important tip is to preheat the oilless fryer before adding the turkey. This will ensure that the fryer reaches the proper temperature for cooking and will help to prevent any food safety issues. Preheating also helps to ensure even cooking of the turkey.
Use a meat thermometer
It’s essential to use a meat thermometer to check the internal temperature of the turkey. The internal temperature should reach 165°F before it is considered safe for consumption. This will help to avoid any potential food-borne illnesses and ensure that your turkey is cooked perfectly.
Follow manufacturer’s instructions
Every oilless fryer comes with different specifications and instructions, so it’s crucial to read and follow them carefully. Not following the instructions could result in accidents or malfunctions, leading to unsafe cooking conditions.
Don’t overcrowd the fryer
It’s important not to overcrowd the fryer by placing too many items inside at once. This can lead to uneven cooking and potentially dangerous situations. Make sure you are following the recommended capacity of your oilless fryer.
Add flavor and moisture
To add more flavor and moisture to your turkey, try seasoning or marinating it before cooking. You can also add some vegetables or herbs inside the cavity for added flavor. This will enhance the taste of your turkey and make it more appetizing.
Let it rest
Once the turkey is cooked, let it rest for at least 10-15 minutes before carving. This will allow the juices to redistribute throughout the meat and will result in a more flavorful and moist turkey.
Internal Temperature: How to Check the Temperature of Your Turkey
Cooking a turkey in an oilless fryer can be a delicious and healthy alternative to traditional frying or roasting methods. However, ensuring that your turkey is cooked to perfection requires some essential steps, including checking the internal temperature of your bird. Don’t worry; it’s easy with a meat thermometer.
To check the internal temperature of your turkey, start by inserting the meat thermometer into the thickest part of the turkey, avoiding any bone contact. Make sure it’s deep enough to reach the center of the meat and leave it in for a few seconds until the temperature reading stabilizes. Remember, the internal temperature of the turkey must reach at least 165 degrees Fahrenheit to ensure it is safe to eat.
But wait, there’s more. Different parts of your turkey may cook at different rates, so it’s recommended to check the temperature in multiple places. Check the thigh and breast as these are typically the thickest parts. If you find that one part has not yet reached the desired temperature while other parts have, cover those areas with aluminum foil and continue cooking until they reach 165°F.
It’s important to note that using a meat thermometer is not only necessary for safety but also for ensuring a perfectly cooked turkey. Overcooked turkey can lead to dry and tough meat, while undercooked turkey can be dangerous to consume. By checking the internal temperature of your turkey throughout the cooking process, you can avoid both scenarios.
In summary, to make sure that your turkey is cooked perfectly in an oilless fryer, keep these tips in mind:
- Use a meat thermometer
- Insert it into the thickest part of the turkey
- Check multiple places including the thigh and breast
- Cover any parts that haven’t reached 165°F with aluminum foil
- Enjoy a safe and delicious meal with confidence.