Thanksgiving is just around the corner, and that means it’s time to talk turkey. But let’s face it, cooking a turkey can be a daunting task, especially if you’re not equipped with the right tools or experience. That’s where the Masterbuilt Butterball oil-free fryer comes in – a game-changer for anyone looking to cook a delicious bird without all the fuss of traditional methods.
But here’s the million-dollar question: how long do you cook your turkey in this magical machine? It’s a question that stumps even the most seasoned cooks and leaves many novices scratching their heads. Fear not, my friends, because we’ve got you covered with this fool-proof guide to cooking your turkey in a Masterbuilt Butterball oil-free fryer.
In this post, we’ll cover everything you need to know about preparing and cooking your bird in this innovative machine. From seasoning and prepping to regulating temperature and cook time, we’ll equip you with all the knowledge you need to achieve that perfect Thanksgiving centerpiece.
So whether you’re an experienced chef looking for a new technique or a newbie unsure of where to start, keep reading to discover exactly how long you should cook your turkey in a Masterbuilt Butterball oil-free fryer for juicy, succulent results every time.
Contents
What is a Masterbuilt Butterball Oil Free Fryer?
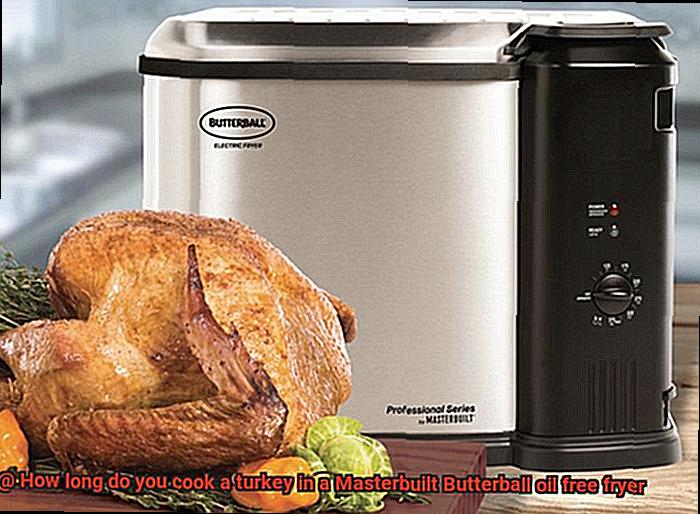
Look no further than the Masterbuilt Butterball Oil Free Fryer. This innovative appliance uses radiant heat to cook your food to perfection without the need for oil, so you can indulge in crispy and delicious foods while still maintaining a healthy lifestyle.
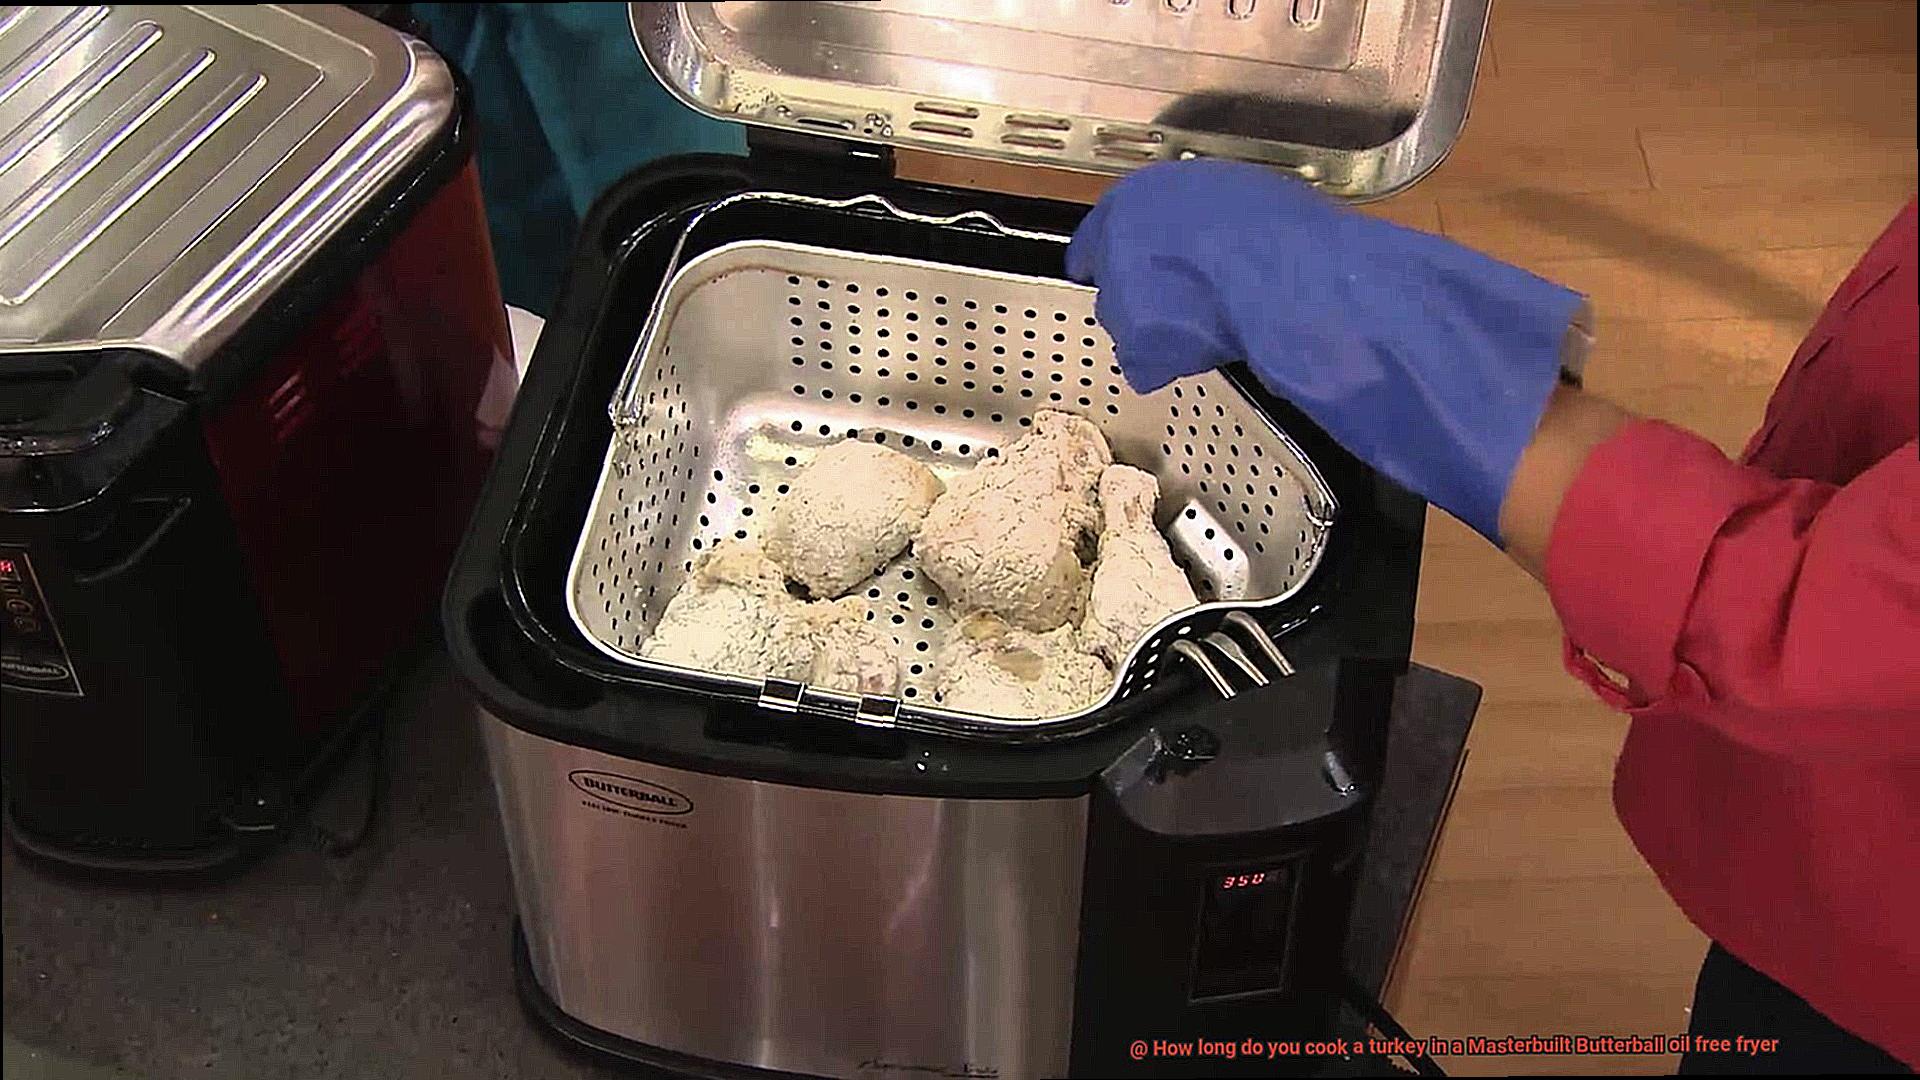
One of the biggest advantages of this fryer is that it’s incredibly easy to use. Simply plug it in, set the temperature, and let it do all the work for you. Unlike traditional frying methods that require constant monitoring and adjustments, this appliance does everything automatically, saving you time and energy.
Another great feature is the large capacity of the Masterbuilt Butterball Oil Free Fryer. With a 22-pound capacity, it’s perfect for cooking a turkey or other large meals for your family or guests. And thanks to the even heating, you don’t have to worry about hot spots or constantly rotating the food for an even cook.
Aside from its impressive cooking capabilities, the Masterbuilt Butterball Oil Free Fryer also offers a healthier alternative to traditional frying methods. By eliminating the need for oil, this appliance helps reduce your fat and calorie intake without sacrificing flavor or texture.
If you’re planning on cooking a turkey in this fryer, remember to properly prepare the bird beforehand by removing giblets and seasoning it with your favorite spices. Then simply place it in the fryer and let it cook to perfection. The end result is tender, juicy meat with a crispy exterior that will impress your family and friends.
Benefits of Cooking a Turkey in an Oil Free Fryer
An oil-free fryer has become increasingly popular in recent years due to its numerous benefits.
Healthier Option
Cooking a turkey in an oil-free fryer eliminates the need for unhealthy oils and fats, offering a healthier option for those who are health-conscious. This method ensures that the turkey is leaner and lower in calories, making it an ideal option for those who are watching their weight. Say goodbye to greasy turkey and hello to a guilt-free feast.
Tender and Juicy Turkey
One of the most significant benefits of cooking a turkey in an oil-free fryer is that it results in a tender and juicy bird. The hot air circulates around the turkey, ensuring that it cooks evenly and thoroughly, resulting in a crispy outer layer and moist interior. Your taste buds will thank you for the delicious meal.
Faster Cooking Time
Traditional methods of cooking a turkey can take several hours, which can be stressful and time-consuming. Cooking a turkey in an oil-free fryer is much faster than traditional methods, saving you time and allowing you to spend more time with your loved ones during the holiday season. Now you can enjoy your holiday meal without spending all day in the kitchen.
Safer Option
Traditional methods of cooking involve heating large amounts of oil to high temperatures, which can be dangerous if not done correctly. Oil-free fryers eliminate this risk by using hot air to cook the turkey, making it a safer option for those who are concerned about safety in the kitchen. You can now cook your holiday meal with peace of mind.
Tips for Preparing the Turkey Before Cooking
Preparing a turkey for cooking in a Masterbuilt Butterball oil-free fryer requires a few important steps to ensure that the end result is a succulent and tasty bird. Here are some tips to help you prepare your turkey correctly:
Thaw the Turkey
Before you begin preparing your turkey, make sure it’s fully thawed. A frozen turkey should be thawed in the refrigerator for 24 hours per 4-5 pounds of weight. Make sure to remove the giblets and neck from the cavity before thawing.
Clean the Turkey
Once your turkey is thawed, it’s time to clean it. Rinse it with cold water and pat it dry with paper towels to ensure that any bacteria or germs are eliminated.

Season the Turkey
To add extra flavor to your turkey, consider seasoning it with a mixture of spices and herbs. Rub the seasoning both under and over the skin of the turkey, and stuff the cavity with aromatics like onion, garlic, and herbs.
Truss the Turkey
Trussing involves tying up the legs and wings of the turkey so that everything cooks evenly. This will prevent any parts from burning or drying out, resulting in a perfectly cooked bird.
Let it Rest
After removing your turkey from the fryer, let it rest for at least 15-20 minutes before carving. This allows the juices to redistribute throughout the meat, making for a juicier and more flavorful bird.
Estimating the Cooking Time of Your Turkey
Don’t let the fear of overcooking or undercooking your bird spoil the fun. With some basic calculations and a few considerations, you can confidently estimate the cooking time of your turkey.
The weight of your turkey is the first factor to consider. A general rule of thumb is to allow 10-12 minutes of cooking time per pound of turkey. However, remember to always use a meat thermometer to ensure that your turkey is cooked to perfection. You can also refer to a chart that shows estimated cooking times based on the weight of your turkey. For instance, a 10-12 pound turkey should take about 2-2.5 hours to cook, while a 20-24 pound turkey may take up to 4-4.5 hours.
Other factors that may affect the cooking time of your turkey are altitude and the type of fryer being used. So, it’s always good to keep an eye on your bird and use a meat thermometer to double-check that it’s fully cooked.
Another key factor in estimating the cooking time of your turkey is the temperature at which you will be cooking it. The recommended temperature for cooking a turkey in a Masterbuilt Butterball oil-free fryer is 325°F. Once your fryer has reached this temperature, place your turkey inside and let it cook until it reaches an internal temperature of 165°F in the thickest part of the thigh.
To make sure you achieve your desired level of doneness, it’s important to monitor the temperature and check it regularly with a meat thermometer. This will help you avoid overcooking or undercooking your turkey.
Checking for Doneness with a Meat Thermometer
Cooking a turkey to perfection can be a daunting task, but with the Masterbuilt Butterball oil-free fryer, you can whip up a delicious turkey dinner with ease. However, to ensure that your turkey is cooked safely and thoroughly, it’s crucial to use a meat thermometer to check for doneness. As an expert on this topic, I’ve compiled some essential tips to help you use a meat thermometer correctly when cooking your turkey in a Masterbuilt Butterball oil-free fryer.
The first step towards a perfectly cooked turkey is to have a reliable meat thermometer on hand. A digital thermometer with a probe is the best option as it can provide an accurate reading without removing the turkey from the fryer. So, make sure you have one before you start cooking your turkey.
To check for doneness, insert the thermometer into the thickest part of the turkey, making sure not to touch the bone. It’s crucial to take readings from both the breast and thigh areas as these are the thickest parts of the bird. The temperature should read at least 165°F (74°C) in both areas to ensure that your turkey is safe to eat.
If your turkey hasn’t reached the desired temperature yet, don’t worry; continue cooking it according to your cooking time and check again in 15-20 minutes. However, don’t rely entirely on cooking time or appearance to determine doneness as these indicators can be misleading. By using a meat thermometer, you can be sure that your turkey is cooked safely and thoroughly.
Once your turkey has reached a safe internal temperature, remove it from the fryer and let it rest for at least 15-20 minutes before carving. This allows the juices to redistribute throughout the meat, giving you a juicier and more flavorful turkey that will impress your family and friends.
Adjusting Temperature and Rotating the Bird
Look no further than a Masterbuilt Butterball oil-free fryer, but don’t forget about the crucial steps of adjusting temperature and rotating the bird. These two elements are essential to ensure even cooking and a perfectly golden brown skin.
First, let’s talk about temperature control. The recommended cooking temperature for a turkey in a Masterbuilt Butterball oil-free fryer is 325°F. Before cooking, make sure you have adjusted the temperature to the recommended setting and preheated the fryer for 10-15 minutes. Once you place your turkey in the fryer, use the digital controls to adjust the temperature as needed. If you notice that your turkey is browning too quickly, reduce the temperature to prevent overcooking.
Now, let’s discuss rotating the bird. To achieve even cooking, it’s best to rotate the turkey every hour using tongs or a fork. This simple step ensures that all parts of the turkey are exposed to heat and cook evenly. But remember to use oven mitts or gloves when rotating the bird to avoid burns from hot surfaces.
It’s important to note that opening the lid frequently can cause heat loss, which may affect cooking time. Therefore, it’s best to avoid opening the lid unless necessary, such as when rotating the bird or checking for doneness.

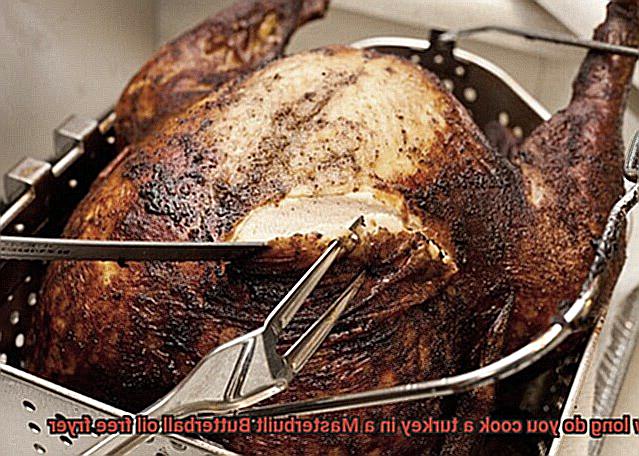
Removing the Turkey from the Fryer
As you eagerly await the moment to remove your turkey from the Masterbuilt Butterball oil-free fryer, it’s important to prioritize safety above all else. The first step is to arm yourself with a sturdy pair of heat-resistant gloves or tongs that are specifically designed for handling hot food. Don’t even consider using regular kitchen utensils or tools that aren’t equipped to handle high temperatures. Safety first.
With your gloves or tongs secured, gently lift the hot turkey out of the fryer and place it onto a clean surface. Take your time and handle it with care. Now resist the urge to carve into it right away; let it rest for at least 15-20 minutes. This waiting period allows the juices inside the turkey to redistribute, resulting in a more succulent and tender meat.
While waiting, you can use this time to prepare any sides or garnishes. Once the resting period is over, check the internal temperature of the turkey using a reliable meat thermometer. Ensure that the thickest part of the turkey has reached an internal temperature of 165°F (74°C) before serving. If it hasn’t reached this temperature yet, return it to the fryer for additional cooking time.
It’s important to note that even if your turkey has reached the proper internal temperature, there may still be some pinkness near the bone. Don’t panic; this is a common occurrence and doesn’t necessarily mean the meat is undercooked. However, if you’re unsure, use a meat thermometer to double-check and ensure that it’s safe to eat.
Resting and Carving the Cooked Bird
But, before you grab the carving knife, remember that resting and carving the bird is an essential step in ensuring maximum flavor and tenderness. As an expert on this topic, let me guide you through the process.
Resting your turkey is key to achieving optimal taste. When meat cooks, juices move towards the center due to heat. If you carve it right away, all those delicious juices will escape onto your cutting board instead of staying inside the meat where they belong. To make sure that the turkey stays juicy and flavorful, let it rest for at least 15-20 minutes after cooking.
While your turkey is resting, use this time to prepare side dishes or make gravy. You can also clean up any mess created during cooking, which is always a bonus.
When it’s time to carve, start by removing the legs and wings. Then, using a sharp knife, make a horizontal cut into the breast just above the wing joint. Cut downwards along the rib cage until you reach the bottom of the turkey. Repeat on the other side.
After both sides are cut, remove the entire breast from the turkey and place it on a cutting board. Slice the breast meat against the grain into thin slices. Repeat with the other breast.
Next, remove any remaining meat from the turkey such as thighs and drumsticks and slice them into thin pieces as well. Arrange all of the sliced meat on a serving platter and garnish with herbs or fruit if desired. Serve immediately with your favorite side dishes and gravy.
dtygFlfR0Fw” >
Conclusion
In summary, the Masterbuilt Butterball oil-free fryer is a revolutionary appliance that simplifies the process of cooking a succulent turkey without the hassle of traditional methods. This innovative fryer allows you to indulge in crispy and delicious foods while maintaining a healthy lifestyle. With its large capacity, you can easily cook a turkey or other large meals for your family or guests.
To ensure your turkey is cooked to perfection, it’s important to follow some essential steps such as thawing it fully, cleaning it thoroughly, seasoning it with your favorite spices, trussing it up and letting it rest before carving. Calculating the cooking time accurately is also vital to achieve the desired level of doneness. Using a meat thermometer will help you check for doneness and adjust temperature and rotation as needed for even cooking.
When removing your turkey from the fryer, be sure to prioritize safety by using heat-resistant gloves or tongs designed for handling hot food. Allowing your turkey to rest after cooking is crucial for optimal taste since it gives juices time to redistribute throughout the meat. When carving, start by removing legs and wings before slicing breast meat against the grain into thin slices.
Cooking a turkey in an oil-free fryer offers numerous benefits such as healthier options, tender and juicy meat, faster cooking time, and safer methods compared to traditional frying techniques.