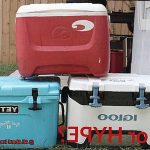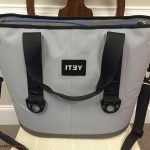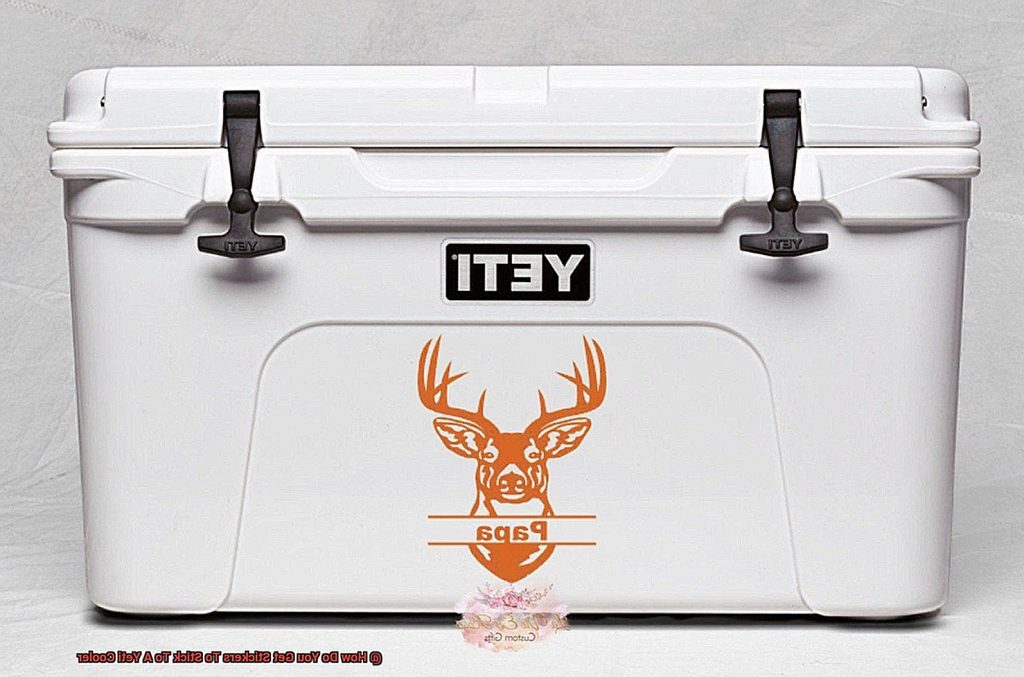
Do you own a Yeti cooler and want to make it stand out with some cool stickers? Stickers are an excellent way to express your personality and style.
However, getting them to stick to a Yeti cooler can be tricky. Yeti coolers are known for their durability and ruggedness, but regular stickers may not hold up against harsh outdoor weather conditions.
They might even peel off after a short time. But don’t worry.
I’ve got some tips up my sleeve that will help your stickers stay put on your Yeti cooler like glue. From prepping your cooler to selecting the right type of sticker, I’ll share all the tricks you need to know.
In this blog post, I’ll dive into the details of how stickers can stick to a Yeti cooler. You’ll discover the best types of stickers to use, how to prepare your cooler for maximum adhesion, and insider tips on making your stickers last longer.
So, grab your favorite stickers and get ready to make your Yeti cooler look awesome.
Contents
Clean the Surface of Your Yeti Cooler
Before you do that, it’s essential to ensure the surface of your cooler is clean, free of any dirt or debris.
A clean surface is key to ensuring your stickers stick correctly and stay in place for a long time. To achieve the perfect clean surface, you’ll need a few materials: a soft-bristled brush, warm soapy water, and a clean towel or microfiber cloth.

You can also use a mild detergent or cleaning agent specifically designed for Yeti coolers. Start by removing any loose dirt or debris from the surface of the cooler using the soft-bristled brush.
Be careful not to scratch the surface of the cooler while doing this. Once you’ve cleared any loose dirt, wet the surface of your cooler with warm soapy water.
Using the soft-bristled brush, gently scrub the surface of the cooler to remove any stubborn dirt or grime. Pay close attention to areas around handles or crevices where dirt may accumulate.
Rinse the surface thoroughly with clean water and dry it off with a clean towel or microfiber cloth. Now that your Yeti cooler’s surface is squeaky clean, you’re ready to apply your stickers.
For improved adhesion, use a sticker adhesive spray or heating up the area where you want to position the sticker with a hairdryer or heat gun.
You can also shield your stickers from scratches and wear by laying a clear vinyl laminate over them.
By following these simple steps, you can create an ideal environment for your stickers to stick well and remain in place for an extended period.
Use a Sticker Adhesive Spray
This spray is specially designed to make surfaces sticky enough to hold stickers without damaging the cooler. Before getting started, it’s important to ensure that your Yeti cooler is clean and completely dry.
Simply use warm soapy water and a soft-bristled brush to clean away any dirt or debris around the handles or crevices. Then, allow the surface to dry completely before applying the adhesive spray.
Once you have a clean surface to work with, shake the can of adhesive spray well before use. Hold the can about 6 inches away from the cooler and lightly spray a coat of adhesive onto the area where you intend to place your sticker.
Be careful not to overspray as this may cause the surface to become too sticky. After applying the adhesive spray, wait for a few seconds before applying your sticker.
Apply pressure firmly to ensure that the sticker sticks firmly to the cooler. If there are any bubbles or wrinkles, gently smooth them out with a thin, soft-bristled brush.
It’s essential to note that while sticker adhesive sprays are effective, they may not be suitable for all types of stickers or surfaces. Before applying it to the entire surface of your Yeti cooler, always perform a small test area first.
Some stickers may require a stronger adhesive or may not adhere well to certain materials. In conclusion, using a sticker adhesive spray is a fast and cost-effective way to hold your stickers on your Yeti cooler.
Heat Up the Area with a Hairdryer or Heat Gun
The answer is simple: heat up the area with a hairdryer or heat gun.
By applying heat, you soften the adhesive on the sticker, allowing it to bond more effectively to the cooler’s surface.
First, clean the area where you will be placing the sticker with rubbing alcohol or soap and water. This will remove any dirt, grime, or oils that may prevent the sticker from adhering properly.
Next, hold your hairdryer or heat gun about 6 inches away from the area where you want to place the sticker.
Move it around in a circular motion for about 30 seconds to a minute, or until the surface feels warm to the touch.
Now it’s time to apply the sticker.
Carefully peel off the backing and place it on the heated area of the cooler.
Press down firmly on the sticker, making sure there are no air bubbles trapped underneath.
To ensure a smooth finish, use a credit card or similar object to smooth out any remaining air bubbles and make sure the sticker is fully adhered to the cooler’s surface. It’s important to note that overheating can cause damage to both your cooler and your sticker.
Use a Clear Vinyl Laminate
There is a simple solution: using a clear vinyl laminate. This method acts like a shield for your sticker, protecting it from moisture, heat, and other external factors.
Not only does it enhance the longevity of your sticker, but it also adds a polished and professional touch. To get started, you’ll need to purchase a clear vinyl laminate from a craft store or online retailer.
Once you have it, cut it to the same size as your sticker. Now comes the fun part: sticking your sticker onto the laminate.
Peel off the backing of the laminate and place your sticker on top. Ensure that it’s straight and centered before pressing it down onto the laminate.
If there are any air bubbles or wrinkles, use a credit card or flat tool to smooth them out. Lastly, trim off any excess laminate around the edges of the sticker, leaving a small border around it.
This border serves as an additional protective layer for your sticker, preventing water or dirt from seeping underneath. Voila.
Using a clear vinyl laminate is an easy yet cost-effective way to make your stickers last longer and look better.
Tips for Getting Long-Lasting Stickers on Your Yeti Cooler
Fear not, because with these tips and tricks, you can ensure that your stickers will stick like glue for a long time.
Cleanliness is Key
Before applying any stickers, make sure that the surface of your cooler is clean and dry.
Any dirt, dust or oil on the surface can prevent the sticker from adhering properly.
Use a mild soap and water solution to clean the surface thoroughly and allow it to air dry completely before applying any stickers.
Choose High-Quality Stickers
Using high-quality stickers that are specifically designed for outdoor use is crucial. These stickers are made from strong adhesive and durable materials that can withstand exposure to the elements. Look for stickers that are labeled as “weather-resistant” or “UV-resistant” to ensure that they will last.
Take Your Time When Applying Stickers
When applying stickers, it’s important to take your time and apply them carefully to prevent air bubbles and wrinkles from forming. Start by peeling off just a small portion of the backing paper and carefully aligning the sticker on your cooler.
Once you have it in the right position, slowly peel off the backing paper while pressing down on the sticker with a credit card or other flat object to smooth out any bubbles or wrinkles.
Avoid Extreme Temperatures
To ensure maximum adhesion of your stickers, avoid applying stickers in very cold or hot conditions. Extreme temperatures can affect the adhesive properties of the sticker and prevent it from sticking properly.
Apply a Clear Sealant Spray
To further protect your stickers from wear and tear, consider applying a clear coat of sealant over them. This will help to protect the stickers from scratches, fading, and other damage caused by exposure to the elements.
In conclusion, by following these tips and tricks, you can ensure that your Yeti cooler stickers will remain in place for a long time, giving your cooler a personalized touch and making it easy to identify among other coolers.
Remember to take your time when applying the stickers, choose high-quality stickers, keep the surface of your cooler clean and dry, avoid extreme temperatures and apply a clear sealant spray.
ZJ2BhIlQnUM” >
Conclusion
In conclusion, adding stickers to your Yeti cooler is a fantastic way to showcase your unique personality and make your cooler stand out from the crowd.
However, getting them to stick can be tricky. You’ll be able to keep your stickers on your cooler longer than glue. Before slapping on any stickers, it’s essential to sanitize the outside of your cooler.
Achieve the perfect clean surface by using warm soapy water, a soft-bristled brush, and a clean towel or microfiber cloth. If you want increased adhesion, try using a sticker adhesive spray or heat up the area with a hairdryer or heat gun.
To ensure that your stickers last as long as possible, it’s crucial to choose high-quality stickers specifically made for outdoor use. Look for labels that say “weather-resistant” or “UV-resistant.”
These types of stickers will withstand harsh weather conditions and won’t fade quickly. When applying stickers, take your time to prevent air bubbles and wrinkles from forming.
Avoid extreme temperatures when applying them and consider sealing them with a clear coat of sealant for extra protection against wear and tear. By following these simple steps, you’ll create the perfect environment for your stickers to stick well and stay in place for an extended period.