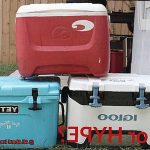
Are you tired of your plain old Yeti cooler blending in with the crowd on your camping trips?
Do you want to add some personality and make it stand out? The good news is that painting your Yeti cooler is not only possible but also a fun and creative way to customize it.
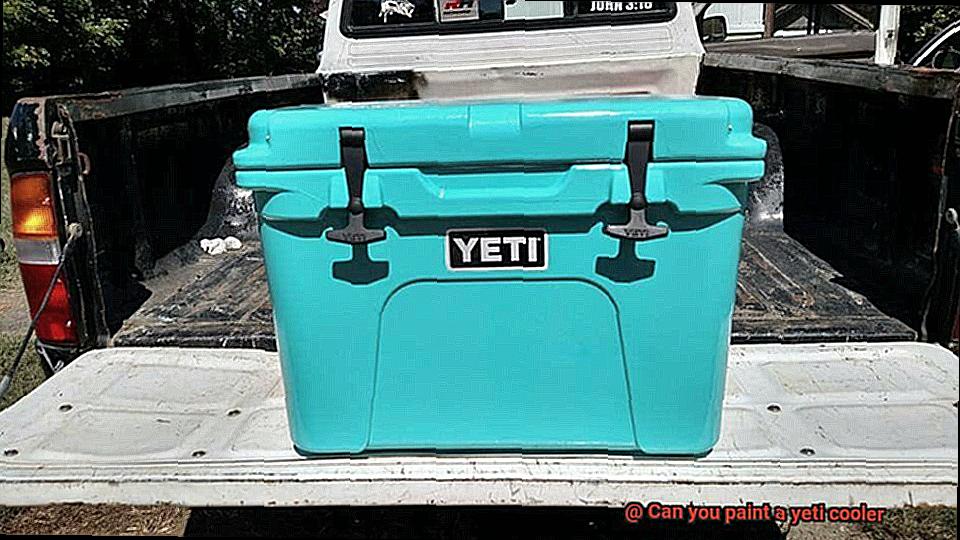
While there may be some debate about whether or not you can paint a Yeti cooler, the answer is a resounding YES. With just a few simple steps, some materials, and a bit of imagination, you can transform your cooler into a work of art.
But before you run out to buy any old paint, there are a few things you need to know. Not all paints are created equal, and some may chip or peel off quickly or not adhere properly to the cooler’s surface.
That’s why we’re here to guide you through the dos and don’ts of painting your Yeti cooler, including the necessary tools and how to properly prepare and paint it. We’ll also share some tips and tricks for making your cooler look its best while preventing any damage.
So, grab your paintbrush and let’s get started on this exciting DIY project.
Contents
Can You Paint a Yeti Cooler?
Painting your Yeti cooler is a great way to give it a unique touch. Although this task may seem daunting, it is doable with the right techniques and materials.
First things first, it’s important to know that painting your Yeti cooler will void its warranty.
However, if you’re willing to take the risk, follow these steps for a successful paint job.
Step 1: Clean Your Cooler Thoroughly
Before starting any painting, make sure your cooler is completely clean and dry.
Any dirt or debris on the surface can ruin the quality of your paint job. Use a mild detergent and warm water to wash the cooler’s exterior and rinse it thoroughly.
After washing, allow the cooler to dry completely before proceeding with painting.
Step 2: Choose High-Quality Paint and Primer
Select a high-quality spray paint that’s specifically designed for use on plastic surfaces. It’s also crucial to choose a primer that’s compatible with the type of paint you’ll be using.
Applying a coat of primer before painting will help the paint adhere better and prevent it from peeling or chipping.
Step 3: Apply Thin Coats of Paint
To achieve a smooth, even finish, apply several thin coats of paint instead of one thick coat. This will help ensure that the paint dries evenly and doesn’t run or drip.
Allow each coat to dry completely before applying the next one.
Step 4: Seal Your Paint Job
After painting your Yeti cooler, it’s essential to protect the paint job by applying a clear coat sealant. This will help prevent scratches and damage to the painted surface.
Remember, patience is key when it comes to painting your Yeti cooler. To prevent damaging your cooler, be cautious and follow proper procedures.
Pros and Cons of Painting a Yeti Cooler
While it may seem like a fun and creative way to make your cooler unique, it’s important to weigh the pros and cons before making a decision.
Pros
The most significant advantage of painting your Yeti cooler is the ability to customize it according to your preferences. You can choose any color or design that you like, making your cooler stand out from the rest.
Additionally, a good quality paint job can offer an extra layer of protection against scratches, dings, and other types of damage, making your cooler more durable and long-lasting.
Lastly, a painted Yeti cooler can look visually appealing and showcase your artistic skills.
Cons
Painting your Yeti cooler can void its warranty, meaning that if something goes wrong with the cooler, you won’t be able to claim any warranty benefits.
Additionally, getting a professional paint job done can be quite expensive. Even if you decide to do it yourself, you’ll need to invest in high-quality paints and equipment.
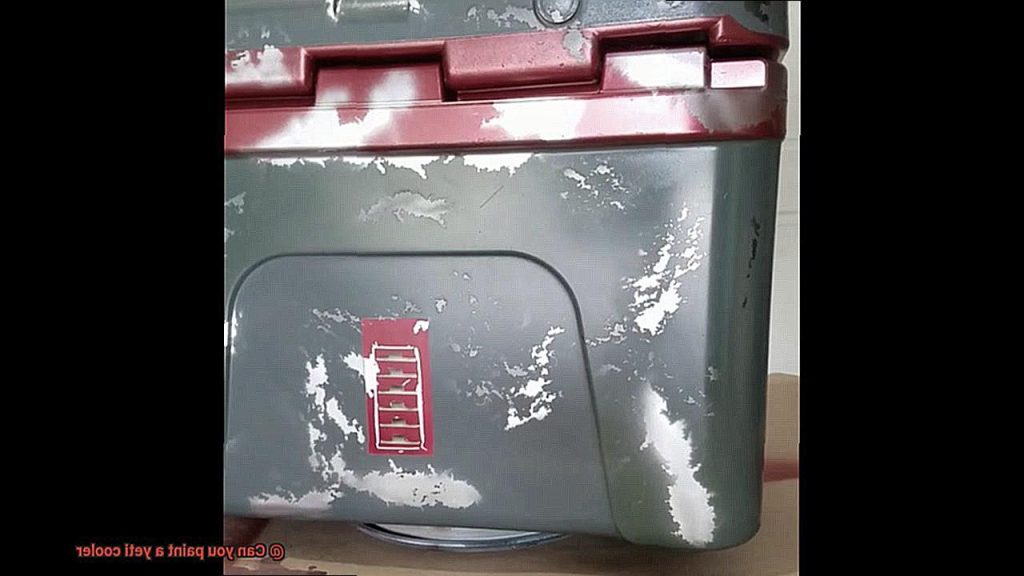
Furthermore, a painted Yeti cooler requires more maintenance than an unpainted one. You’ll need to ensure that the paint doesn’t chip or peel off and touch up any areas where it does.
While it offers customization, protection, and aesthetic appeal, it’s important to consider the potential drawbacks such as voiding the warranty, costliness, and increased maintenance.
Cleaning and Prepping the Yeti Cooler for Painting
When it comes to painting your Yeti cooler, you want to make sure that you take the time to clean and prep it properly.
Skipping or neglecting this essential step can result in a poor paint job that won’t last long.
So, let’s dive into the necessary steps to ensure your cooler is ready for painting.
Firstly, you need to clear any stickers or decals from the surface using a scraper or razor blade.
Once cleared, use warm water and dish soap to clean the exterior of your cooler.
A soft-bristled brush will help remove any dirt or grime that has built up on the surface. It’s crucial to rinse the cooler thoroughly with water and dry it completely before moving on to the next step.
Now, we’ve arrived at the most critical step: sanding the surface of your cooler. This step might seem like a hassle, but it’s essential for creating a better foundation for the paint to adhere to.

Use fine-grit sandpaper and lightly sand the surface of your cooler. Once sanded, use a tack cloth or microfiber cloth to remove any dust or debris left over from the sanding process.
Afterward, it’s time to apply a primer coat. Priming will ensure that your paint adheres well and lasts longer on your cooler.
Be sure to choose a primer suitable for both plastic and metal surfaces since Yeti coolers are made of both materials. To summarize, cleaning and prepping your Yeti cooler for painting is critical in achieving a successful paint job that will last long.
Proper cleaning, drying, sanding, and priming are all essential steps in ensuring that your paint adheres well and lasts long on your cooler.
Choosing the Right Paint for Your Yeti Cooler
Choosing the right paint is a crucial step to ensure that your paint job lasts as long as possible.
Not all paints are created equal, and using the wrong type of paint can lead to chipping, peeling, or fading over time.
When it comes to painting your Yeti cooler, there are two primary options: spray paint or brush-on enamel paint.
Spray paint is a popular choice, but not all sprays are suitable for outdoor use or metal surfaces.
Look for spray paints designed for outdoor use, with rust inhibitors or UV-resistant properties.
Krylon and Rust-Oleum are two reputable brands that offer these types of spray paints.
Alternatively, brush-on enamel paint is another option.
Enamel paints are known for their toughness and resistance to chipping and fading. Select enamel paints specifically designed for metal surfaces, such as those used for painting automobiles.
Dupli-Color, POR-15, and VHT are all top-tier brands. Remember that proper surface preparation is critical for a successful paint job.
Clean your Yeti cooler thoroughly and sand any rough or uneven areas before painting. It’s also recommended to apply a primer before painting to help the paint adhere better and last longer.
The color of the paint you choose can also impact the longevity of your paint job. Lighter colors reflect heat better and resist fading, while darker colors may absorb more heat and fade faster.
Techniques for Painting Your Yeti Cooler
Transforming your Yeti cooler into a work of art has never been easier.
With these expert techniques and materials for painting your cooler, you can achieve a professional and long-lasting finish that’s sure to impress. One popular technique is spray painting.
To achieve a smooth and even finish, apply several thin coats of paint in a back-and-forth motion, allowing each coat to dry completely before adding the next. If you prefer a more temporary option, vinyl wraps or decals are an excellent choice.
These stickers adhere to the surface of the cooler and can be easily removed or replaced to suit your mood or style.
Choosing the right type of paint is crucial for a durable and appealing finish.
Acrylic or enamel paints are best suited for Yeti coolers, as they adhere well to the surface and withstand wear and tear.
Before painting, make sure to clean and prepare the surface of the cooler by removing any dirt or grease that could compromise the adhesion of the paint.
To protect your masterpiece from chipping, scratching, or fading over time, it’s recommended to apply a clear coat over the painted surface. This will help preserve the paint job and keep it looking fresh for years to come.
JCGVqihRbwk” >
Conclusion
In conclusion, painting your Yeti cooler is a fantastic way to add some personality and flair to your outdoor gear.
Despite the debate surrounding whether or not you should paint a Yeti cooler, we say go for it. However, keep in mind that painting your cooler will void its warranty.
To ensure a successful paint job, it’s crucial to start with a clean and properly prepared surface. Choose high-quality paints and primer specifically designed for plastic surfaces, and apply several thin coats of paint for optimal coverage.
Don’t forget to seal your masterpiece with a clear coat sealant for added protection. Selecting the right kind of paint that can withstand wear and tear is also key to achieving long-lasting results.
While there are potential drawbacks such as costliness and increased maintenance, the end result will be worth it – your cooler will become an eye-catching work of art that lasts for years. So don’t be afraid to unleash your creativity and let your imagination run wild when painting your Yeti cooler.
Just remember to follow our expert tips, use high-quality materials, and exercise patience throughout the process.