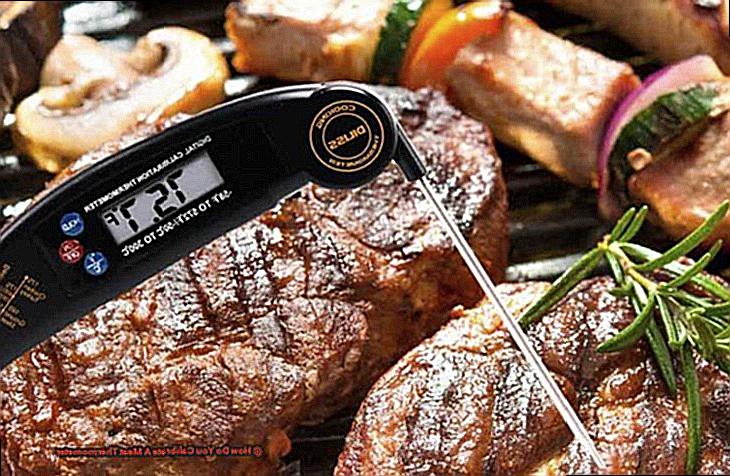
Hey there, fellow food enthusiasts. Are you ready to take your cooking game to the next level? Well, then it’s time to talk about something that might seem a little nerdy but is absolutely crucial: calibrating your meat thermometer. Trust me, this simple yet often overlooked step can make all the difference in creating mouthwatering masterpieces in your kitchen.
Picture this: you’re hosting a dinner party, and you’ve spent hours marinating and prepping that beautiful cut of meat. You pop it in the oven, set the timer, and eagerly wait for perfection to be achieved. But here’s the catch – if your trusty meat thermometer isn’t accurately calibrated, you could end up with a disaster on your hands. No one wants their guests biting into undercooked chicken or chewing on a piece of beef jerky.
But fear not. In this blog post, we’re going to break down the process of calibrating your meat thermometer into easy-to-follow steps. We’ll ensure that you never have to second-guess whether your roast is rare or well-done ever again. Whether you’re an experienced chef or just starting out on your culinary journey, mastering the art of thermometer calibration will elevate your cooking skills from good to gourmet.
So grab a cup of coffee (or maybe a glass of wine), put on your apron, and let’s dive into the wonderful world of meat thermometer calibration together. Get ready to impress yourself and everyone around you with perfectly cooked meats every single time.
Contents
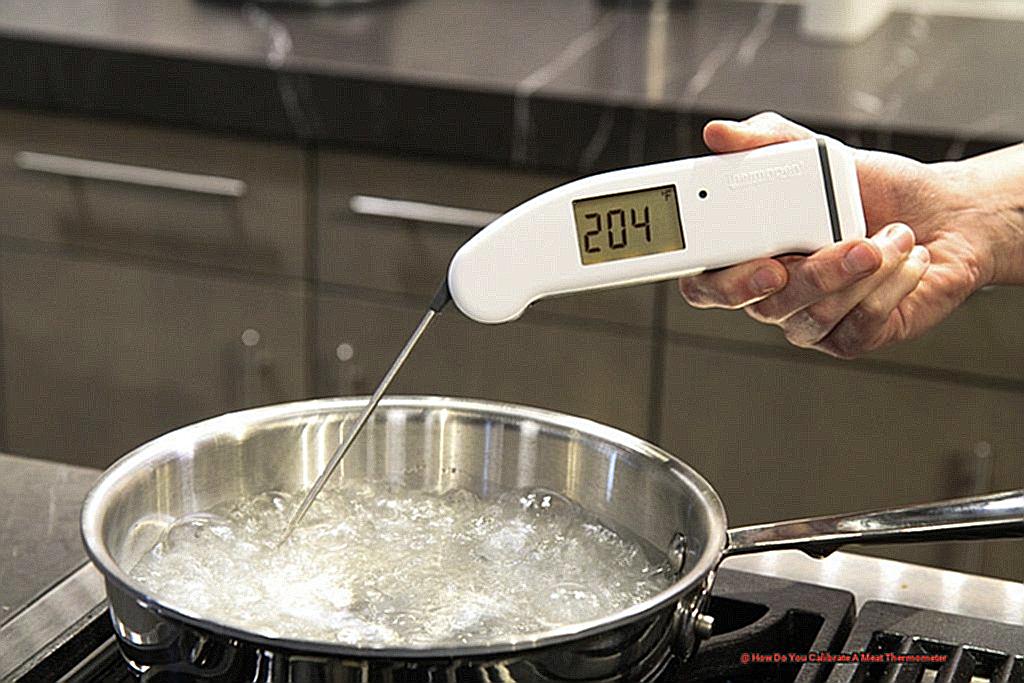
Boiling Water Method: Step-by-Step Instructions for Calibrating a Meat Thermometer
Grilling is an art that requires precise temperature control. To achieve perfectly cooked meats, a reliable meat thermometer is essential. However, if your thermometer isn’t providing accurate readings, fear not. In this comprehensive guide, we will take you through the simple steps of calibrating your meat thermometer using the boiling water method. By following these instructions, you can ensure precise temperature measurements and elevate your grilling game.
Step 1: Gather Your Supplies
Before diving into the calibration process, gather the necessary supplies:
- A pot
- Water
- Meat thermometer
- Stovetop
Step 2: Prepare the Boiling Water
Fill the pot with enough water to completely submerge the sensing area of your thermometer. It is crucial for accurate calibration that only the sensing area is immersed in water.
Step 3: Heat the Water
Place the pot on the stovetop and turn on the heat. Allow the water to reach a rolling boil, where large bubbles continuously rise to the surface.
Step 4: Insert the Thermometer
With caution, insert the thermometer probe into the boiling water, ensuring it does not touch the sides or bottom of the pot. Only the sensing area should be submerged.
Step 5: Stabilize and Note the Reading
Hold the thermometer steady for a few seconds until the reading stabilizes. Take note of the temperature displayed on the thermometer.
Step 6: Compare and Adjust
Compare the reading on your thermometer to the boiling point of water at your elevation. At sea level, water boils at 212°F or 100°C. If there is a significant difference, adjustments are necessary.
Step 7: Make Necessary Adjustments
Consult your thermometer’s user manual for specific instructions on how to adjust it. Some thermometers have a calibration screw or nut that can be turned to align with the correct temperature. Follow the instructions carefully to ensure accurate adjustments.
Step 8: Repeat the Process
Once adjustments are made, repeat the process by reinserting the thermometer into the boiling water. Check if it now reads accurately. If further adjustments are required, repeat until your thermometer aligns with the boiling point of water.
Step 9: Regular Calibration
To maintain accuracy, it is recommended to perform this calibration process at least once a year or whenever you suspect that your meat thermometer is not providing accurate readings. Regular calibration ensures precise temperature measurements for perfectly grilled meats.
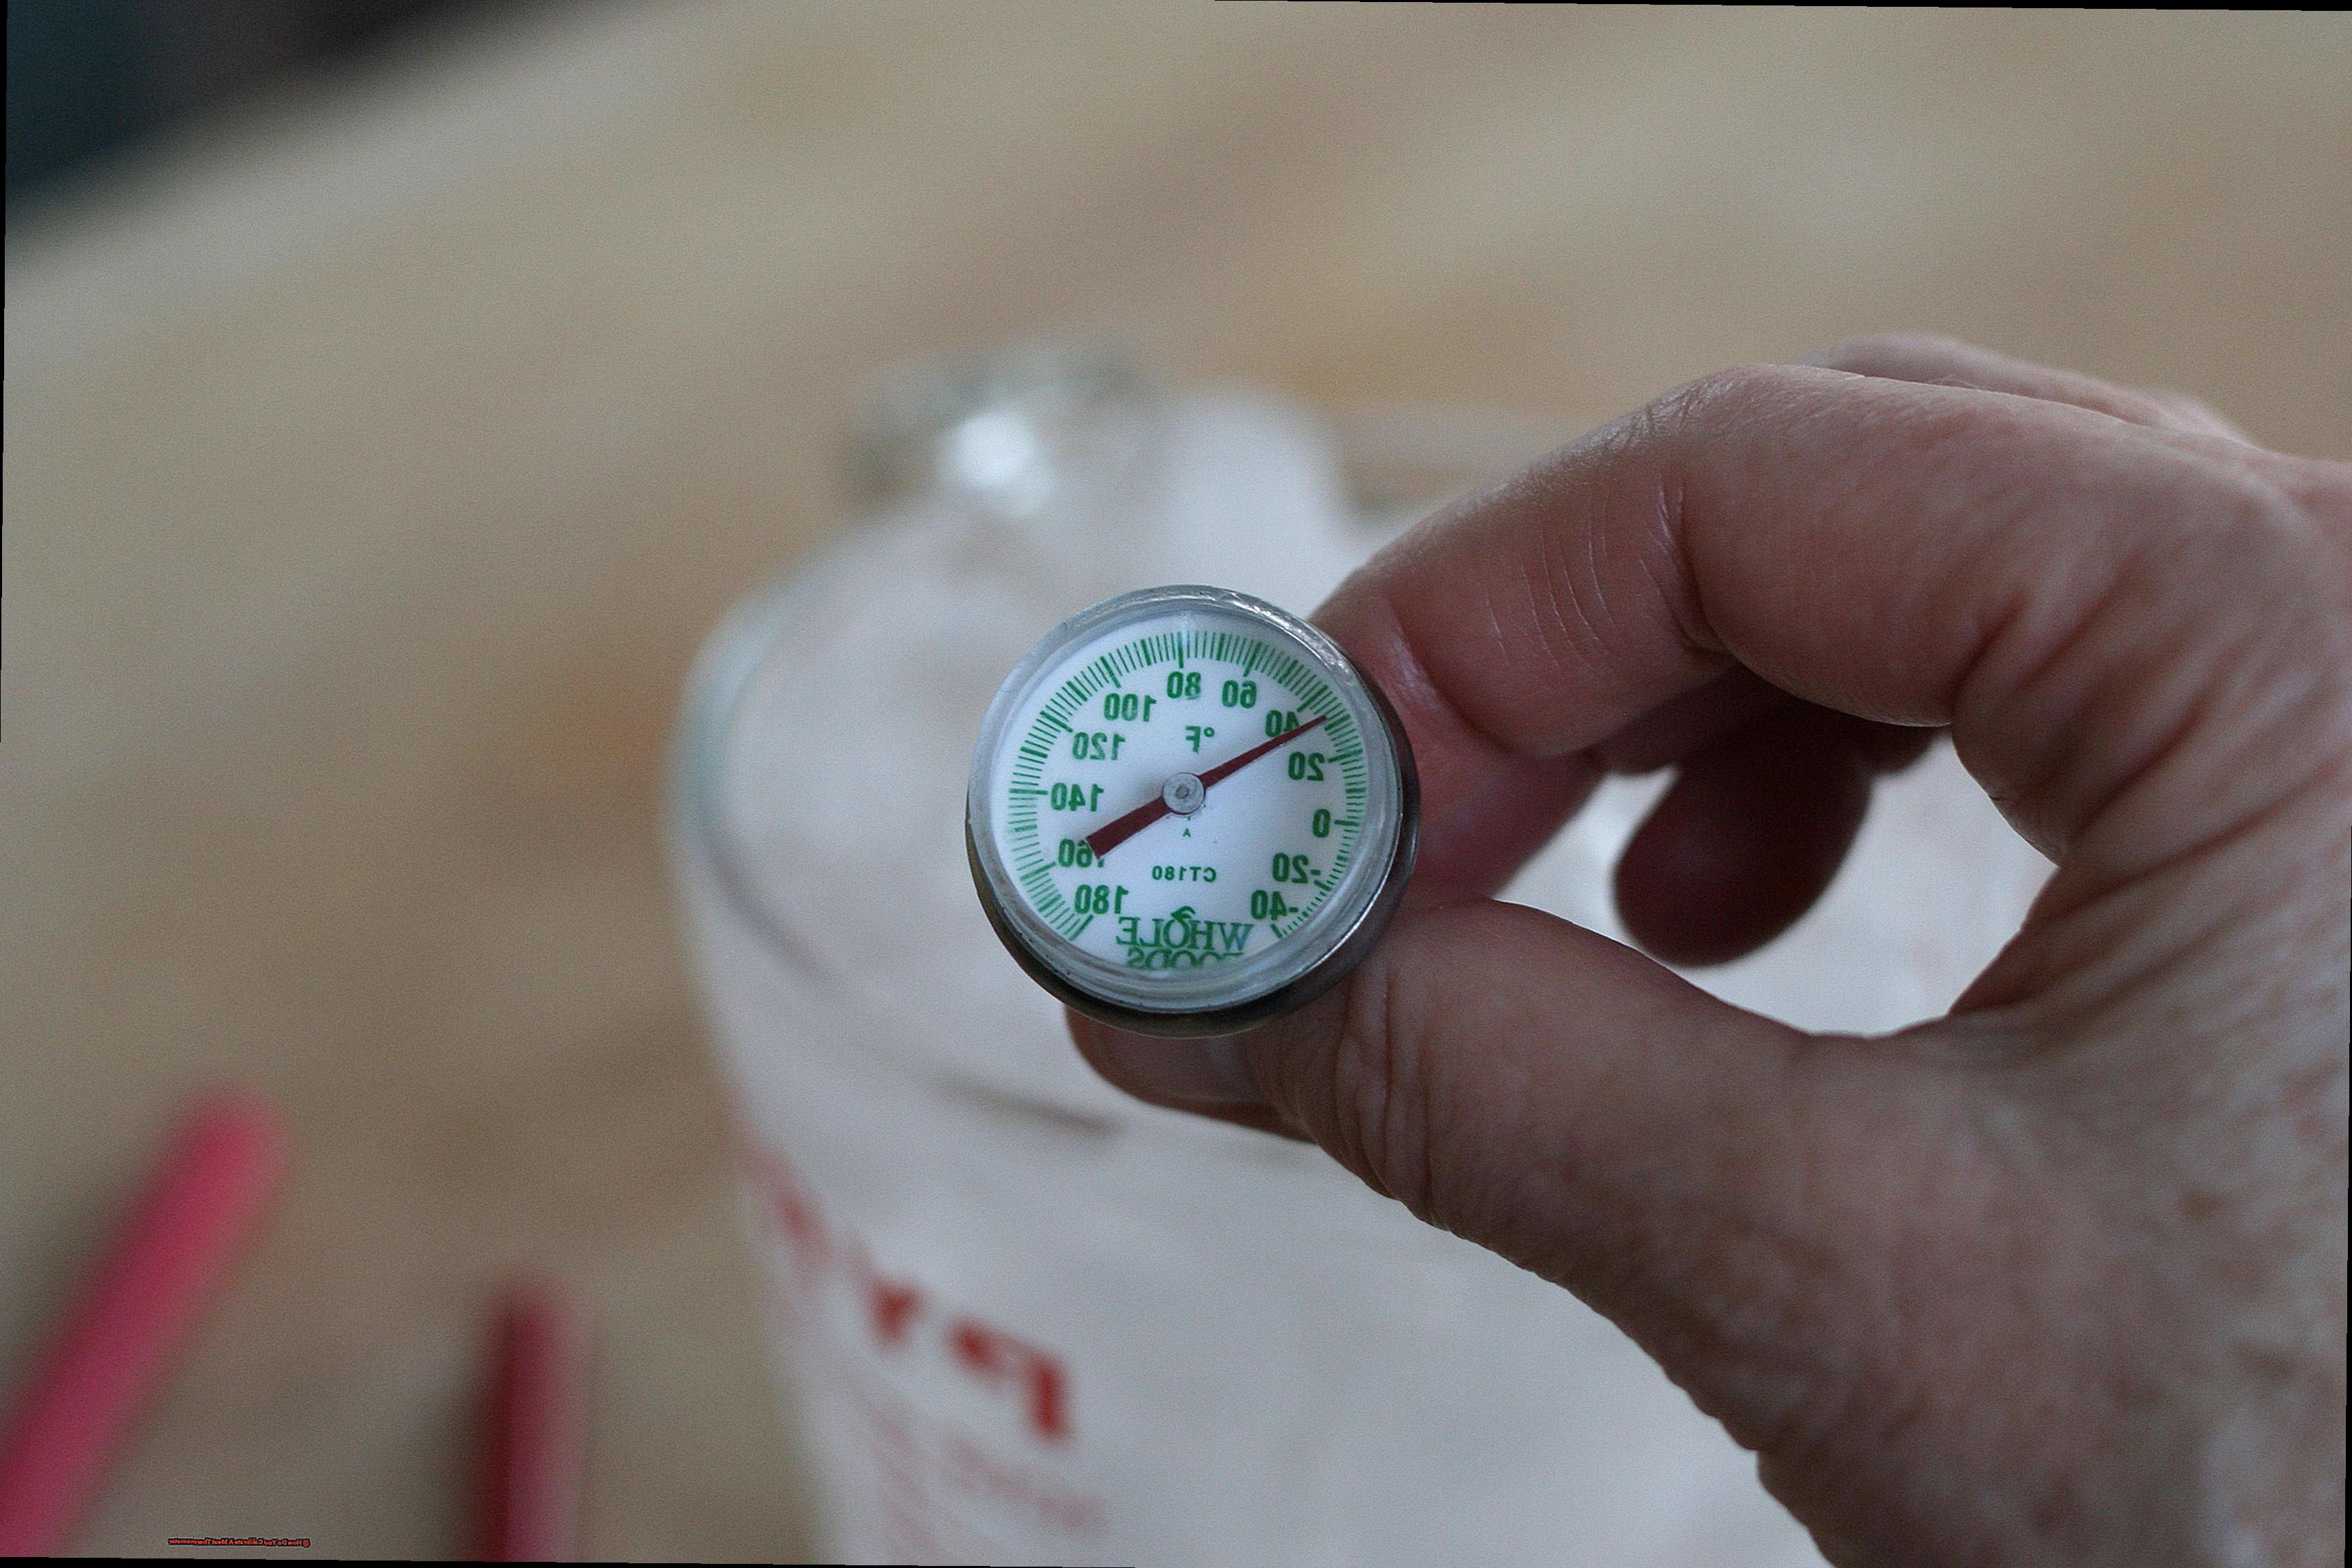
Ice Water Method: Step-by-Step Instructions for Calibrating a Meat Thermometer
Grilling is an art form, and precise temperature control is the secret ingredient to perfectly cooked meats. But what if your meat thermometer is giving inaccurate readings? Fear not. In this guide, we’ll walk you through the ice water method, a simple and effective way to calibrate your thermometer. By following these step-by-step instructions, you’ll elevate your grilling game to new heights with precise measurements.
Step 1: Gather the necessary materials
Grab your meat thermometer, a bowl of ice, and water. Fill the bowl with cold water and add enough ice cubes until it becomes a slushy mixture. Remember, using actual ice is crucial as it keeps the temperature constant at 32 degrees Fahrenheit (0 degrees Celsius).
Step 2: Submerge the thermometer
Insert the thermometer stem into the ice water, ensuring that the sensing area is fully submerged. Avoid touching the container’s sides or bottom, as it can affect accuracy. Give it a few minutes to stabilize and provide an accurate reading.
Step 3: Check the temperature reading
Take a look at your thermometer. It should ideally read 32 degrees Fahrenheit (0 degrees Celsius). If it doesn’t, adjustments are needed.
Step 4: Calibrate your thermometer
Most meat thermometers have a calibration nut or screw beneath the dial or digital display. Use pliers or a small wrench to carefully turn the calibration nut or screw according to the manufacturer’s instructions. Make small adjustments and retest with the ice water method until you achieve an accurate reading of 32 degrees Fahrenheit (0 degrees Celsius).
Step 5: Repeat as needed
Congratulations. You’ve successfully calibrated your meat thermometer. Repeat this process periodically, especially after dropping or damaging the thermometer, to ensure accurate and reliable temperature readings.
Calibration Tool: How to Use a Calibration Tool to Adjust the Accuracy of Your Meat Thermometer
Impress your friends and family with your culinary skills at your next backyard cookout. You’ve marinated the meat, prepped the veggies, and perfected your grilling technique. But hold on a second. Is your meat thermometer giving you accurate temperature readings? Don’t let your perfectly cooked steak turn into a disappointing disaster. That’s why you need a calibration tool.
A calibration tool is a nifty device that helps adjust the accuracy of your meat thermometer. There are different types available, each with its own method of calibration. Let’s dive into each one.
First up is the boiling water method. Start by bringing a pot of water to a rolling boil. Then, carefully insert your meat thermometer into the boiling water, making sure it doesn’t touch the sides or bottom of the pot. Wait for the temperature reading to stabilize, and then compare it to the boiling point of water at your location. Adjust accordingly, taking into account any variations due to altitude.
Next, we have the ice water method. Fill a glass with ice cubes and add cold water until it’s full. Give it a good stir to ensure an even temperature throughout. Now, insert your meat thermometer into the ice water, being careful not to touch the sides or bottom of the glass. Allow the thermometer to sit for a few minutes until the reading stabilizes. Compare this reading to 32°F (0°C), which is the freezing point of water.
If you prefer a more convenient option, you can use commercial calibration devices. These tools come with their own set of instructions from the manufacturer. Generally, they involve inserting your meat thermometer into a designated slot or chamber and adjusting as guided.
Remember to always follow the manufacturer’s instructions for your specific meat thermometer model when using any calibration tool. Regularly calibrating your thermometer ensures accurate temperature readings for safe and deliciously cooked meat.
Now, let’s address some troubleshooting tips. If you find that your thermometer consistently reads too high or too low after calibration, it may be time to replace it. Additionally, if you encounter difficulties during the calibration process, double-check that you’re using the correct calibration method and following each step precisely.
Professional Calibration: When Should You Consider Having Your Meat Thermometer Professionally Calibrated?
Cooking meat to perfection requires precision, and a reliable meat thermometer is an indispensable tool for achieving the desired results. However, even the most advanced thermometers can lose accuracy over time or be affected by physical damage. That’s why it’s important to consider professional calibration for your meat thermometer. In this article, we will explore the importance of professional calibration and discuss when it is necessary, providing key points and examples to demonstrate the need for accuracy.
Consistently Inaccurate Readings:
If your meat thermometer consistently shows inaccurate readings even after manual calibration, it may be a sign that there are internal issues that require professional attention. Professional calibration can diagnose and fix these issues, ensuring accurate temperature readings. Imagine preparing a special meal for guests and finding out later that the meat was undercooked or overcooked due to an unreliable thermometer. Professional calibration eliminates this risk and ensures consistent cooking results.
Physical Damage:
Accidents happen, and if you have dropped or accidentally damaged your meat thermometer, its accuracy can be compromised. Professional calibration can recalibrate the thermometer and restore its precision.
Whether it’s a kitchen mishap or a thermometer that has been subjected to harsh conditions during outdoor grilling, professional calibration can bring it back to optimal performance.
Critical Temperature Measurements:
Certain cooking methods, such as sous vide or specific meats that require precise temperatures, demand accurate temperature readings. Professional calibration provides peace of mind and ensures that your thermometer is accurately measuring these critical temperatures. When cooking delicate cuts of meat like a medium-rare steak or slow-cooking a tender brisket, precise temperature control is essential for achieving the desired doneness.
Time and Drift:
Over time, even the most reliable thermometers can drift from their original accuracy. If you have been using the same meat thermometer for an extended period without recalibration, professional calibration can help restore its precision. As a responsible cook, it’s important to periodically check your thermometer’s accuracy to avoid any potential issues with food safety or inconsistent cooking results.
Objective Assessment:
If you are unsure about the accuracy of your meat thermometer or simply want to ensure that it is calibrated correctly, seeking professional calibration services provides an objective assessment. Professionals can identify any potential issues and make necessary adjustments. This is particularly beneficial for those in the food industry or professional chefs who rely on precise temperature measurements for food safety and quality control.
Safety Tips for Handling and Using Your Meat Thermometer
Before you fire up that grill or turn on the oven, it’s crucial to prioritize safety. In this article, we will discuss the importance of handling and using a meat thermometer safely. By following these safety tips, you can prevent foodborne illnesses and other health risks. So, let’s get started.
Clean Hands, Safe Cooking:
Before using a meat thermometer, ensure your hands are clean. Wash them thoroughly with soap and warm water. This simple step helps keep harmful germs at bay and ensures that you cook up delicious meals without worrying about foodborne illnesses.
Cleanliness is Key:
Just like your hands, your meat thermometer needs regular cleaning too. Wipe it down with a clean cloth or paper towel soaked in warm soapy water. Alternatively, use a food-grade sanitizing solution to eliminate any bacteria. Cleaning your thermometer before and after each use will prevent cross-contamination and ensure safe cooking.
Calibrate for Accuracy:
To avoid undercooked or overcooked meat, it’s crucial to calibrate your meat thermometer regularly. Over time, thermometers can become inaccurate due to factors like dropping or exposure to extreme temperatures. There are two reliable methods for calibration: the boiling water method and the ice water method. The boiling water method involves placing the thermometer into boiling water (with adult supervision) and adjusting it until it reads 212°F (100°C). The ice water method requires adjusting the thermometer until it reads 32°F (0°C) when submerged in ice water. Calibrating your thermometer guarantees accurate readings and perfectly cooked meat.
Insert Like a Pro:
When using a meat thermometer, always insert it into the thickest part of the meat without touching any bones. Bones can give false readings and compromise the safety of your meal. Aim for the juicy center to ensure accurate temperature readings and perfectly cooked meat.
Don’t Leave it Hanging:
After checking the temperature, remember to remove the meat thermometer from the meat. Leaving it in can cause damage to both the thermometer and your tasty creation. Enjoy your meal without any unexpected crunches from broken thermometer bits.
Pros and Cons of Different Methods for Calibrating a Meat Thermometer
Grilling is the epitome of summer, but nothing ruins a barbecue faster than undercooked or overcooked meat. To achieve perfectly cooked meat every time, it’s crucial to have an accurate meat thermometer. But how can you be sure that your thermometer is giving you reliable readings? That’s where calibration comes in. In this informative piece, we will delve into the pros and cons of different methods for calibrating your meat thermometer, enabling you to grill with confidence.
Boiling Water Method:
- Pros: The boiling water method is simple and widely accessible, making it ideal for home grilling enthusiasts. It relies on the fact that water boils at 212°F (100°C) at sea level, providing an easy reference point for calibration.
- Cons: Altitude plays a role in the boiling point of water, rendering this method less accurate for those residing at high elevations. Furthermore, even after calibration, an improperly calibrated thermometer may still yield inaccurate readings.
Ice Water Method:
- Pros: The ice water method is another straightforward approach to calibration. Ice water has a known temperature of 32°F (0°C), serving as an easily accessible reference point.
- Cons: Just like the boiling water method, altitude can impact the accuracy of this technique. Additionally, impure or melting ice can introduce slight temperature variations, potentially affecting calibration accuracy.
Professional Calibration Services:
- Pros: For absolute precision, professional calibration services are unparalleled. These services possess high-quality calibration equipment and expertise in ensuring accurate readings.
- Cons: Professional calibration services can be expensive and may not be easily accessible to everyone. Additionally, there may be a waiting period involved in sending your thermometer for calibration and receiving it back.
Use of Certified Reference Thermometers:
- Pros: Certified reference thermometers are highly accurate devices traceable to national standards. By comparing the readings of your meat thermometer with a certified reference thermometer, precise calibration can be achieved.
- Cons: Certified reference thermometers can be costly and may not be readily available for home users. In addition, proper training and knowledge are required to effectively utilize them.
Thermal Bath Calibration:
- Pros: Thermal baths are specialized equipment that provide precise and controlled temperatures for calibrating thermometers. This method is often utilized in professional settings and yields accurate results.
- Cons: Thermal baths are typically expensive and not accessible to home users. Additionally, operating and maintaining these devices necessitate proper training and expertise.
Calibration Adjustment Screw:
- Pros: Some meat thermometers come with a calibration adjustment screw, allowing users to fine-tune the accuracy of their thermometer. This feature is useful for achieving optimal precision.
- Cons: Not all meat thermometers have a calibration adjustment screw, limiting the applicability of this method. Moreover, incorrect adjustments can introduce further inaccuracies in readings.
Common Problems with Incorrectly Calibrated Meat Thermometers
Mastering the art of grilling requires precision and attention to detail. The last thing you want is to serve undercooked or overcooked meat that leaves your guests disappointed and puts their health at risk. A reliable meat thermometer is a grill master’s best friend, but what happens when it’s not calibrated correctly? In this article, we will delve into the common problems associated with incorrectly calibrated meat thermometers and how they can turn your BBQ feast into a disaster. So, grab your apron, and let’s explore these pitfalls.
Problem 1: Inaccurate Temperature Readings
The foremost issue with incorrectly calibrated meat thermometers is their knack for providing inaccurate temperature readings. Whether due to mishandling or poor calibration, these false readings can have serious consequences. Consuming undercooked meat harboring harmful bacteria poses health risks, while overcooked meat becomes tough and dry. Precise temperature readings are crucial for achieving the perfect level of doneness and ensuring food safety.
Problem 2: Inconsistent Readings Throughout the Meat
Picture this: you sink your teeth into a succulent steak, only to discover that one side is perfectly cooked while the other remains pink and raw. Uneven cooking is another frustrating outcome of improperly calibrated meat thermometers. Inconsistent readings can cause different parts of the meat to reach varying temperatures, resulting in an unappetizing and disappointing meal.
Problem 3: Increased Risk of Foodborne Illnesses
Using an incorrectly calibrated meat thermometer puts you at a higher risk of foodborne illnesses. If your thermometer consistently provides lower temperature readings than the actual internal temperature of the meat, you may unknowingly serve undercooked food that can make you and your guests sick. Proper calibration is vital to ensure accurate temperature readings and mitigate this risk.
Problem 4: Wasted Food and Money
Wasting food is a culinary sin, especially when it’s due to a faulty thermometer. Relying on inaccurate temperature readings can lead to discarding perfectly good food or overcooking it out of fear of undercooking. This not only squanders food but also drains your hard-earned money. A properly calibrated meat thermometer saves you from these costly mistakes.
Conclusion
Calibrating a meat thermometer is an essential step in ensuring accurate temperature readings for your cooking. To achieve this, follow these simple steps:
Fill a pot with ice water and let it sit for a few minutes to ensure it reaches a stable temperature of 32 degrees Fahrenheit (0 degrees Celsius).
Insert the probe of your meat thermometer into the ice water, making sure it doesn’t touch the sides or bottom of the pot.
Wait for the reading on the thermometer to stabilize. It should read 32 degrees Fahrenheit (0 degrees Celsius). If it doesn’t, take note of the difference between the actual temperature and the reading on the thermometer.
Locate the calibration nut or screw on your meat thermometer. This is usually found beneath the dial or digital display.
Using a pair of pliers or a small wrench, carefully adjust the calibration nut or screw until the reading matches 32 degrees Fahrenheit (0 degrees Celsius) on your calibrated thermometer.
Once adjusted, retest your meat thermometer by inserting it into boiling water. It should now read 212 degrees Fahrenheit (100 degrees Celsius) at sea level.
By calibrating your meat thermometer regularly, you can be confident that your cooking temperatures are accurate, ensuring safe and delicious meals every time.