Are you a BBQ fanatic who can’t resist the tantalizing smoky flavor of smoked meat? If you’re nodding your head, then you know that having the right equipment is crucial for achieving that perfect smoke. And when it comes to smokers, Pit Boss is a top contender in the game.
But what if you’re struggling to get your Pit Boss to smoke like a pro? Don’t worry, we’ve got your back. In this post, we’ll share some insider tips and tricks on how to take your smoking game to the next level.
From selecting the right wood chips to prepping your meat correctly, we’ll cover all the essential steps for getting that finger-licking good flavor. We’ll also dive into temperature control and show you how to use your Pit Boss’ features like a seasoned pro.
Whether you’re an experienced pit master or just starting out, this post will help you become a smoking sensation in no time. So sit back, relax, and get ready to elevate your BBQ experience with these expert tips.
Contents
Clean and Prepare Your Smoker
To achieve perfection, it’s essential to start with a clean and well-prepared smoker. Neglecting this step may compromise your flavor and cooking experience. Here are the steps you need to follow to clean and prepare your smoker.
Step 1: Cool Down Your Smoker
Before cleaning your smoker, ensure it has cooled down entirely to avoid any injuries or damage to the smoker’s parts.
Step 2: Remove Debris
Remove any remaining ashes or debris from the bottom of the smoker. This step prevents flare-ups during smoking and ensures safety.
Step 3: Clean the Racks and Drip Pans
Take out all the racks and drip pans, then wash them using warm soapy water. For stubborn stains, non-abrasive cleaners or a baking soda paste can work wonders.
Step 4: Wipe Down the Interior
After cleaning the racks and drip pans, wipe down the smoker’s interior with a damp cloth. Avoid using harsh cleaners or chemicals that might leave behind harmful residues that could affect your food’s taste.
Step 5: Season Your Smoker
Seasoning involves adding a high smoke point oil such as canola or vegetable oil to the interior of the smoker and heating it up at low temperatures for an hour. This creates a non-stick surface and prevents rusting.
Step 6: Fill The Hopper With Wood Pellets
Fill the hopper with your preferred wood pellets, ensuring they complement the meat’s flavor profile.
Step 7: Preheat Your Smoker
Preheat your smoker for 10-15 minutes after filling the hopper with pellets and setting the temperature at your desired level. This ensures that the smoker reaches optimal smoking temperatures while you prepare your meat.
Step 8: Smoke Your Meat
Fill the Hopper with Wood Pellets
Then, it’s time to fill that hopper with some high-quality wood pellets. But, before you do, let’s make sure you have all the information you need to do it right.
Firstly, ensure that the hopper is clean and free of any debris or old pellets. This will ensure consistency in temperature and proper airflow, which is crucial in producing the perfect smoky flavor. Once the hopper is clean, it’s time to choose your wood pellets wisely.
There are a variety of wood pellet flavors available out there, including hickory, mesquite, cherry, and applewood. Each flavor offers a unique taste profile that can enhance the flavor of your meat. So, pick a flavor that complements the type of meat you’re smoking.
When filling the hopper with wood pellets, be careful not to overfill it as this can lead to issues with temperature consistency and airflow. A good rule of thumb is to fill it about three-quarters full for optimal results.
Once the hopper is filled with wood pellets, turn on your Pit Boss and set it to your desired temperature. As the Pit Boss heats up, it will ignite the wood pellets, creating smoke that will infuse into your meat and provide a delicious smoky flavor.
Preheat the Smoker
It’s a crucial step that should never be overlooked if you want to achieve consistent and flavorful results.
To preheat your smoker, start by turning it on and setting it to the desired temperature. Don’t rush this process; allow your smoker to heat up for at least 15-20 minutes. Keeping the lid closed during this time is essential to prevent heat loss and ensure a stable temperature inside the smoker.
While waiting for your smoker to reach the desired temperature, make sure you have enough fuel to maintain the heat throughout the entire smoking process. You may need to add wood chips or pellets periodically to keep the fire going.
Using an external thermometer is also highly recommended when preheating your smoker. It helps you monitor the temperature inside the smoker accurately, allowing you to make any necessary adjustments and maintain a consistent temperature.
Prepare the Meat
Picture this: you’ve got your Pit Boss smoker all fired up and ready to go. The aroma of smoky goodness is already filling the air. But before you start throwing meat on the grill, take a step back and make sure that your meat is properly prepared. Trust us, this step is crucial in achieving that perfect smoky flavor that we all crave.
So, let’s start at the beginning. The first step in preparing your meat is choosing the right cut. Different meats require different cooking times and temperatures, so it’s important to do your research and select a cut that will work well with your smoker. Whether you’re smoking beef brisket, pork ribs, or chicken wings, choose wisely.
Now comes the fun part – seasoning your meat. You have two options: a dry rub or a marinade. Both methods work great for adding flavor and moisture to your meat, but it depends on your preference. For dry rubs, make sure to massage the mixture into the meat thoroughly. For marinades, try to let your meat soak for at least an hour before smoking.
After seasoning, let your meat sit out at room temperature for about 30 minutes before placing it on the smoker. This will allow it to come up to temperature evenly and cook more consistently. And don’t forget to pat your meat dry with a paper towel before placing it on the smoker – excess moisture can interfere with that smoky flavor we’re after.
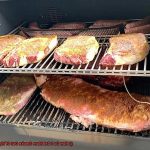
When placing your meat on the smoker, give each piece enough space for proper air circulation. This will ensure that each piece cooks evenly and absorbs plenty of delicious smoke flavor. Plus, it makes for a prettier presentation when you take your masterpiece off the grill.
In summary, preparing your meat is key to getting that perfect smoky flavor in your Pit Boss smoker. Here’s a quick checklist for you:
- Choose the right cut
- Season it up with a dry rub or marinade
- Let it come up to temperature at room temperature
- Pat it dry with a paper towel
- Give each piece enough space on the grill for proper air circulation
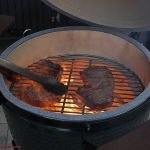
Place the Meat on the Grates
The first step to achieving that mouth-watering smoky flavor is placing your meat on the grates. But don’t overlook the importance of HOW you place your meat. As an expert on this topic, let me guide you through the essential steps for properly placing your meat on the grates.
Firstly, ensure that your grates are clean and well-oiled to prevent sticking. Nobody wants their perfectly cooked meat to fall apart because it’s stuck to the grill. Additionally, letting your meat come up to room temperature before placing it on the grill will help it cook evenly.
When it comes to placement, remember that space is key. Leave enough room between each piece so that they cook evenly and there’s enough airflow for smoke to circulate. You don’t want some pieces of meat overcooking while others are still raw. And if you’re cooking different cuts of meat, place thicker cuts closer to the heat source and thinner cuts further away to avoid any undercooking or overcooking mishaps.
Pro tip: avoid constantly flipping or moving your meat around on the grill. This can cause flare-ups and prevent the smoke from infusing into the meat properly. Instead, let your meat cook undisturbed for a few minutes before checking it and flipping it over once or twice during the cooking process.
Avoid Frequently Opening the Lid
But, constantly opening the lid can disrupt this balance, affecting the quality of your food and smoke.
Here are some key reasons why you should avoid frequently opening the lid:
- Every time you lift the lid, you release heat and smoke from the grill, causing fluctuations in temperature. This can affect the quality of your food and how well it smokes. So, keep that lid closed for that perfect smoky flavor.
- Planning ahead is crucial. Prep everything before you start grilling so that you don’t have to constantly open the lid to check on your food. A simple way to avoid lifting the lid is by having a plan before you start grilling.
- Invest in a good thermometer. A high-quality thermometer allows you to monitor the temperature of your grill without having to constantly open the lid. A wireless thermometer will allow you to monitor the temperature remotely.
- If you do need to check on your food, do it quickly and efficiently. Keep the lid open for as little time as possible and make sure you close it firmly when you are done. This will help maintain a consistent temperature inside the grill, ensuring that your food smokes evenly.
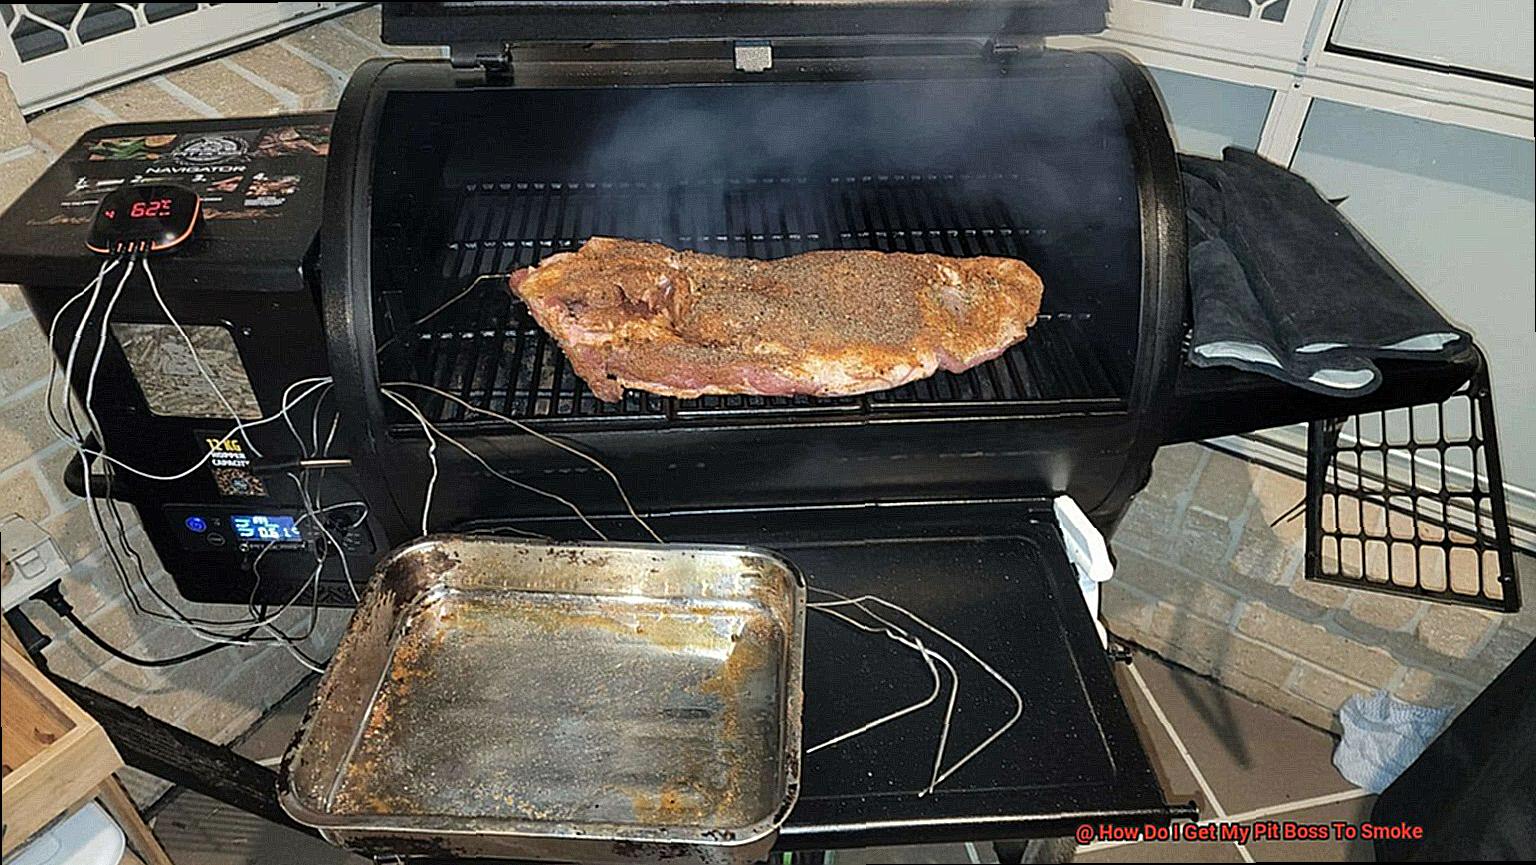
Monitor Internal Temperature of Meat
Look no further because the key to achieving that perfect flavor lies in monitoring the internal temperature of your meat. And the best tool for this job is a digital meat thermometer.
Using a digital meat thermometer might seem daunting, but don’t fret. It’s a straightforward process. Simply follow these easy steps:
- Step 1: Insert the probe into the thickest part of your meat. Avoid touching any bones as this can yield an inaccurate reading.
- Step 2: Wait for the thermometer to provide you with an accurate reading. Take note of it, and voila. You now know the internal temperature of your meat.
Different types of meats require different cooking temperatures to ensure safe consumption. Here’s a cheat sheet for you:
- Chicken: Cook until it reaches an internal temperature of 165°F.
- Beef: Cook to a lower temperature depending on how well-done you prefer it.
- Pork: Cook until it reaches an internal temperature of 145°F.
- Fish: Cook until it reaches an internal temperature of 145°F.
By monitoring the internal temperature of your meat, not only will it ensure that it’s safe to eat, but it’ll also help you avoid overcooking or undercooking. Overcooked or undercooked meat is a big no-no in the grilling and smoking world.
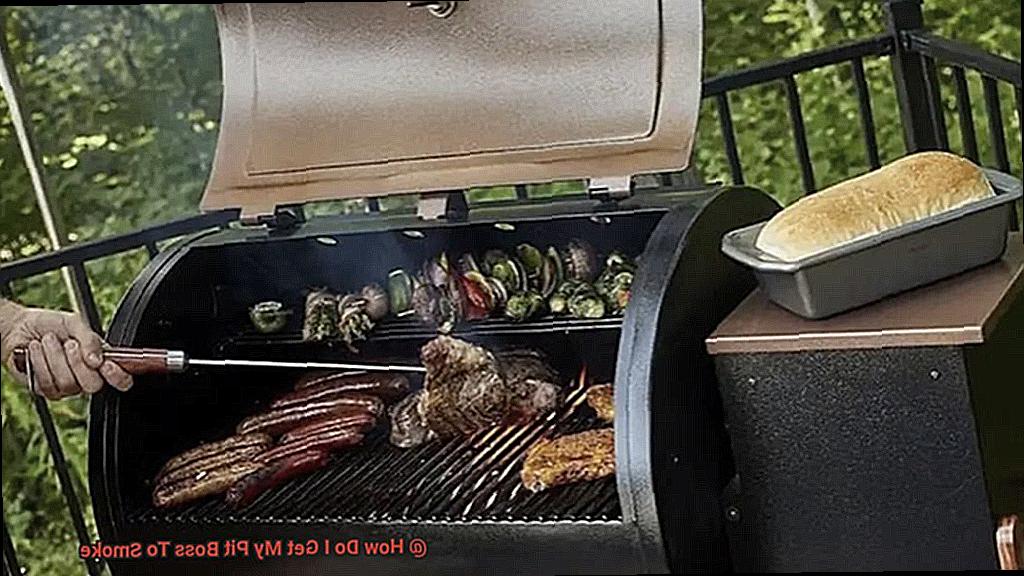
Add Wood Chips or Chunks for Extra Flavor
Adding wood chips or chunks to your Pit Boss grill is an excellent way to achieve just that.
Before adding them to your grill, it’s crucial to soak your wood chips or chunks in water for approximately 30 minutes. This will prevent them from burning too quickly and creating excessive smoke. Once they’re soaked, there are a few ways to add them to your grill. You can place them directly on the heat deflector or flame tamers for quick and easy smoking. Alternatively, you can use a smoker box to release smoke gradually.
But how do you choose the right type of wood for your meat? Hickory is perfect for beef and pork, while applewood works wonders with poultry and fish. Mesquite adds bold and smoky flavor to any meat. Remember, adding too many chips or chunks can result in an overpowering smoky flavor that may not be desirable. So, start with small amounts and adjust accordingly based on your preferences.
ZfsSl4PPSWE” >
Conclusion
In conclusion, mastering the art of smoking with your Pit Boss is easier than you might think. By following these expert tips and tricks, you’ll be able to take your smoking game to the next level and impress even the most discerning taste buds.
Start by giving your smoker a thorough cleaning and preparing it for use. Then, carefully select the right wood chips or chunks to complement the flavors of your chosen meat. As you smoke, keep a close eye on the internal temperature of your meat and adjust as needed to ensure perfect results every time.
Remember that proper spacing between cuts is essential for optimal air circulation and consistent cooking temperatures. Resist the urge to peek under the lid too often, as this can disrupt the delicate balance of heat and smoke inside your smoker.
With these insider tips in mind, you’re well on your way to becoming a true pit master with your Pit Boss smoker.