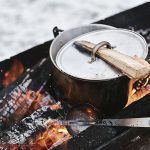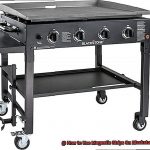
Want to make your outdoor kitchen stand out? Installing a Blackstone Griddle is the perfect way to do it. It’ll add more cooking space and make delicious meals. Plus, you’ll have the convenience of having a griddle right at your fingertips.
But before you get started, it’s important to know how to properly install a Blackstone Griddle. Don’t worry – it’s not as hard as it seems.
We’ll cover everything from choosing the right location for installation, preparing the area for installation, and finally assembling the griddle itself.
Plus, we’ve got advice on how to maintain your new griddle so it lasts for years. Ready to build your own Blackstone Griddle?
Read on.
Contents
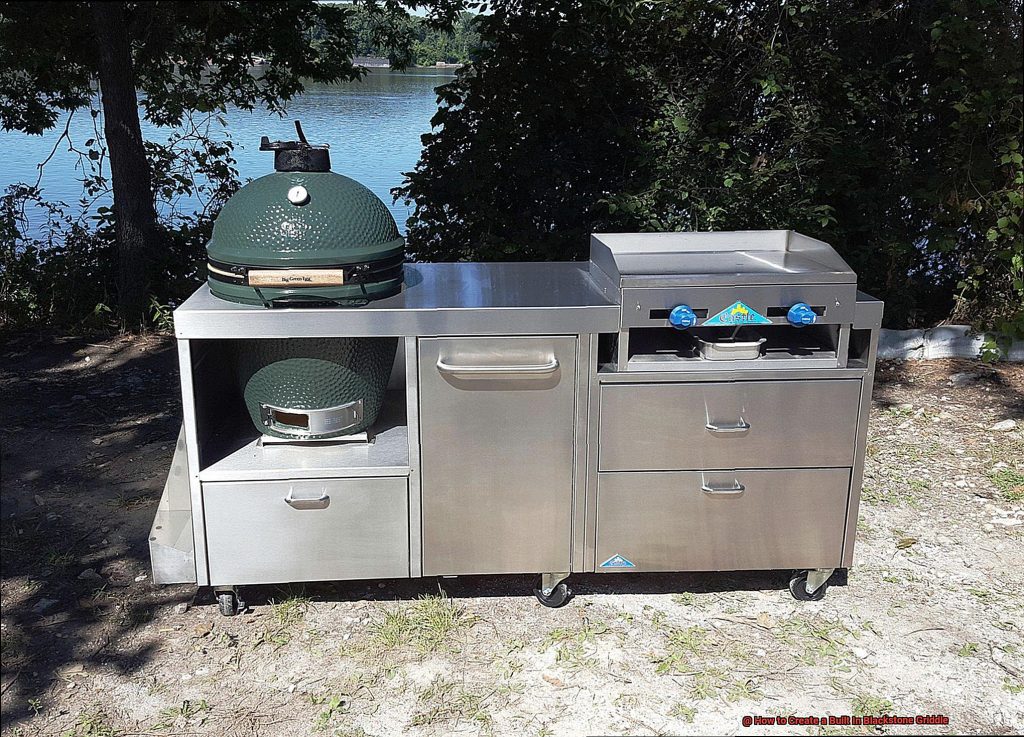
Benefits of Building a Built-In Blackstone Griddle
With its versatility and tenacity, you can enjoy delicious meals outside without having to worry about the hassle of setting up and taking down the grill each time you use it.
A built-in Blackstone griddle offers numerous benefits.
For one, it provides a more permanent cooking solution that can be customized to fit any backyard space.
Plus, with its built-in design, you can easily add extra burners, shelves, and other accessories to your griddle setup.
Choosing the Right Location for Your Built-In Griddle
The perfect spot for your griddle is essential. Here are some helpful tips on choosing the right location for your built-in griddle.
First, consider the size and weight of the unit. Blackstone griddles can be quite large and heavy, so make sure you have a sturdy surface that can support its weight.
Be sure to keep combustible materials such as wood or vinyl siding at least 10 feet away from your griddle if it is installed on a deck or patio.
If you’re placing the unit in an enclosed area such as a garage or shed, make sure there is adequate ventilation to prevent carbon monoxide poisoning.
Finally, if you plan on using your built-in griddle outdoors during cold weather, find a sheltered spot that will protect it from rain and snow.
Preparing the Area for Installation
Before you get started, it’s important to properly prepare the area for a successful installation. Here are some tips to make sure everything goes off without a hitch.
Start by making sure the building is level and free of any debris. Measure the region to guarantee that your griddle fits perfectly.
Also, check for any gas lines, water lines, or electrical lines that may be in the way of the installation.
Ensure that the area is well ventilated and clear of any combustible materials such as wood, paper, or plastic. This will help avoid potential fires when operating your griddle outside.
Finally, secure the griddle to its base with bolts and nuts for added stability and levelness.
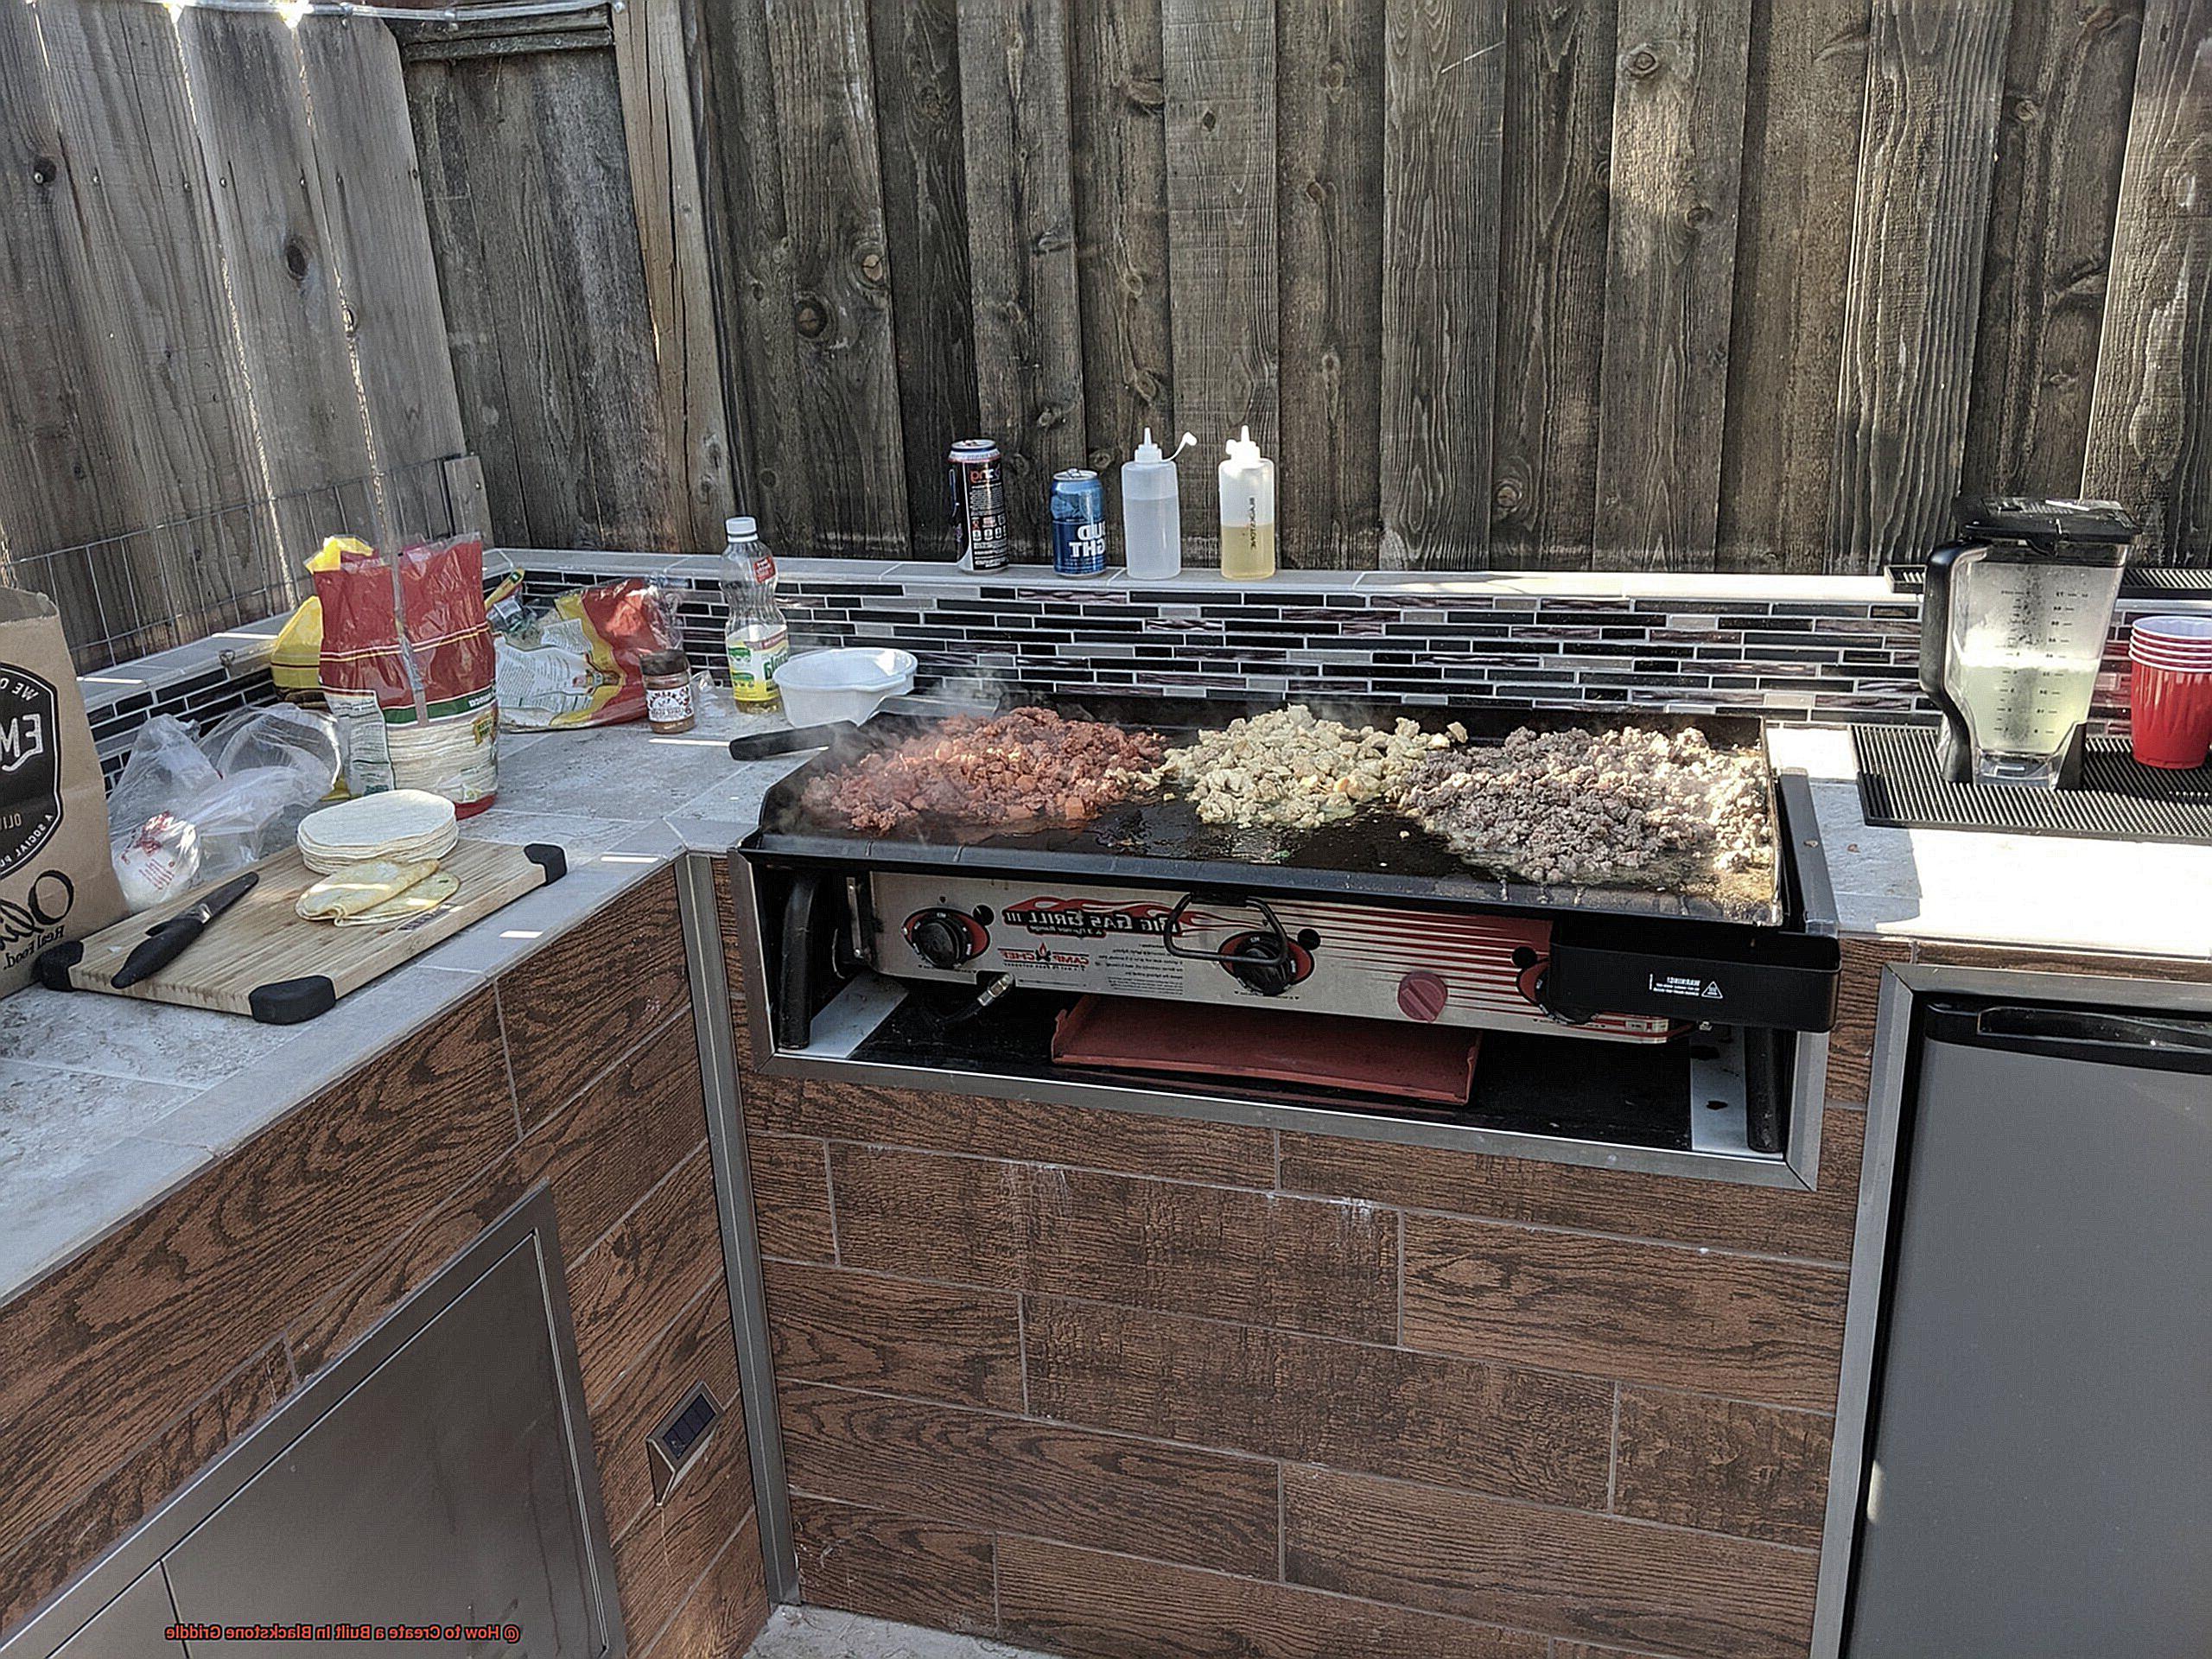
Assembling the Built-In Blackstone Griddle
Then it’s time to assemble a built-in Blackstone griddle. This simple process will help you create a delicious outdoor cooking experience in no time.
Begin by assembling the griddle frame. Attach the legs to the top of the frame with screws or bolts.
Then, secure it to a surface such as a deck or patio with concrete anchors or screws. Connect the gas line to the griddle for safety and fasten it in place with screws or bolts.
Add any additional components, such as a hood, side shelves, or backsplash and attach them securely with screws or bolts. Finally, test your built-in Blackstone griddle to make sure it is functioning properly before use.
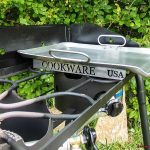
Securing the Griddle to Its Base
Then, it’s time to attach the griddle to its base. This important step will help you ensure a safe and enjoyable outdoor cooking experience.
Start by using screws and bolts to securely fasten the griddle to its base. Make sure the screws and bolts are properly tightened, as loose hardware can cause the griddle to become unstable.
To ensure that the griddle is aligned with the base, use a level, making sure all four corners are even.
Additionally, use washers between the griddle and the base for extra stability.
Finally, sealant should be used around the perimeter of the griddle. This will help protect your griddle from moisture damage and keep it looking like new for years to come.
Connecting Electrical and Gas Lines
With a Blackstone griddle, you can create delicious meals with ease. But before you can get started, there’s an important step that needs to be taken:
connecting the electrical and gas lines. This is a crucial step in ensuring your outdoor cooking adventures are safe and enjoyable.
For the electrical connections, it’s best to hire a licensed electrician for the job. This will guarantee that all of the connections are done correctly and safely. Flexible gas hoses can be found at most hardware stores and should be used for connecting the gas lines.
Before turning on either the electricity or gas, make sure all of the connections are tight and secure. Finally, check for any leaks at both ends before testing out your Blackstone griddle.
Finishing Touches on Your Built-In Blackstone Griddle
Your Blackstone griddle is almost complete, but it needs a few finishing touches to make it look truly professional. Start by investing in a cover to protect your griddle from the elements and keep it clean.
You can also add some decorative accents, such as a custom-made griddle stand or a wooden cutting board. Finally, consider adding accessories like a thermometer or timer to make your griddle even more functional.
With these finishing touches, you’ll have an attractive and impressive built-in Blackstone griddle that will be the envy of all your neighbors.
Safety Considerations When Using a Built-In Griddle
Cooking outdoors is always a pleasurable experience, but safety should always come first. When it comes to using your built-in Blackstone griddle, there are a few key points to consider.
- First and foremost, check with your local building codes to ensure that you are following all regulations for building a griddle into your home.
- Second, make sure the area around the griddle is well ventilated and free of any combustible materials. This will help reduce the risk of any potential fires or smoke inhalation while cooking on the griddle.
- Third, it’s essential to make sure that the griddle is properly secured and installed in place. This will guarantee that it won’t move or become unstable while in use.
- Finally, have an adequate fire extinguisher nearby at all times when using a built-in griddle. This will be useful in quickly putting out any fires should one occur while cooking on the griddle.
Conclusion
Creating a built-in Blackstone griddle is the perfect way to upgrade your outdoor kitchen. With no need for setup or takedown, it’s a hassle-free way to enjoy delicious meals cooked outside. But before you get started, there are some important steps to take
choose the right location for installation and prepare the area; make sure all gas lines and electrical connections are secure; and don’t forget to add finishing touches like covers or accessories.
Once everything is in place, you’re ready to start cooking. With proper care and maintenance, your built-in Blackstone griddle will provide years of enjoyable outdoor cooking experiences.