Microwave ovens are a game-changer in the kitchen, allowing us to whip up meals and snacks in no time. But let’s be real, with great power comes great responsibility – and that includes keeping your combination microwave oven clean. If you’re not sure where to start, fear not. We’ve got you covered with some easy and effective cleaning methods.
Using your combination microwave oven multiple times a day means it’s bound to get dirty quickly. Food residue, grease, and other debris can accumulate fast, creating a breeding ground for bacteria and mold. Not only is this unappetizing, but it can also lead to bad smells and even damage your appliance.
But don’t worry – there’s no need for fancy tools or skills to clean your combination microwave oven. You can use natural ingredients like vinegar and baking soda or opt for specialized cleaning products – whatever works best for you.
In this blog post, we’ll dive into the nitty-gritty of how to clean a combination microwave oven. We’ll share simple tips and tricks so that everyone from busy parents to college students can keep their appliances in tip-top shape. So sit back, relax, and get ready to learn how to make your combination microwave oven shine like new.
Contents
Unplugging the Oven
Unplugging your oven before cleaning is the first and most crucial step to ensure your safety and prevent any electrical accidents.
To unplug your combination microwave oven, locate the power cord at the back of the appliance and gently pull it out from the power outlet. Take care not to tug too hard, as this could damage the cord or socket. If your oven is mounted on a wall, you may need to remove it from the wall before unplugging it.
Once you’ve unplugged your oven, wait for a few minutes for it to cool down before beginning the cleaning process. This will protect you from any hot surfaces that could cause burns or injuries.
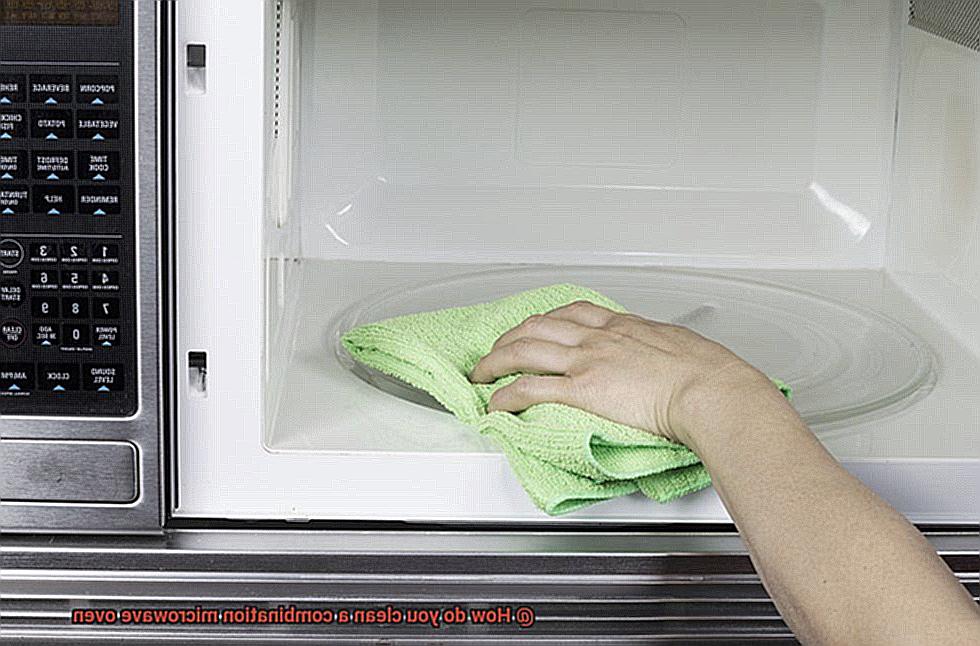
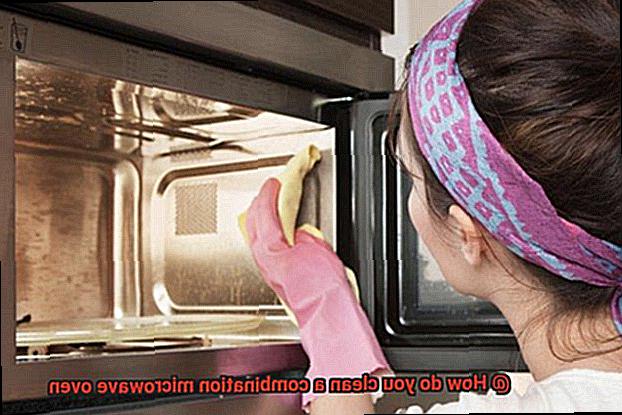
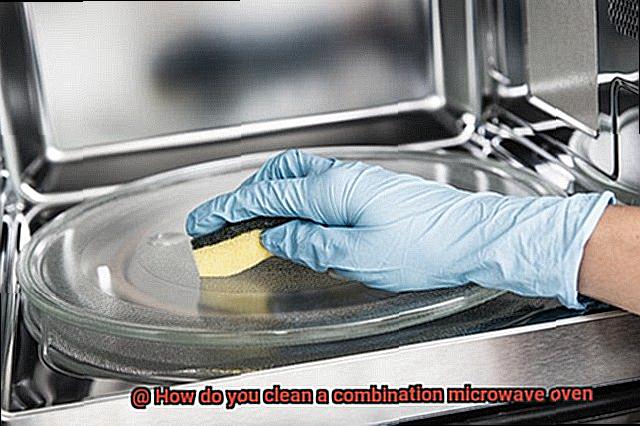
When cleaning your combination microwave oven, start by removing any loose debris or food particles from its interior using a soft cloth or sponge. For more stubborn stains and grease, use warm water and dish soap or a specialized microwave cleaner. Avoid using abrasive materials or harsh chemicals that could damage your oven’s interior.
It’s also important to clean the exterior of your oven by wiping down its control panel, door, and surfaces with a damp cloth. If you have a stainless steel oven, use a specialized cleaner to maintain its shine and prevent smudging.
Performing routine maintenance on your combination microwave oven is also crucial for its longevity and safety. Check for signs of wear and tear on the door seal or hinges regularly and replace the air filter as needed.
Removing Loose Debris and Food Particles
The first step is safety. Always unplug the appliance before you start cleaning it. Once it’s unplugged, let it cool down before removing any loose or removable parts, such as the turntable and support ring. These can be washed separately using warm soapy water or placed in the dishwasher if they’re labeled as dishwasher safe.
Now that you have removed the loose parts, it’s time to tackle the interior of your microwave. Use a soft, damp cloth or sponge to wipe down the interior, paying extra attention to areas with visible debris or food splatters. Avoid harsh chemicals or abrasive scrubbers as these can damage the surface of your appliance.
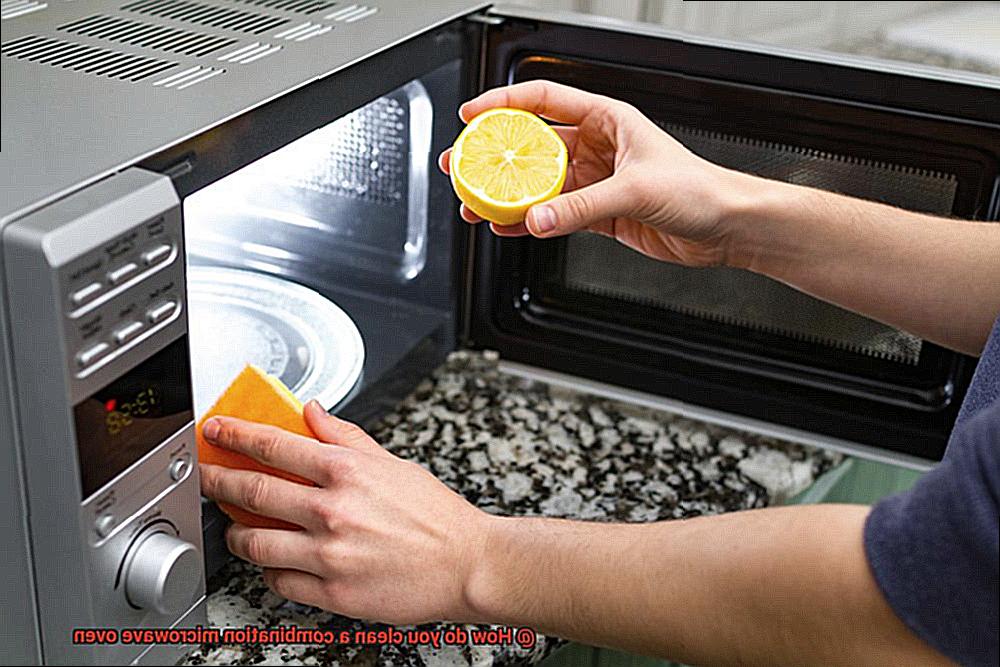
But what about those stubborn stains or stuck-on food particles? Try mixing equal parts water and vinegar to gently scrub the affected area. Dip your cloth or sponge in the solution and apply it to the stain, allowing it to sit for a few minutes before wiping clean.
Don’t forget about the exterior of your microwave. Give the control panel and door handle the same soft, damp cloth treatment.
Cleaning Stubborn Stains and Grease
Thankfully, there are several techniques that you can use to make the cleaning process much easier.
One of the most effective techniques is using a combination of water and vinegar. This solution is like magic when it comes to removing food residue and grease stains from the interior of your microwave. Simply mix equal parts of water and vinegar in a microwave-safe bowl, heat it for a few minutes until it boils, and then let it sit for five to ten minutes to allow the steam to work its magic. Afterward, use a damp cloth or sponge to wipe down the interior and remove any stains or grease. Repeat the process as needed for particularly stubborn stains.
If that doesn’t do the trick, baking soda is another fantastic option. Mix some baking soda with water to create a paste-like consistency. Apply this paste to any stained areas and let it sit for 10-15 minutes before wiping it away with a damp cloth.
For particularly tough stains, you may need to use a commercial cleaner designed specifically for use in microwaves. Be sure to follow the manufacturer’s instructions carefully when using these products and avoid using them on any surfaces that are not microwave-safe.
In addition to these techniques, there are additional steps you can take to prevent stubborn stains and grease buildup in your combination microwave oven. For example, covering your food with a lid or microwave-safe wrap can help prevent splatters and spills.
Cleaning the Exterior of the Oven
Your combination microwave oven is an essential kitchen appliance that gets a lot of use. But with frequent use comes the inevitable buildup of dirt and grime on the exterior of the oven, making cleaning the exterior a crucial task. Luckily, it’s a quick and easy task that can be done in no time.
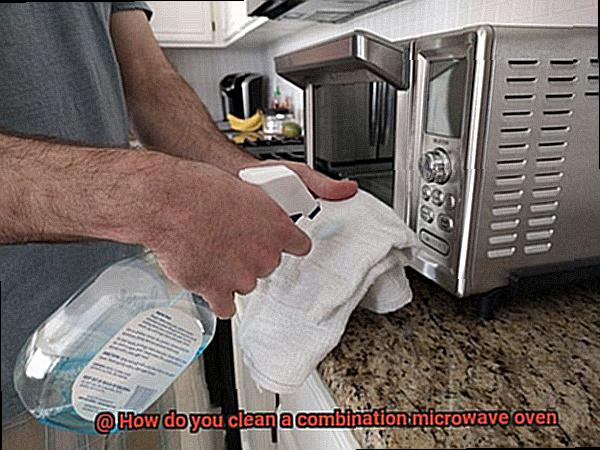
To start, safety comes first. Unplug your oven before you begin cleaning. Then, grab a soft cloth or sponge, some warm water, and mild detergent to wipe down all of the exterior surfaces of your oven. Don’t forget about the ventilation grills on the back of the oven – these can easily become clogged with dust and debris, so make sure to give them a good clean with a vacuum cleaner or soft brush.
For those stubborn stains or grease marks, try mixing some baking soda with water to create a natural cleaning solution. Apply the paste to the affected areas and let it sit for a few minutes before wiping it away with a damp cloth. If you have a stainless steel exterior on your oven, then it’s best to use a specialized stainless steel cleaner to keep it looking shiny and new.
But don’t stop there. Pay attention to the control panel and buttons too. Give them a gentle clean with a mild cleaning solution to prevent any buildup from interfering with their function.
By following these simple steps and regularly cleaning the exterior of your combination microwave oven, you’ll not only keep it looking great but also ensure that it operates efficiently and safely.
- Unplug your oven before cleaning
- Use warm water, mild detergent, and a soft cloth or sponge
- Clean ventilation grills on the back of the oven with a vacuum cleaner or soft brush
- Use baking soda and water for stubborn stains or grease marks
- Use a specialized stainless steel cleaner for stainless steel exteriors
- Clean control panel and buttons with a gentle cleaning solution
Maintaining a Stainless Steel Surface
The sleek and modern appearance of stainless steel makes it a popular choice for appliances, but it requires proper maintenance to keep it looking new and functioning efficiently.
Regular Cleaning
To keep your combination microwave oven’s stainless steel surface looking clean, wipe it down regularly with warm soapy water and a soft cloth or sponge. Avoid using abrasive cleaning products or scrubbers as they can scratch the surface. Fingerprints and tough stains can be removed with a stainless steel cleaner specifically designed for appliances. Simply apply the cleaner to a soft cloth and wipe down the surface, following the grain of the stainless steel. Rinse with clean water and dry with a soft cloth.
Avoid Leaving Acidic or Salty Foods
Stainless steel is known for its resistance to corrosion and staining, but leaving acidic or salty foods on the surface for an extended period can cause discoloration or corrosion. In case of any spills, wipe them up immediately with a soft cloth and warm soapy water.
Polishing
To maintain the shine of your combination microwave oven’s stainless steel surface, it’s recommended to polish it once every few months. Use a non-abrasive stainless steel polish applied with a soft cloth and follow the manufacturer’s instructions. Polishing not only enhances the appearance of your appliance but also prolongs its life.
Additional Tips
Here are some additional tips to keep in mind when maintaining your combination microwave oven’s stainless steel surface:
- Always use a soft cloth or sponge when cleaning to prevent scratches.
- Avoid using harsh chemicals like bleach or ammonia.
- Don’t use steel wool or scrub pads as they can damage the surface.
- Follow the manufacturer’s instructions on cleaning and maintenance.
Replacing the Air Filter
It might be time to replace the air filter. Fear not, dear microwave oven owner, as replacing the air filter is a simple process that can help maintain your appliance’s efficiency and extend its lifespan.
To begin, locate the vent grille on the front of your appliance and gently pull it forward. With care, lift it out of its slots to reveal the air filter located behind it. The air filter can become clogged with grease, food particles, and other debris over time, leading to poor performance. By replacing it every six months, you can ensure optimal performance.
Take note of how the old air filter is installed before removing it so that you can install the new one correctly. If there’s any visible debris or buildup on the old filter, clean the area around it before installing the new one. Most replacement air filters come with instructions on how to install them properly. Follow these instructions carefully to ensure that the air filter is securely in place and functioning as it should.
Once you’ve installed the new air filter, it’s time to replace the vent grille. Align it with its slots and push it back into place until you hear a reassuring click. Your combination microwave oven is now ready for action.
In conclusion, replacing the air filter in your combination microwave oven is crucial for maintaining optimal performance and extending its lifespan. Don’t let a clogged air filter affect your microwave cooking. By following these simple steps, you can ensure that your appliance is running efficiently and effectively every time you use it.
Here are some quick tips to remember:
- Replace the air filter every six months
- Clean any debris or buildup before installing the new air filter
- Follow instructions carefully to ensure proper installation
- Replace the vent grille by aligning it with its slots and pushing it back into place until you hear a click
Checking for Wear and Tear on Door Seals or Hinges
As you clean your combination microwave oven, it’s essential to pay attention to the wear and tear on the door seals and hinges. These parts play a significant role in keeping your appliance functioning safely and efficiently.
To begin, inspect the door for any cracks or dents that could compromise the seal’s integrity. A damaged seal can lead to heat loss, decreased efficiency, and even safety hazards. Ensure that the door closes smoothly and securely without any wobbling or resistance. If you notice any issues, it’s time to take a closer look at the hinges.
Check the hinges for looseness, wobbling, or unusual noises when opening and closing the door. Faulty hinges can lead to further damage and safety hazards. If you come across any of these problems, it’s best to replace them as soon as possible.
Lastly, examine the door seals themselves. Are they still pliable and flexible, or have they become stiff and brittle? Damaged seals can cause heat loss and decreased efficiency in cooking. It’s important to replace them if they are no longer able to provide a tight seal when the door is closed.
G5xQLvNfZgI” >
Conclusion
In conclusion, a clean and well-maintained combination microwave oven is essential for its longevity, efficiency, and safety. Don’t let food residue, grease, and other debris build up in your appliance. Instead, use natural ingredients like vinegar and baking soda or specialized cleaning products to keep it spotless.
Remember to unplug the oven before cleaning it and avoid using abrasive materials or harsh chemicals that could harm its surfaces. A stainless steel surface requires regular cleaning with warm soapy water and a soft cloth or sponge. Avoid leaving acidic or salty foods on the surface for too long as this can cause discoloration or corrosion.
To maintain its shine, polish it once every few months using a non-abrasive stainless steel polish applied with a soft cloth. Also, replace the air filter every six months to ensure optimal performance and extend your appliance’s lifespan.
Don’t forget to check for wear and tear on door seals or hinges regularly to ensure they are functioning safely and efficiently. By following these simple tips and tricks, you can keep your combination microwave oven operating efficiently and safely every time you use it.