Have you ever had a meat thermometer that left your food undercooked or overcooked? It’s not only frustrating but can also pose a risk to your health. Cooking meat to the correct temperature is crucial for both flavor and food safety, and inaccurate readings from your thermometer can ruin the entire meal.
Enter calibration – a simple test that ensures your maverick meat thermometer is accurate and reliable. By calibrating your thermometer, you’ll have peace of mind knowing that every dish you prepare will be cooked to perfection, with no guesswork involved.
In this blog post, we’re going to walk you through the process of calibrating your maverick meat thermometer step-by-step. We’ll explain why it’s essential to calibrate your thermometer, what tools you’ll need for the job, and how to test its accuracy. Following our instructions will help prolong the life of your thermometer and save you time and money in the long run.
So if you’re ready to take control of your cooking game and learn how to calibrate like a pro, keep reading.
Contents
Why Calibrate a Maverick Meat Thermometer?
They provide accurate temperature readings that are easy to use, making them an essential tool in the kitchen. However, even the most reliable thermometers can become inaccurate over time, which is why it’s crucial to calibrate your Maverick meat thermometer periodically.
Calibration is the process of adjusting the thermometer to match the temperature of a known standard. By doing this, you can ensure that your thermometer is giving you accurate readings. But why is this important? Let’s take a closer look at the top reasons why you should calibrate your Maverick meat thermometer.
Accurate Temperature Readings
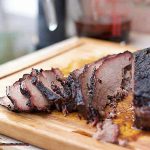
When it comes to cooking meat, precision is key. Undercooked or overcooked meat can be dangerous to consume, leading to foodborne illnesses. By calibrating your Maverick meat thermometer, you can have confidence in your temperature readings and cook your meat to perfection. With every juicy and flavorful bite, you’ll know that each piece of meat is cooked safely and correctly.
Precision and Accuracy
Maverick thermometers are designed to be precise and highly accurate. Calibration ensures that they maintain their precision and accuracy over time. If the thermometer is not calibrated correctly, it can affect the readings and lead to incorrect cooking temperatures. So, whether you’re grilling steaks or slow-roasting a turkey, you can trust that your Maverick meat thermometer will give you precise and accurate readings.
Longevity
Regular calibration can help prolong the life of your Maverick meat thermometer. Exposure to extreme temperatures or other factors can affect its accuracy, causing damage that may be irreversible. By regularly calibrating your thermometer, you can avoid this damage and ensure that it lasts a long time. This means fewer trips to the store for a new thermometer and more money saved in the long run.
Confidence in Cooking
By taking a few minutes to calibrate your thermometer, you can have confidence in your cooking. You’ll know that you’re using a reliable tool that provides accurate readings, giving you peace of mind when cooking for yourself, family or friends. This confidence in your ability to cook delicious and perfectly cooked meat will leave your guests impressed and satisfied.
Preparing to Calibrate Your Maverick Meat Thermometer
Look no further than your Maverick meat thermometer, but before you start using it, you need to calibrate it correctly. By following some simple steps, you can be sure that your temperature readings are accurate and reliable every time you use it.
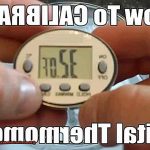
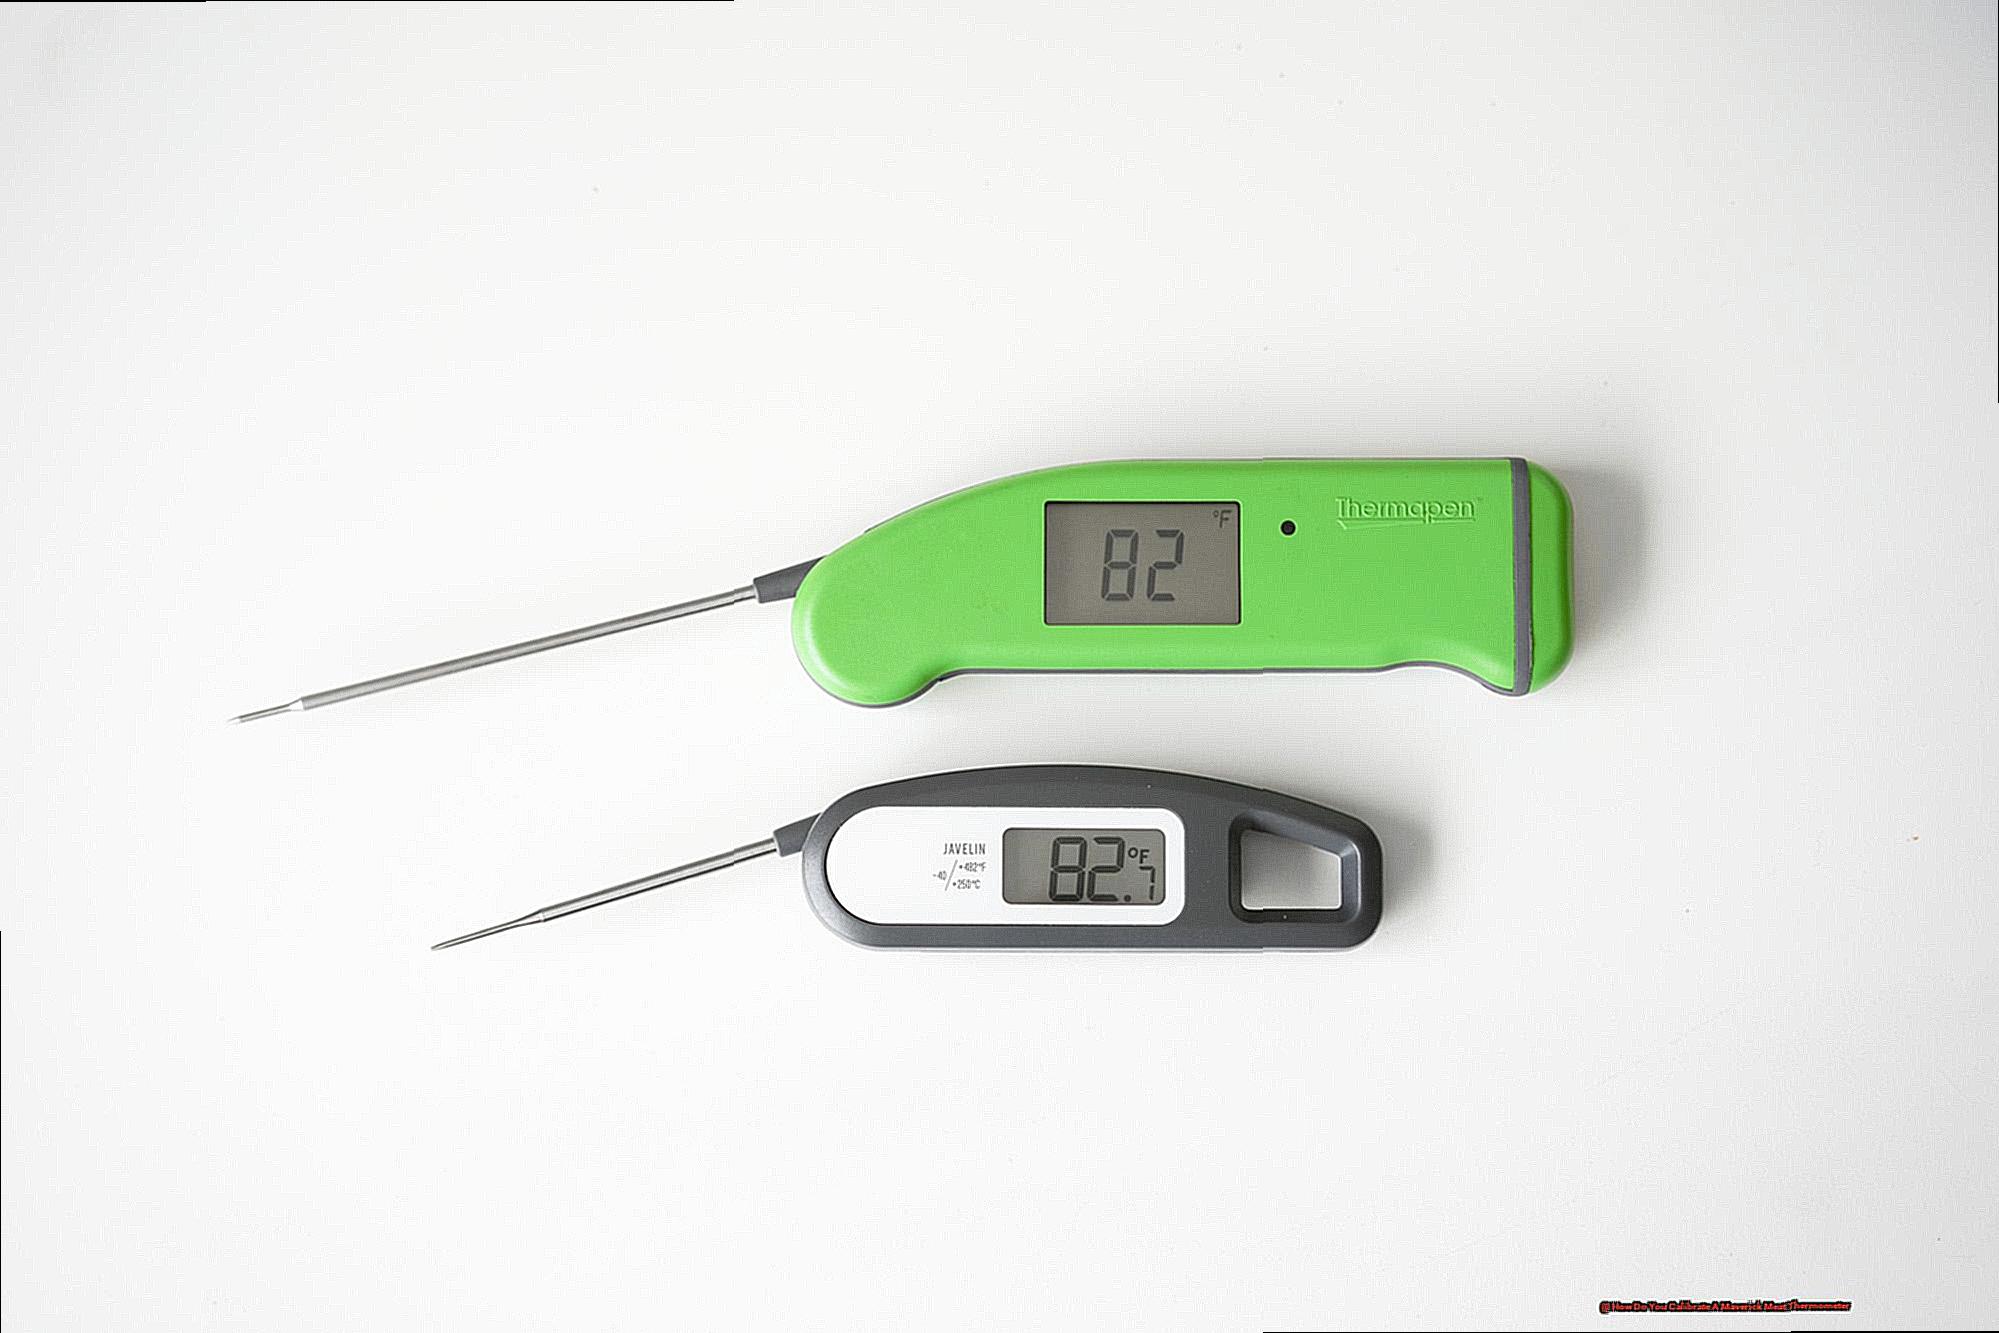
Firstly, fill a glass with ice and cold water, and stir it well to ensure an even temperature throughout. Then insert the probe of your Maverick meat thermometer into the mixture, making sure not to touch the sides or bottom of the glass. Wait for the temperature reading to stabilize, which should take around 30 seconds. The temperature reading should be 32°F (0°C). If it’s not, you’ll need to adjust the thermometer accordingly.
To do this, find the calibration screw on the back of your Maverick meat thermometer. Using a small screwdriver, turn the screw until the temperature reading matches 32°F (0°C). Once you’ve calibrated your Maverick meat thermometer in ice water, it’s time to move on to boiling water.
Fill a pot with water and bring it to a rolling boil. Insert the probe of your Maverick meat thermometer into the water, making sure not to touch the sides or bottom of the pot. Wait for the temperature reading to stabilize, which should take around 30 seconds. The temperature reading should be 212°F (100°C) at sea level. However, if you’re at a different elevation, you may need to adjust accordingly.
Consult a conversion chart or calculator to determine the correct boiling point for your elevation. If the temperature reading is not accurate, repeat the process of adjusting the calibration screw until it matches 212°F (100°C) or your correct boiling point.
By taking these steps to prepare and calibrate your Maverick meat thermometer, you can be confident that your temperature readings are precise and reliable. Calibration is an essential step in achieving perfectly cooked and safe-to-eat meals, whether you’re grilling, roasting, or smoking your favorite meats.
Step-by-Step Guide to Calibrating Your Maverick Meat Thermometer
Look no further than calibrating your Maverick Meat Thermometer. In this step-by-step guide, we’ll show you just how to calibrate your thermometer using ice water and boiling water so that you can cook your food to the perfect temperature every time.
Step 1: Create Ice Water
The first step in calibrating your Maverick Meat Thermometer is to create an ice water mixture. Fill a glass with ice and add water until it reaches the top. Stir the mixture well to get an even temperature.
Step 2: Insert the Probe
Next, insert the probe of your Maverick Meat Thermometer into the ice water. It’s important to avoid touching the sides or bottom of the glass, as this can affect the accuracy of your readings.
Step 3: Wait for Stabilization
Wait for a few minutes for the thermometer to stabilize. The temperature reading may fluctuate initially, but it should eventually settle at a constant temperature.
Step 4: Check the Reading
Check the temperature reading on your Maverick Meat Thermometer. It should read 32°F (0°C) if it’s calibrated correctly. If it doesn’t, proceed to step 5.
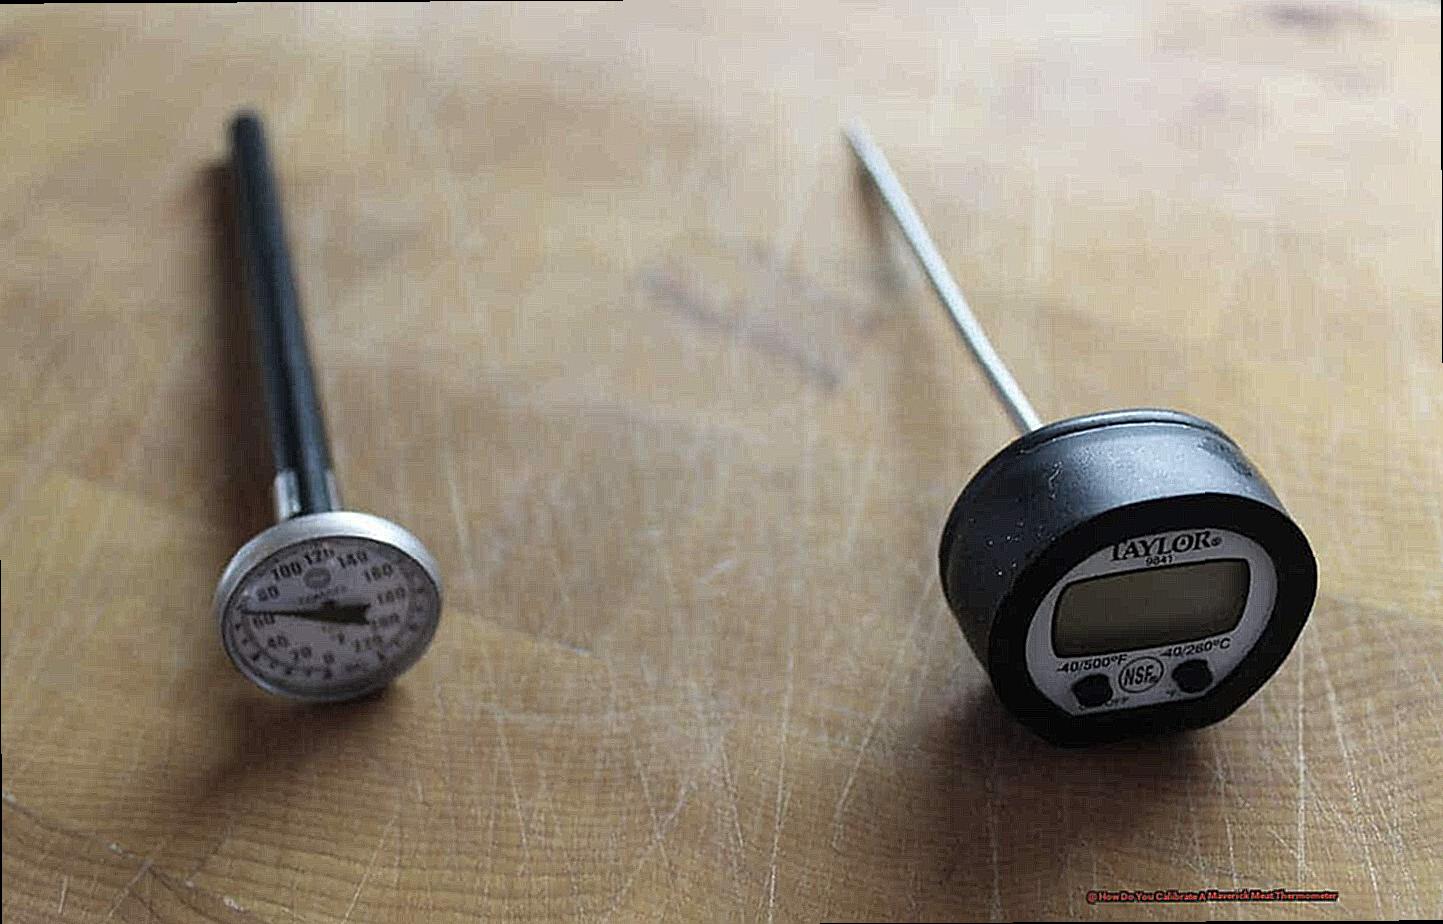
Step 5: Adjust the Calibration Nut
Using a wrench or pliers, adjust the calibration nut on the back of your Maverick Meat Thermometer until it reads 32°F (0°C). Be careful not to over-tighten the nut – small adjustments will suffice.
Step 6: Repeat with Boiling Water
Repeat steps 2-5 using boiling water instead of ice water. The temperature reading should be 212°F (100°C) if calibrated correctly. If it doesn’t match, adjust the calibration nut again.
By following these simple steps, you’ll be able to calibrate your Maverick Meat Thermometer accurately. Remember to calibrate your thermometer regularly, especially if you use it frequently or accidentally drop it. A calibrated thermometer can give you peace of mind knowing that your food is cooked safely and to the desired temperature.
Adjusting the Calibration Screw on Your Maverick Meat Thermometer
Your Maverick Meat Thermometer may be the culprit. Accurate readings are essential to ensuring perfectly-cooked meals, and adjusting the calibration screw is a critical step in achieving this.
To begin, make sure your thermometer is clean and free from any debris or buildup – cleanliness is key. Next, fill a glass with ice water and submerge the probe at least 2 inches deep. Wait for the temperature to stabilize, and take note of the reading.
If your thermometer is reading above or below 32°F (or the temperature of your ice water), it’s time to adjust the calibration screw. Start by removing the battery to avoid any electrical interference. Then, using a small screwdriver, turn the calibration screw either clockwise or counterclockwise until the display reads the correct temperature.
Be sure to make small adjustments and check the temperature frequently to avoid overcorrecting. Once you’re satisfied with your adjustments, replace the battery and test your thermometer again in boiling water to ensure it’s now reading accurately.
If it still needs further adjustment, repeat the process until you achieve an accurate reading. Here are some additional tips to keep in mind:
- Clean your thermometer after each use
- Use caution when handling the probe and avoid touching hot surfaces
- Store your thermometer in a safe place when not in use
Re-Testing the Accuracy of Your Maverick Meat Thermometer After Calibration
But before you start cooking up a storm, it’s crucial to check the accuracy of your thermometer. After all, food safety is paramount when it comes to cooking for yourself or others.
One of the easiest and most reliable ways to check the accuracy of your Maverick meat thermometer is by using the boiling water method. Here’s how:
- Step 1: Fill a pot with water and set it on the stove to boil.
- Step 2: Insert the thermometer probe into the boiling water, ensuring that it doesn’t touch the sides or bottom of the pot.
- Step 3: Wait for the thermometer reading to stabilize. At sea level, it should read 212°F (100°C).
If your thermometer reads higher or lower than 212°F (100°C), you’ll need to make some adjustments. Thankfully, this process is simple and straightforward.
If your thermometer reads higher than 212°F (100°C), subtract the difference from your desired temperature. For example, if you want to cook a steak at 140°F (60°C) and your thermometer reads 214°F (101°C) in boiling water, subtract 2 degrees from your desired temperature and cook the steak until the thermometer reads 138°F (58°C).
If your thermometer reads lower than 212°F (100°C), add the difference to your desired temperature. For instance, if you’re cooking a chicken breast at 165°F (74°C) and your thermometer reads 210°F (99°C) in boiling water, add 2 degrees to your desired temperature and cook until the thermometer reads 167°F (75°C).
It’s also wise to re-check your Maverick meat thermometer periodically, particularly if it has been exposed to extreme temperatures or accidentally dropped. This will ensure that it continues providing accurate temperature readings for safe and scrumptious cooking.
Tips for Ensuring Accurate Readings from Your Maverick Meat Thermometer
When it comes to cooking meat, accuracy is paramount. A reliable meat thermometer is a grill master’s best friend, but even the best thermometers can lose accuracy over time. That’s why it’s crucial to calibrate your Maverick meat thermometer regularly. Here are five tips for ensuring accurate readings from your Maverick meat thermometer:
Calibrate Before Use
Calibrating your thermometer before each use is essential to ensure that it’s providing accurate readings. To calibrate, fill a glass with ice water and insert the thermometer probe without touching the sides or bottom of the glass. The thermometer should read 32°F (0°C). If it doesn’t, adjust it accordingly.
Use a Probe Cover
Keeping the probe clean and free from debris is crucial for accurate readings. Using a probe cover protects the probe and maintains hygiene while in use.
Insert the Probe Correctly
When inserting the probe into the meat, make sure that it goes into the thickest part of the meat without touching any bones or fat. An inaccurate reading can lead to undercooked or overcooked meat.
Allow Time for Stabilization
After inserting the probe, wait a few seconds for the temperature to stabilize before taking a reading. This ensures an accurate measurement of the meat’s internal temperature. Taking a reading too quickly can lead to an inaccurate reading.
Clean Thoroughly After Use
Proper cleaning is critical to maintain your thermometer’s accuracy and hygiene. Use hot soapy water and a soft cloth to wipe down the probe and other parts that may have come into contact with food. Cross-contamination can be prevented by cleaning your thermometer after each use.
Common Problems When Using a Maverick Meat Thermometer
Grilling is a passion and a Maverick meat thermometer is an essential tool for any grill master. However, like any tool, there are common problems that users may encounter. Let’s dive into these issues and explore how to solve them.
Firstly, inaccurate readings can be frustrating and ruin your grilling experience. The Maverick meat thermometer may not be calibrated correctly or could be damaged. To ensure accurate readings, always calibrate your thermometer before use and clean it thoroughly after each use. Also, consider using a probe cover to extend the lifespan of your thermometer.
Secondly, reading the thermometer can be challenging due to small displays that make it difficult to get accurate readings in different lighting conditions. Consider investing in a thermometer with a larger display or use a flashlight to illuminate the display.
Thirdly, inconsistent readings can lead to unevenly cooked meat. Always ensure that the thermometer probe is correctly inserted and placed in the proper position on the grill. Taking time to stabilize temperatures will also help give more consistent readings.
Lastly, durability issues can arise with frequent use and exposure to high temperatures. The thermometer probe may become damaged or broken, causing inaccurate readings or complete malfunction. Investing in a high-quality Maverick meat thermometer or replacing the probe when necessary will ensure accurate readings every time you grill.
Conclusion
To achieve a perfectly cooked and safe-to-eat meal, calibrating your Maverick meat thermometer is an absolute must. Accurate temperature readings are the key to both flavor and food safety, and any inaccuracy from your thermometer can ruin your entire dish. But with regular calibration, you can have peace of mind knowing that every meal you prepare will be cooked to perfection without any guesswork.
Calibration is especially important when cooking meat, as undercooked or overcooked meat can lead to serious health issues. By maintaining the precision and accuracy of your Maverick meat thermometer over time through calibration, you’re also prolonging its lifespan and saving yourself time and money in the long run.
Our step-by-step guide to calibrating your Maverick meat thermometer using ice water and boiling water ensures that your temperature readings are precise and reliable. We’ve also provided helpful tips for ensuring accurate readings from your thermometer, as well as common problems users may encounter when using a Maverick meat thermometer and how to solve them.
In summary, taking just a few minutes to calibrate your Maverick meat thermometer can make all the difference in achieving deliciously cooked meats every time.