Congratulations on becoming the proud owner of a new pellet grill. With its precision temperature control, ease of use, and reliability, your pellet grill is sure to become your favorite outdoor cooking tool. But before you start grilling up a storm, it’s important to break in your new pellet grill properly.
Don’t worry; breaking in doesn’t mean breaking anything. It simply means removing any oils, dust, or solvents that may have accumulated during the manufacturing process. This crucial step will help prevent unwanted flavors or contaminants from seeping into your food.
So, how do you break in a new pellet grill? In this article, we’ll guide you through the essential steps to ensure your BBQ journey starts off on the right foot. Whether you’re a seasoned griller or new to outdoor cooking, we’ve got you covered with tips and tricks to avoid any pitfalls along the way.
Grab yourself an apron and a cold drink as we show you how to break in your new pellet grill like a pro.
Contents
What is a Pellet Grill?
Step up your game with a pellet grill. Also known as a pellet smoker or pellet barbeque, a pellet grill uses small cylindrical pellets made from compressed sawdust or wood shavings as fuel. This unique fuel source is poured into a hopper, which feeds the pellets into the grill’s firepot where they are ignited by an electric starter. As the pellets burn, they release smoke and heat that cooks the food placed on the grill grates.
The beauty of a pellet grill lies in its versatility. Not only can it be used to grill, but it can also smoke, roast, bake, and even braise meat. Plus, pellet grills are known for their consistent temperature control, thanks to their digital control panel that allows for easy temperature and cooking time adjustments. This makes them an excellent choice for slow-cooking foods like brisket or ribs.
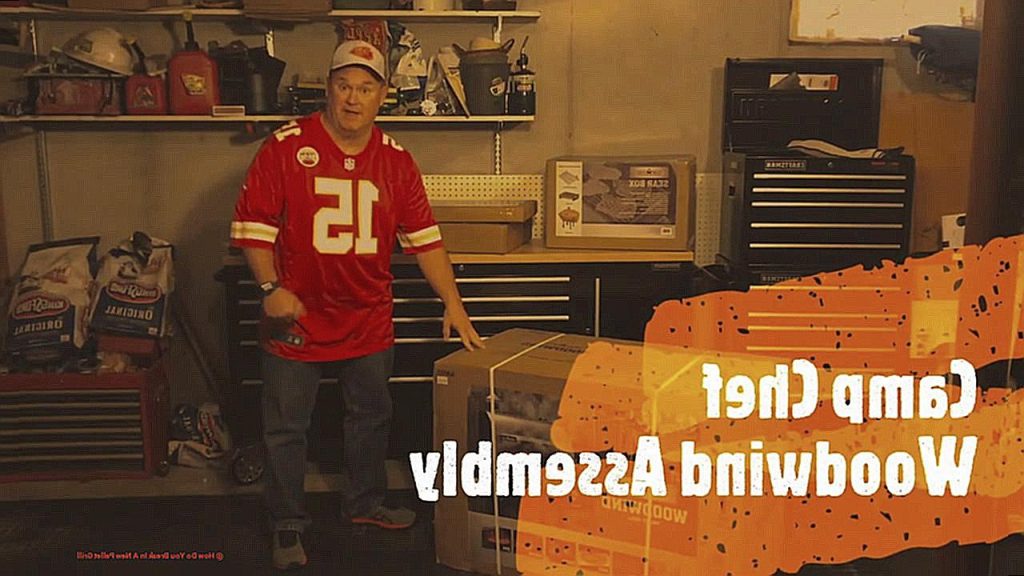
When it comes to breaking in your new pellet grill, there are a few key steps to follow for optimal performance and longevity. First, properly assemble and set up the grill. Next, season the grill grates by coating them with oil and heating them up to a high temperature for a short period of time. Then, start the initial burn-in process by filling the hopper with pellets and setting the temperature to 350-400°F. Allow the grill to run for 45 minutes to an hour, ensuring that all areas of the grill are thoroughly heated. Finally, clean out any remaining ash or debris from the grill after the initial burn-in process.
Pellet grills come in a range of sizes and shapes to fit your outdoor cooking needs. From portable models perfect for tailgating to large units perfect for backyard entertaining, there is a pellet grill for everyone. Some models even come with additional features like WiFi connectivity and meat probes that allow you to monitor the food’s internal temperature without opening the grill’s lid.
Why Is It Important to Break in a New Pellet Grill?
You’re about to embark on a journey to becoming a grill master and cooking up some mouth-watering meals for your loved ones. But before you start cooking, it’s crucial to break in your new pellet grill properly. Let’s dive into the reasons why breaking in a new pellet grill is so important.
Firstly, you want to eliminate any potential health hazards that may arise from the manufacturing process. There may be leftover chemicals or oils that could be harmful when ingested. By seasoning your grill before use, you can eliminate any potential health risks and ensure that your food is safe to eat. Don’t compromise your health for a delicious meal.
Breaking in a new pellet grill also eliminates any unwanted odors from the manufacturing process. Burning off any residue and oils will help to eliminate any unpleasant smells that could affect the taste of your food. You want your food to be flavorful and delicious, and this is only possible if you have a properly seasoned grill.
In addition to health and taste concerns, seasoning your new pellet grill improves its overall performance. The process of breaking in creates a protective layer on the interior surfaces of the grill, which can prevent rust and corrosion. This layer also helps to distribute heat evenly throughout the grill, resulting in better cooking results. So not only will your food taste better, but your grill will last longer too.
To break in your new pellet grill properly, first assemble and set it up according to the manufacturer’s instructions. Then season the grill grates by coating them with vegetable oil and heating them for about 30 minutes at 350°F. Finally, follow the initial burn-in process recommended by the manufacturer.
Step 1: Proper Assembly and Setup
Before you start grilling up a storm, it’s crucial to ensure that your grill is assembled and set up correctly. Proper assembly and setup are crucial to ensure that your grill operates efficiently and safely.
Firstly, make sure that all the parts are present and accounted for. You don’t want to get stuck halfway through assembly without all the necessary components. Check the packaging carefully and confirm that you have everything you need, including screws, bolts, and nuts.
Once you have everything you need, follow the manufacturer’s instructions carefully. Take your time and double-check everything as you go. Rushing through this process could lead to mistakes that could damage your grill or cause it to malfunction.
After assembling your grill, it’s time to set it up correctly. Ensure that your grill is level and located in a well-ventilated area. This will prevent any harmful fumes from building up while cooking. Check all electrical connections to make sure they are secure and have a reliable power source nearby.
Seasoning the cooking grates is an essential step in setting up your new pellet grill. This process involves coating the grates with oil and heating them up to a high temperature for a short period. This will remove any manufacturing residue left on the grates and prepare them for cooking.
Step 2: Seasoning the Grates
But before you start cooking up a storm, there’s an essential step you need to take – seasoning your grates. This process is crucial for removing any harmful chemicals that may be present due to the manufacturing process and creating a non-stick surface that makes it easier to cook and clean your grates.
To get started, you need to clean your grates thoroughly with warm soapy water and a scrub brush. Rinse them off and let them dry completely. Once they’re dry, it’s time to add some oil.
We recommend using a high-heat oil like vegetable or canola oil. Apply a thin layer of oil evenly across the grates using a paper towel. This will help create that non-stick surface we mentioned earlier.
Next, preheat your pellet grill to 350°F and place the oiled grates inside. Close the lid and let them heat up for about 30 minutes. This will burn off any excess oil and create a durable non-stick surface on the grates.
Once the 30 minutes are up, turn off the grill and let it cool down completely. Use a grill brush to remove any excess debris or oil from the grates. And voila. Your grates are now seasoned and ready for use.
But don’t forget, this is not a one-time process. It’s important to repeat this seasoning periodically to maintain that non-stick surface on your grates. Consider using high-heat oils like flaxseed or grapeseed oil for seasoning, as they have a higher smoke point and will create a more durable non-stick surface on your grates.
In summary, follow these simple steps to properly season your grates:
- Clean the grates with warm soapy water and a scrub brush
- Rinse and dry them completely
- Apply a thin layer of high-heat oil like vegetable or canola oil
- Preheat the pellet grill to 350°F and place the oiled grates inside for 30 minutes
- Turn off the grill and let it cool down completely before removing excess debris or oil with a grill brush
- Repeat periodically to maintain that non-stick surface
Step 3: Initial Burn-In Process
You’re probably eager to fire it up and dive into some delicious barbecue. But before you do, it’s crucial to take the time for Step 3: the initial burn-in process.
Why is this step so important? Well, not only does it prepare your grill for its first cookout, but it also ensures any manufacturing residues are burnt off. Plus, it’s an excellent opportunity to get familiar with your grill’s temperature settings, cooking surfaces, and other features.
To get started, remove any packaging materials like plastics and stickers from your grill. Next, fill the hopper with pellets and turn on the grill. Set the temperature to 350-400 degrees Fahrenheit, and let it heat up for around 30 minutes. This process helps burn off any oils, solvents, or other residues left over from manufacturing.
After the 30 minutes are up, turn off the grill and let it cool down entirely. Once cooled, use a soft cloth to wipe down the interior surfaces, removing any ash or debris left over from the initial burn-in.
It’s important to note that different manufacturers may recommend various initial burn-in periods or temperature settings. Always consult your pellet grill’s owner’s manual for specific instructions on how to perform the initial burn-in process.
By performing this crucial initial burn-in step on your new pellet grill, you’re ensuring that it’s ready for its first cookout and providing yourself with an opportunity to familiarize yourself with its features. So take your time and follow the manufacturer’s instructions carefully for a successful initial burn-in process.
Step 4: Clean Out Ash and Debris
As you prepare to embark on your first cookout, it’s important not to overlook the crucial step of cleaning out any ash and debris that may have accumulated during the initial firing process. Not only will this help your grill function at its best, but it will also prevent potential damage.
Before you begin cleaning, make sure your grill has cooled down completely. This will ensure your safety when handling the hot ash and debris. To clean out the ash and debris, you can use a vacuum cleaner, shop vac, or special ash vacuum. To protect yourself from dust and particles, be sure to wear a mask and gloves.
Start by removing the grill grates and any other removable parts such as the drip tray. Use a grill brush to scrape off any debris or residue on the grates. This will help to maintain the quality of your food and ensure that it doesn’t stick to the grates during cooking. Then, use your vacuum cleaner to remove all of the ash and debris that may have accumulated in the firebox.
If your pellet grill comes with an ash cleanout system, this will make the cleaning process much easier. Simply remove the ash pan and empty it into a trash bag. Wipe it down with a damp cloth before placing it back into the grill.
Remember that cleaning your pellet grill after every use is crucial to prevent any buildup of ash and debris that could damage your grill in the long run. Regular cleaning will also help maintain the flavor of your food and ensure that your grill lasts for years to come.
After Every Use: Clean Out Remaining Pellets and Ash
Now that you have it, the key to keeping it in pristine condition is proper maintenance. One of the most crucial aspects of maintenance is cleaning out any remaining pellets and ash after every use. This not only prolongs your grill’s life but also ensures that your food cooks evenly and tastes delicious every time.
Firstly, let the grill cool down completely before cleaning it. Once cooled, remove any leftover pellets from the hopper and dispose of them properly. Nobody wants to see leftover pellets scattered around their grill. Then, remove the grates and use a grill brush to scrape off any remaining debris. This step is essential to ensure that your grill is ready to cook up some tasty meals.
Now comes the exciting part, cleaning out the ash. Most pellet grills come equipped with an ash removal system that makes this process relatively easy. All you need to do is remove the ash cup or tray and dispose of its contents. If your pellet grill does not have an ash removal system, don’t panic. You can use a vacuum or ash tool to remove the ash manually. But make sure to wear protective gloves and a mask to avoid inhaling any dust or debris.
By following these simple steps regularly, you’ll keep your pellet grill in top condition for years to come. Plus, you’ll be able to impress your loved ones with perfectly cooked meals every time you fire up your grill. To recap, here’s a list of steps for post-grilling maintenance:
- Let the grill cool down completely.
- Remove any leftover pellets from the hopper and dispose of them properly.
- Remove the grates and use a grill brush to scrape off any remaining debris.
- Remove ash cup/tray and dispose of contents.
If your pellet grill does not have an ash removal system, use a vacuum or ash tool to remove the ashes manually while wearing protective gear.
Conclusion
Properly breaking it in is essential for optimal performance and longevity. To ensure safe and efficient operation, proper assembly and setup are crucial. Seasoning the cooking grates with oil and heating them to a high temperature eliminates unwanted odors and flavors, ensuring delicious meals.
The initial burn-in process burns off manufacturing residues, preventing potential damage. Regular cleaning after each use maintains the flavor of your food and ensures your grill lasts for years. By following these simple steps regularly, you can keep your pellet grill in top condition.
Impress your loved ones with perfectly cooked meals every time you fire up your grill like a pro.


