Picture this: it’s a glorious summer day, the sun is shining, and the heavenly aroma of sizzling barbecues wafts through the air. You can practically taste those juicy grilled masterpieces. But hold on. When you crack open your grill’s lid, what greets you is a sight that could ruin any appetite – a greasy, grimy mess that looks like it belongs in a horror movie.
But fret not, my fellow grill aficionados. There exists an unsung group of heroes who possess the skills, knowledge, and techniques to resurrect your barbecue dreams – professional grill cleaning experts.
In this captivating blog post, we’ll embark on an adventure into the intriguing world of professional grill cleaning. We’ll uncover their secrets and methods used to transform gunk-covered grills into sparkling cooking powerhouses. But first things first – why do people turn to professionals for help with their grill cleaning woes?
Be it stubborn grease build-up or those hard-to-reach corners that seem impossible to conquer, professional grill cleaners have become the ultimate solution for those who want to enjoy their grills without getting bogged down by tedious cleaning tasks.
Throughout this thrilling journey, we’ll explore the key aspects of professional grill cleaning. From specialized cleaning products that work like magic potions to ingenious tools that tackle even the trickiest spots, these experts have mastered every technique necessary to surpass your wildest expectations. Get ready for a mind-blowing transformation as your grease-laden grills turn into culinary sanctuaries.
So if you’ve ever wondered how professionals work their magic on filthy grills, buckle up and prepare to be amazed. We’re about to unveil the secrets of professional grill cleaning – a fascinating world that will forever change your approach to grill maintenance.
Contents
Preheating the Grill
Preheating the grill is not just a mundane task; it is the secret ingredient to achieving a spotless and sanitary grilling experience. In this captivating article, we will unravel the significance of preheating and unveil the expert techniques employed by professionals to attain outstanding results.
Why Preheating Matters:
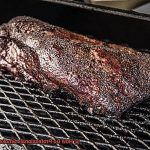
- Loosening Residue: The magic of preheating lies in its ability to loosen stubborn residue and tenacious debris. Allowing the grill to heat up for a minimum of 10-15 minutes effectively turns leftover food particles and grease into ash, making them a breeze to brush away during the cleaning process.
- Sterilization: Beyond cleanliness, preheating also serves as a sterilizing agent. By subjecting the grill to high temperatures, professionals ensure the eradication of any lurking bacteria or harmful pathogens, guaranteeing a safe grilling environment.
The Professional Approach:
- Preparation is Key: Professionals start their cleaning ritual by meticulously ensuring that every nook and cranny of the grill is free from leftover food debris. Armed with a grill brush or scraper, they diligently remove any loose particles from the grates, setting the stage for a thorough cleaning session.
- Time to Heat Up: Once the grates are pristine, professionals close the lid and crank up the heat to its maximum setting. Patiently waiting for the grill to reach its desired temperature, they understand that effective preheating is crucial for optimum cleaning results.
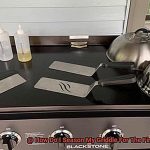
- Tools of the Trade: While eagerly anticipating the grill’s preheating process, professionals gather their arsenal of cleaning tools and supplies. Their toolkit typically includes a trusty grill brush or scraper, a bucket filled with soapy water, a sponge or cloth, and specialized cleaning agents if necessary.
- Scrub Away: As soon as the grill reaches the desired temperature, professionals unveil the grates and meticulously inspect them for any lingering debris or stubborn residue. Armed with their grill brush or scraper, they vigorously scrub the grates in a back-and-forth motion, leaving no particle unturned.
Scrubbing the Grates
In our previous section, we explored the power of preheating in grill cleaning. Today, we dive deeper into the world of scrubbing the grates, where professionals unleash their expertise to ensure a sparkling and safe grilling experience. So grab your brushes and let’s scrub away every particle, leaving no debris unturned.
Step 1: Preheating for Perfection
To achieve grill cleaning perfection, professionals know that preheating is the secret ingredient. Fire up your grill to a scorching temperature for 10-15 minutes. This not only loosens stubborn residue but also sterilizes your grates, ensuring a spotless and safe grilling surface.
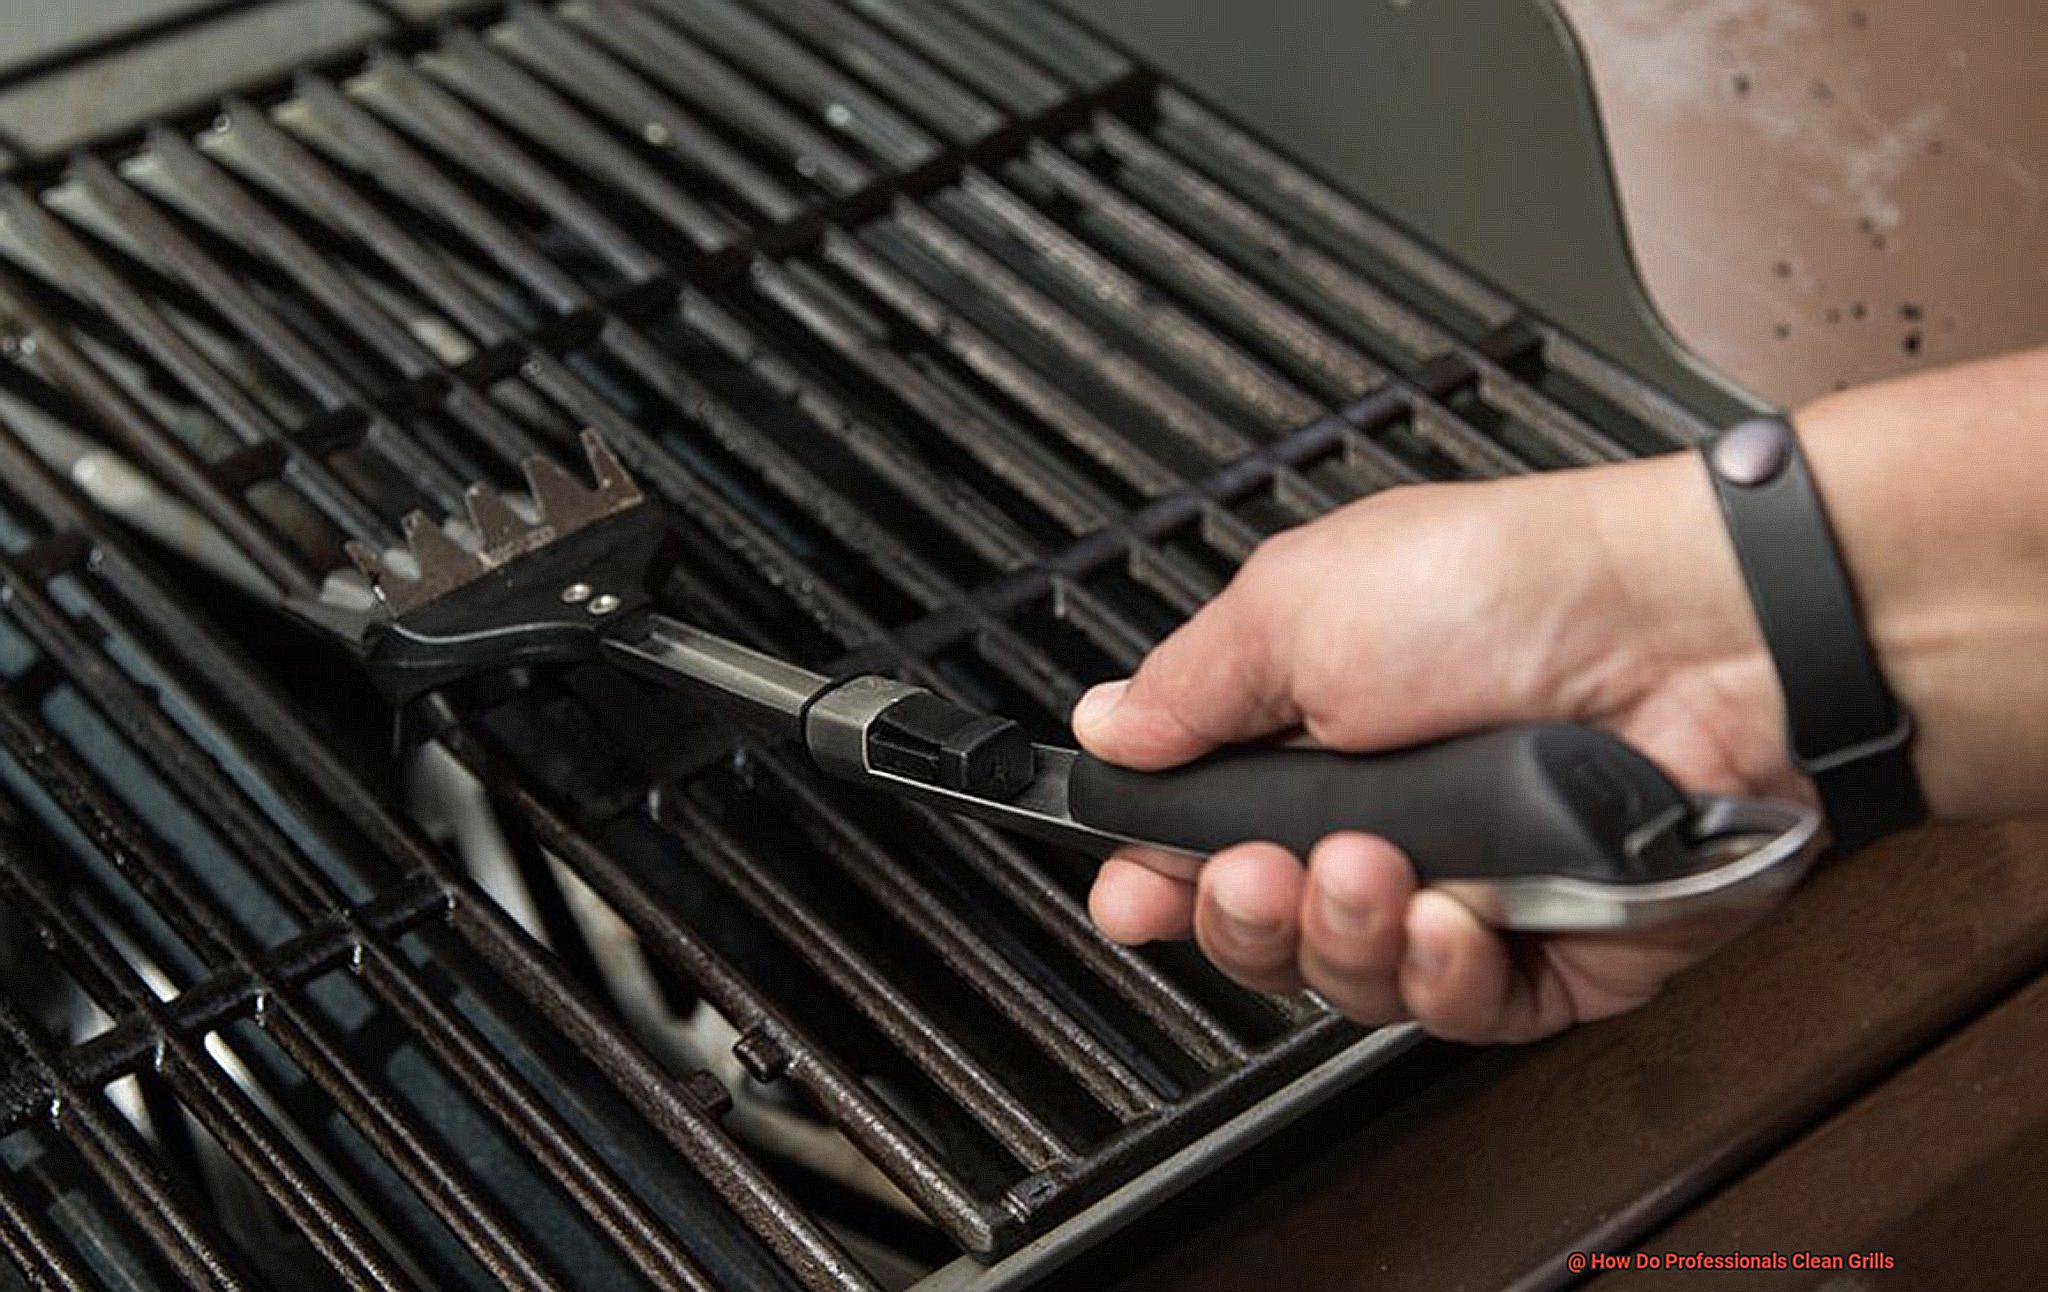
Step 2: Choosing the Right Brush
Armed with the right tool for the job – a wire brush – professionals are ready to tackle any grime. Opt for a brush with stiff bristles that can effectively scrape off dirt and debris. Remember to choose bristles suitable for your grill’s grates – brass for porcelain-coated grates and stainless steel for cast iron or stainless steel grates.
Step 3: Creating Steam Power
Professionals have a little trick up their sleeves to add extra cleaning power – steam. Dip your brush in water before scrubbing, creating steam when it touches the hot grates. This magical steam helps further loosen stubborn residue, enhancing the effectiveness of your scrubbing efforts.
Step 4: Back-and-Forth Magic
It’s time to unleash your inner grill-cleaning wizard. Using back-and-forth motions and applying moderate pressure, scrub those grates like a pro. This technique works its magic, removing stuck-on food particles and banishing carbon buildup. Your grates will be left pristine and ready for your next grilling adventure.
Step 5: No Neglecting the Underside
Don’t neglect the underside of your grates – they deserve some love too. Flip them over and give them a thorough scrubbing. Grease and debris can accumulate on the underside, but with your expert touch, they’ll be banished, ensuring a clean grill from top to bottom.
Removing Stubborn Stains and Buildup
In our previous section, we learned the art of cleaning grates like true pros. Now, it’s time to face a common challenge that plagues every grill owner: tackling those tenacious stains and buildup. Fear not, my friends, for I am here to reveal the secrets of the trade. So don your aprons and prepare to embark on a journey into the realm of grill cleaning wizardry.
Scraping away debris:
Prepare for battle by equipping yourself with the ultimate weapons. Seize your trusty wire brush or grill scraper and unleash its power upon the grill grates, scraping away any loose debris or residue. Watch as it effortlessly frees stuck-on food and grease, paving the way for a smoother cleaning process.
Indulge in a soaking sensation:
Time to treat your grates to a well-deserved spa session. Create a soothing mixture of warm water and dish soap, immersing your grates in its gentle embrace. The warm water and soap form a formidable alliance, breaking down stubborn grease and grime, transforming them into mere remnants waiting to be scrubbed away. Embrace the power of the soak, and let the magic unfold before your eyes.
Enlist reinforcements:
When the going gets tough, it’s time to summon the cavalry: commercial grill cleaners or degreasers. These specialized warriors are armed with potent formulas designed to penetrate and eliminate even the most stubborn grease and grime. Embrace their power, but never forget to heed their instructions and protect yourself with gloves and eyewear.
Harness the might of steam and pressure:
Sometimes, you need an extra dose of firepower to conquer formidable foes. Enter steam cleaning and pressure washing, wielding their undeniable might against even the most stubborn stains and buildup. But beware, dear grill enthusiasts, for with great power comes great responsibility. Safeguard your grill’s electrical components and shield nearby vulnerable surfaces from the force of high-pressure water. Witness firsthand as steam and pressure transform your grill into a gleaming masterpiece.
Rinsing the Grates
In our journey to conquer the art of grill cleaning, we’ve explored the realms of scraping off tenacious stains and harnessing the might of steam cleaning. Now, it’s time to plunge into the pivotal step of rinsing the grates. Prepare to witness your grill grates gleam and safeguard their longevity with these expert tips and techniques.
Preheating for a Powerful Clean:
Before we embark on the rinsing voyage, let’s kick off by preheating our grill. Crank up that heat dial to high and let it sizzle away for approximately 15 minutes. This simple act serves a dual purpose – it loosens up stubborn residue and primes it for effortless removal during the cleaning process. Think of it as a warm-up routine before diving into the true battle of cleanliness.
Removing and Soaking:
Now that our grill is fully preheated and ready for action, it’s time to liberate those grates. Carefully extract them from their fiery abode and submerge them in a sink or a capacious container brimming with warm water. This clever maneuver accomplishes two goals – it grants us better control over handling and provides unobstructed access to every facet of the grates, ensuring an immaculate clean.
Scrubbing Away:
Equip yourself with a trusty grill brush meticulously crafted for this very task, and let’s delve into some serious scrubbing. Begin by thoroughly scouring each grate, paying meticulous attention to those enigmatic crevices between the grates where sneaky grease and residue love to hide. Don’t shy away from exerting some elbow grease for optimal results.
Should you encounter any particularly obstinate grease or stains, fret not – reinforcements are at hand. Prepare a gentle cleaning agent or concoct a potent mixture of vinegar and water to conquer that stubborn grime. Apply the solution directly onto the grates, allowing it to marinate for a few minutes before embarking on another rigorous scrubbing session.
Cleaning the Grill’s Interior
In our quest for a brilliantly clean grill, we’ve tackled preheating, removing and soaking the grates, and scrubbing away stubborn grease and stains. Now, let’s dive deep into the heart of the matter and discover how professionals clean the interior of a grill. Get ready to uncover their secrets and learn the steps that will leave your grill sparkling like new.
Step 1: Remove, Unleash Access
To begin the quest for a spotless grill interior, professionals know that removing the grates and other removable parts is crucial. This simple act opens up a world of possibilities, granting better access to every nook and cranny that needs cleaning. So go ahead, take out those grates, and let’s get started.
Step 2: Scrub Away the Build-Up
Armed with a trusty wire brush or grill brush, professionals skillfully attack the built-up grease, food particles, and carbon deposits on the interior walls. With precision and determination, they scrub away any stubborn residue that may have accumulated over time. It’s time to bid farewell to those persistent stains.
Step 3: Hot Soapy Water Magic
Now that your grill’s interior has received a thorough scrubbing, it’s time for some hot soapy water magic. Professionals create a concoction of hot water and dish soap in a bucket or sink. Armed with a sponge or cloth, they wipe down every surface inside the grill. The hot water and dish soap combo work together like sorcery, breaking down grease and grime with ease. Say goodbye to stubborn residue.
Step 4: Tackling Tough Grease and Grime
For those grills that have faced particularly dirty or greasy cooking sessions, professionals call upon their secret weapon: specialized degreasers or grill cleaners. These superhero products are specifically designed to cut through tough grease and grime, making them the perfect allies for deep cleaning the interior of your grill. Watch in awe as they battle and conquer even the most stubborn stains.
Removing and Cleaning Burner Protectors and Heat Plates
In our quest to unlock the hidden treasures of grilling mastery, we have already delved into the art of cleaning a grill’s interior. But today, we are about to embark on a new journey – uncovering the secrets behind removing and cleaning burner protectors and heat plates. These essential components not only ensure even heat distribution but also protect your precious burners from the wrath of grease and food debris. So, grab your grill brushes and let’s dive into this adventure.
Step 1: Parting Ways – Removing the Protectors and Plates
To unleash the true potential of your grill’s burner protectors and heat plates, you must first set them free from their fiery abode. Depending on your grill model, either unscrew or gently lift them off with care. Take a moment to inspect for any signs of damage or excessive wear. Remember, cracks or corrosion may require replacement.
Step 2: Brushing Away the Past – Loosening Debris
Now that you’ve liberated the burner protectors and heat plates, it’s time for a little brushing session. Armed with a wire brush or grill brush, show these parts some love by sweeping away any loose debris. This act of liberation will banish those stubborn food particles and grease build-up that have taken up residence.
Step 3: The Soak of Dreams – Submerging in Warm Soapy Water
Prepare to immerse your burner protectors and heat plates in a warm soapy bath. Fill a bucket or sink with this magical elixir and let them soak for a few minutes. As they luxuriate in this soothing soak, the warm water will work its wonders by loosening any remaining grime that dared to cling on for dear life.
Step 4: Scrubbing Brilliance – Banishing Grease Residue
Now that your parts have enjoyed their spa-like soak, it’s time to scrub away the impurities. Equip yourself with a soft-bristle brush or sponge, and gently scrub off any lingering grease or residue. Remember, gentle strokes are key to preserving the pristine beauty of those shiny metal surfaces.
Cleaning the Exterior of the Grill
In our previous expedition, we delved into the captivating realm of burner protectors and heat plates. Today, we embark on a new adventure as we uncover the secrets of cleaning the exterior of your beloved grill. So, grab your cleaning gear and let’s dive into this exciting journey.
Sweeping Away the Debris:
Like preparing a canvas for a masterpiece, professionals begin by sweeping away any loose debris or ashes from the exterior of the grill. With a trusty brush or broom, they clear the surface of any dirt or debris that has accumulated, ensuring a clean slate for our cleaning crusade.
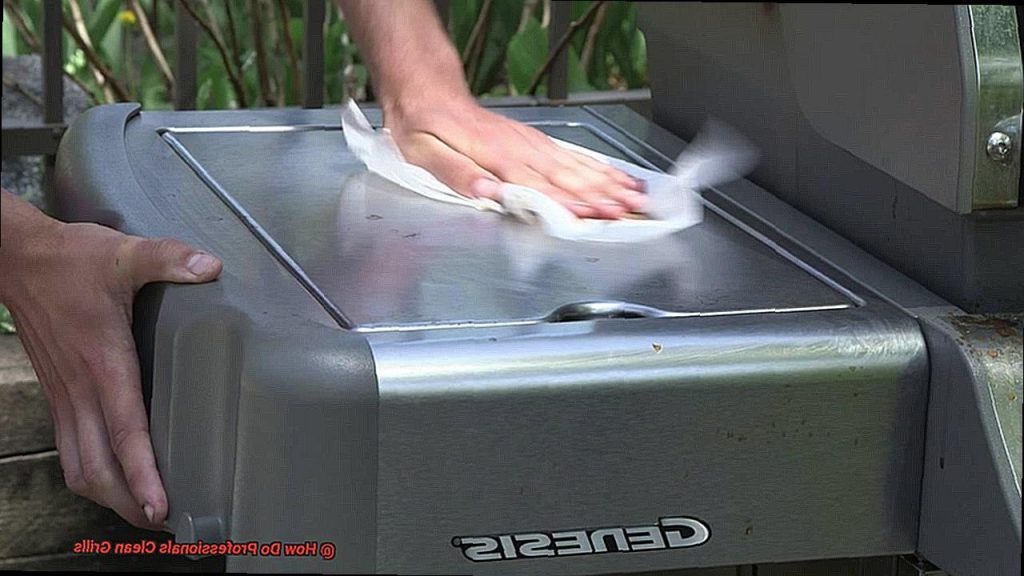
Wiping Away the Grime:
Next up, professionals unleash their secret weapon—the mighty combination of mild detergent or grill cleaner and elbow grease. Armed with these powerful tools, they wipe down the exterior of the grill, banishing grease, grime, and stubborn stains from the surface. Diluting the cleaner with water according to the manufacturer’s instructions ensures optimal effectiveness.
Shining Stainless Steel Brilliance:
For those fortunate owners of stainless steel grills, professionals reveal their stainless steel cleaning prowess. Armed with a stainless steel cleaner or polish, they apply it with a soft cloth, following the grain of the steel. This magical formula restores shine while bidding farewell to fingerprints and smudges. Say hello to brilliance.
Nurturing Enamel Coating:
Ah, enamel-coated grills—a true work of art. Professionals understand that these beauties require delicate care. Instead of abrasive cleaners or scrub brushes that may damage the surface, they opt for gentle cleaning solutions and soft cloths. With a tender touch, they clean and protect the enamel coating, ensuring its longevity and allure.
Paying Attention to Every Detail:
Professionals don’t miss a beat when it comes to the external components of your grill. They meticulously clean knobs, handles, and vents, leaving no grease or dirt buildup behind. Every nook and cranny receives the attention it deserves, ensuring a spotless and functional grill.
Drying All Parts of the Grill Thoroughly
Just like a painter meticulously prepares their canvas, cleaning your grill is a crucial step in creating culinary masterpieces. But don’t stop there. To ensure your grill remains flawless and functional, it’s essential to dry all its parts thoroughly. In this comprehensive guide, we’ll delve into the significance of this final touch and equip you with expert techniques. So, grab your trusty towel and let’s embark on a journey to protect your grill masterpiece.
The Importance of Thorough Drying:
Drying all parts of your grill goes beyond eliminating visible water; it’s a vital safeguard against rust, corrosion, and potential damage. Lingering moisture can wreak havoc, accelerating the deterioration of your beloved grill. By devoting time to meticulous drying, you’re enhancing its longevity and preserving its pristine condition.
Essential Tools for the Task:
Prepare for the drying process by arming yourself with absorbent towels or cloths. Choose lint-free companions that will leave no unwanted residue behind as you bid farewell to moisture.
Nooks and Crannies: A Closer Look:
The grates, burners, and other components of your grill hide tiny recesses that require special attention. Take the time to thoroughly dry every nook and cranny, ensuring no water droplets linger in the shadows.
Banishing Moisture from Prone Areas:
Certain parts of your grill are more susceptible to moisture buildup, such as the bottom and drip tray. Go the extra mile in drying these areas meticulously, leaving no chance for potential issues to arise.
Harnessing the Power of Compressed Air:
When towels fall short in reaching those elusive spots, professionals turn to compressed air or blowers. These tools effectively dislodge any residual water or moisture concealed in tight spaces, granting you peace of mind that every inch is impeccably dried.
Give It Room to Breathe:
After the drying process, give your grill some breathing space. Leave it open for a while, allowing any remaining moisture to evaporate completely. This step is crucial, especially if you plan on storing your grill immediately after cleaning.
Shield and Store:
To fortify your grill against moisture during periods of inactivity, invest in a high-quality grill cover. This additional layer of protection shields your grill from accidental exposure to the elements, ensuring it remains dry and always ready for action.
Conclusion
In conclusion, professional grill cleaners employ a range of techniques to ensure that your grill is sparkling clean and ready for use.
From scraping off stubborn grease and grime to meticulously scrubbing every nook and cranny, they leave no stone unturned in their quest for cleanliness. They utilize powerful degreasers and specialized brushes to remove even the toughest stains, leaving your grill looking brand new.
Additionally, professionals understand the importance of safety and take necessary precautions to protect themselves and your grill during the cleaning process.