Welcome to the thrilling world of smoking meats. If you’ve ever wondered how to keep your smoker at a steady temperature, then you’ve come to the right place. We’re about to dive into the secrets of taming that elusive 225-degree Fahrenheit sweet spot.
Picture this: succulent, tender meat that practically melts in your mouth. That’s what we’re aiming for here. And let me tell you, it all starts with nailing that perfect 225-degree smoking zone.
In this guide, we’ll be your trusty companions on this smoky journey. We’ll spill the beans on everything you need to know about achieving and maintaining that magical temperature. Get ready for a wild ride filled with mouthwatering flavors, tantalizing aromas, and some serious culinary wizardry.
So grab yourself an apron and crack open a cold one – it’s time to unlock the mysteries of smoke and embrace the delicious equilibrium of 225 degrees Fahrenheit. Your taste buds are in for a treat as we take your smoking game to a whole new level.
Let’s get started.
Contents
The Benefits of Smoking at 225 Degrees Fahrenheit
Among the various temperature ranges used for smoking, 225 degrees Fahrenheit stands out as a sweet spot for achieving tender, juicy, and flavorful smoked meats. In this article, we will delve into the numerous advantages of smoking at this specific temperature, providing you with valuable insights and tips for an unforgettable smoking experience.
Slow and Controlled Cooking:
Experience the magic of slow and controlled cooking by smoking at 225 degrees Fahrenheit. This gentle heat gradually breaks down the connective tissues in meat, transforming it into a succulent masterpiece that practically melts in your mouth. As the food cooks slowly, the wood chips or pellets used in the smoker infuse their flavors gradually, elevating the taste to new heights.
Consistent Heat Distribution:
Maintaining a steady temperature is key to smoking food to perfection, and 225 degrees Fahrenheit offers a consistent heat distribution like no other. This temperature range ensures even cooking throughout, eliminating any potential hot spots or unevenness. Barbecue enthusiasts will rejoice as achieving an impeccable smoke ring on meats becomes effortlessly attainable within this ideal temperature range.
Flavorful Crust or Bark:
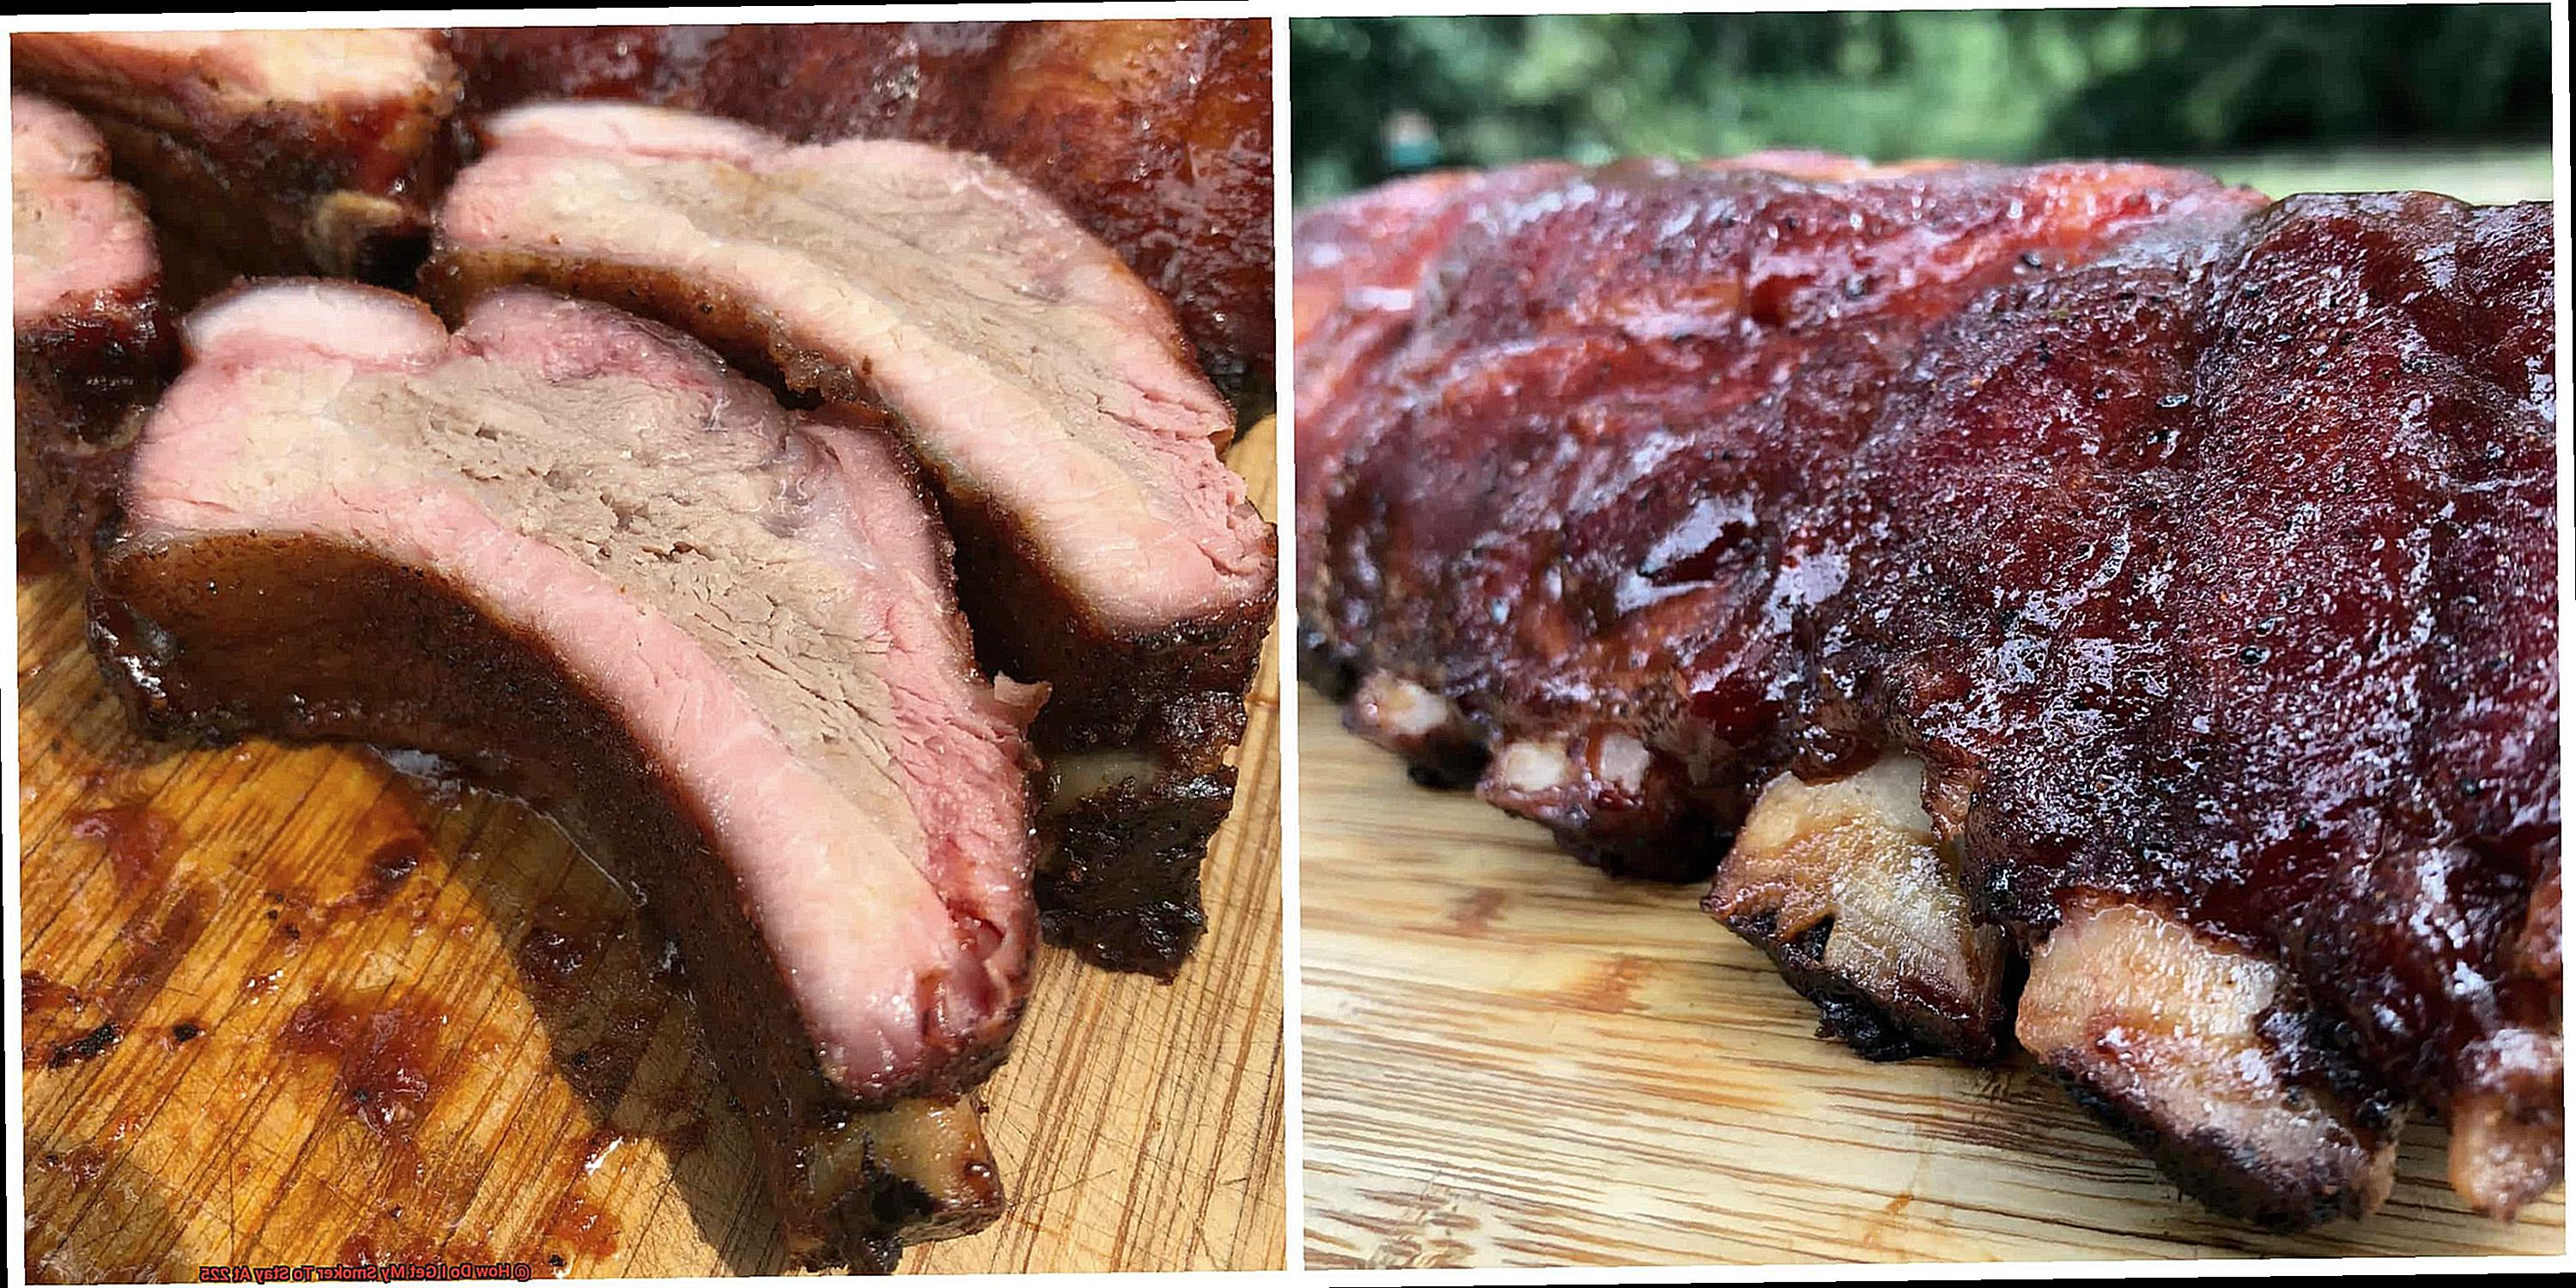
Prepare to savor the tantalizing results of smoking at 225 degrees Fahrenheit – a flavorful crust or bark that will leave your taste buds craving more. The slow cooking process allows sugars and proteins in the meat to caramelize, creating a beautiful crust that adds texture and intensifies the overall taste. The combination of a tender interior and a delectably crispy exterior is truly a feast for the senses.
Extended Cooking Time:
Smoking larger cuts of meat can be challenging due to their inherently tough composition. However, at 225 degrees Fahrenheit, you can embrace an extended cooking time that ensures thorough cooking and unbelievably tender results. Patience truly pays off when aiming to achieve the pinnacle of tenderness with cuts like brisket or pork shoulder.
Safe and Controlled Environment:
Smoking food at 225 degrees Fahrenheit provides a safe and controlled cooking environment, minimizing the risk of foodborne illnesses. This temperature range inhibits bacterial growth while still allowing for proper cooking, offering you peace of mind as you indulge in the flavorsome rewards of your smoking endeavors. Remember to adhere to proper food safety guidelines to fully enjoy the culinary delights that await.
Ensuring Proper Airflow for Temperature Control
Picture yourself savoring the tantalizing scent of flawlessly smoked meat: tender, juicy, and bursting with flavor. Achieving this level of barbecue perfection goes beyond choosing quality cuts and seasonings. It all comes down to maintaining an ideal temperature, and the secret ingredient is proper airflow. In this post, we will explore the essential steps to ensure optimal airflow for temperature control in your smoker, unlocking the full potential of your grilling adventures.
Step 1: Check those Vents:
Vents are the lungs of your smoker, circulating air to regulate the temperature inside. Before firing up your smoker, ensure all vents are wide open and free from debris or ash that obstruct airflow. A quick check saves you from uneven cooking and unpredictable temperature fluctuations.
Step 2: Location Matters:
Choosing the right spot for your smoker is crucial for consistent airflow. Opt for an area with excellent ventilation, away from walls, trees, or anything that obstructs airflow. This guarantees a steady supply of fresh air, maintaining a consistent temperature throughout the smoking process.
Step 3: Fuel Management:
The size and placement of your fuel source significantly impact airflow and temperature control. Arrange charcoal or wood chips in a pyramid shape, leaving ample space between each piece for optimal air circulation. This arrangement promotes even burning and ensures perfect smoke generation.
Step 4: Ignite with Ease:
When it comes to proper airflow, a chimney starter is a griller’s best friend. It ignites charcoal or wood chips evenly and swiftly, enhancing airflow throughout the smoker. With a well-lit fire, you’re on track to achieve professional-level temperature control.
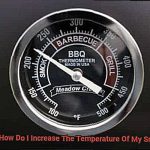
Step 5: Monitor Temperature Like a Hawk:
Equipping yourself with a reliable thermometer is essential for maintaining desired temperatures in your smoker. Regularly monitor the temperature and adjust vents accordingly. Aim for a steady 225 degrees Fahrenheit or your desired temperature for a slow and controlled cooking process.
Step 6: Resist the Urge to Peek:
Patience is paramount when smoking meat, meaning you must resist the temptation to open the smoker unnecessarily. Each time you lift the lid, you disrupt airflow and release precious heat. Limit opening the smoker to essential tasks like adding fuel or checking food progress.
Sealing the Smoker to Reduce Heat Loss
Picture this: the tantalizing aroma of smoky grilled meat wafting through the air, your taste buds tingling with anticipation. But suddenly, your grilling dreams are shattered by temperature fluctuations and heat loss. Fear not, fellow grill enthusiasts. In this comprehensive guide, we will delve into the importance of sealing your smoker to reduce heat loss. Prepare to seal the deal and unlock the full potential of your grilling adventures.
Inspect and Upgrade the Door Seal:
The door seal acts as the guardian of your precious heat. Over time, wear and tear can compromise its effectiveness, allowing air to escape. Regularly inspect the door seal and replace it if necessary. With easily available replacement gaskets and simple installation instructions, maintaining a consistent temperature of 225 degrees Fahrenheit – the holy grail of smoking – becomes a breeze.
Mind the Chimney or Vent:
The vent, often overlooked, can be a sneaky culprit when it comes to heat loss. Ensure it is fully closed for a steady temperature. A partially open vent can betray your efforts, allowing hot air to escape and resulting in unwanted temperature drops. Check for gaps or cracks around the vent area that could sabotage your heat retention efforts.
Seal Those Sneaky Gaps:
Attentiveness to detail is crucial when sealing off heat loss. Examine any gaps between the lid and body of your beloved smoker – these tiny spaces can derail your grilling dreams. Fear not, for high-temperature silicone sealant or specially designed smoker gaskets will come to your rescue. Seal those gaps and bid adieu to heat loss.
Cleanliness is Next to Smokiness:
Ash and debris buildup silently sabotage consistent heat control. Keep your smoker clean by regularly cleaning out the firebox and removing excess ash or residue from the cooking grates. A clean smoker is a happy smoker – and a happy smoker means perfectly smoked meat.
Harness the Power of Insulation:
Mother Nature can be a griller’s greatest ally or worst enemy. Extreme weather conditions or chilly evenings should never dampen your grilling spirit. Consider investing in thermal insulation blankets or wraps specifically designed for smokers. These handy accessories will help retain heat, minimizing heat loss and ensuring your grilling game remains strong regardless of the weather.
Beware of External Factors:
Wind, rain, and snow can wreak havoc on your temperature control. Position your smoker in a sheltered area or use windbreaks to minimize the impact of these external elements. Remember, you are the master of your grilling domain – don’t let Mother Nature rain on your smoky parade.
Fuel Management for a Consistent Burn
Are you ready to take your grilling game to the next level? Brace yourself, because we’re about to dive into the world of fuel management and discover how it can help you achieve a consistent burn in your smoker. Get ready to unlock the full potential of your grilling adventures.
Why is proper fuel management so crucial? Imagine this scenario: you’ve got your perfectly marinated meat ready to go, but your smoker just won’t cooperate. The temperature keeps fluctuating, and you end up with unevenly cooked food. Not exactly the grilling experience you were hoping for, right? That’s where fuel management swoops in to save the day.
Let’s start with the type of fuel you use. Charcoal is a popular choice because it provides a steady and consistent heat source. But not all charcoal is created equal. Opt for high-quality charcoal that burns evenly and produces minimal ash. Lump charcoal reigns supreme over briquettes as it burns cleaner and hotter. Remember, quality matters.
Now, let’s talk about arranging the charcoal in your smoker. This is where the minion method comes into play. Form a ring or snake of unlit charcoal around the perimeter of your smoker, leaving a small gap for airflow. Place a few lit coals at one end, and watch as they slowly ignite and burn through the unlit coals over time. This method ensures a slow and steady release of heat, maintaining your smoker at a consistent 225 degrees Fahrenheit.
But wait, there’s more. To add that extra flavor punch, consider using wood chips or chunks. Soaked wood chips smolder and produce smoke, while dry wood chunks provide a more intense flavor. Just be cautious not to overload your smoker with too many wood chips or chunks, as it can lead to excessive smoke production and temperature fluctuations. We want that sweet spot of consistency, remember?
Now, let’s not forget about airflow control. Most smokers have vents or dampers that you can adjust to regulate air intake and exhaust. Opening the vents allows more oxygen in, resulting in higher temperatures, while closing them restricts airflow and lowers the temperature. Finding the right balance may require some trial and error, but once you do, it’s smooth sailing.
Of course, monitoring the temperature is crucial. Invest in a reliable digital thermometer with a probe that can be placed inside the smoker. This way, you can keep an eye on the temperature without constantly opening the smoker and disturbing the cooking environment. Adjustments to fuel and airflow can be made based on accurate readings to maintain that perfect 225 degrees Fahrenheit.
Now, keep in mind that external factors like weather conditions can affect your smoker’s ability to maintain a consistent temperature. Windy or cold weather can cause fluctuations, so consider positioning your smoker in a sheltered area or using windbreaks if needed.
Lighting Charcoal for Optimal Heat Retention
Today, we embark on a journey to discover the secrets of lighting charcoal for optimal heat retention. With the right techniques and a little know-how, you can elevate your grilling experience to new heights. So let’s ignite the fire and delve into the world of perfect grilling.
Step 1: Choose the Right Charcoal:
To begin our quest, we must select the finest charcoal. Lump charcoal reigns supreme, burning hotter and producing less ash, guaranteeing unrivaled heat retention. Bid farewell to briquettes and embrace a grilling experience like no other.
Step 2: Ensure Proper Airflow:
Before igniting the charcoal, take a moment to ensure proper airflow in your smoker. Adjust the vents or dampers to allow a steady stream of oxygen. This crucial step maintains a consistent temperature throughout your grilling session.
Step 3: Ignite with Finesse:
Now, let’s set those coals ablaze. Explore various methods that suit your preferences. The chimney starter stands as a popular choice – place the charcoal inside and ignite from below. This method delivers even heating and eliminates the need for lighter fluid, preserving the natural flavors of your culinary creations.
Step 4: Embrace Patience:
The virtue of patience holds immense significance here. Allow the charcoal to burn until it transforms into a bed of glowing embers. This process typically takes around 15-20 minutes. Attempting to cook on partially lit charcoal will only yield uneven heat distribution and disappointment instead of perfectly grilled goodness.
Step 5: Spread the Fire:
Once your charcoal has transformed, evenly distribute it across the charcoal grate or house it in a charcoal basket. This ensures that heat is dispersed uniformly throughout your smoker, granting you the consistency you crave.
Step 6: Preheat Your Smoker:
To further enhance heat retention, preheat your smoker before adding the food. Close the lid and let your smoker reach the desired temperature. This step guarantees even cooking and locks in those mouthwatering flavors.
Step 7: Monitor and Regulate:
Throughout the cooking process, keep a vigilant eye on the temperature. Adjust the vents or dampers accordingly to regulate the airflow. Opening them slightly increases oxygen flow and raises the temperature, while closing them reduces airflow and lowers the temperature.
Step 8: Maintain Consistency:
As you embark on your grilling journey, remember to introduce additional pre-lit charcoal as needed to maintain a consistent temperature. Simply ignite a small amount of charcoal separately and introduce it to the smoker when necessary.
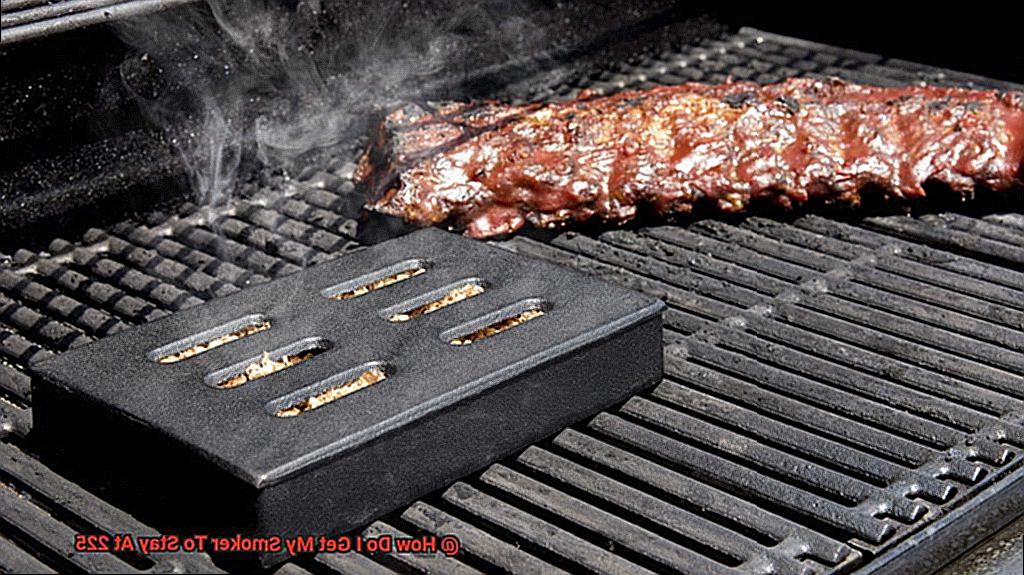
Adding Wood Chunks and Chips for Smoke Flavor
Get ready to impress your friends and family with the irresistible smoky flavor that comes from adding wood chunks and chips to your grill. Whether you’re a seasoned pitmaster or a backyard grilling newbie, this simple technique will elevate your cooking to new heights.
Let’s start by exploring the different types of wood and their flavors. Hickory, mesquite, applewood, cherry, and oak are all popular choices that offer unique taste profiles. From the mild sweetness of applewood to the boldness of hickory, each wood variety adds its own distinct flavor to your food. Choose the wood that suits your desired taste experience.
Now, let’s dive into the process of adding wood chunks and chips to your grill. Wood chunks are perfect for longer cooking sessions like smoking a brisket or ribs. These larger pieces of wood burn slowly, releasing smoke over an extended period of time. Simply place them directly on the charcoal or use a smoker box if you’re using a gas grill.
If you’re looking for a quick burst of smoky goodness or have a shorter cooking session, wood chips are the way to go. Soak them in water for about 30 minutes before using them to prevent them from burning too quickly. Scatter the soaked chips over hot coals or place them in a smoker box for an instant infusion of smoky flavor.
It’s important not to go overboard with the wood. Using too much can result in an overpowering smoky flavor or even make your food bitter. Start with a small amount and adjust according to your taste preferences.
The placement of the wood inside your smoker is also crucial. Placing it closer to the heat source will give you a more intense smoky flavor, while placing it further away will create a milder taste profile. Experiment with different placements to find your perfect balance.
Don’t forget to keep an eye on your smoker’s temperature. Maintaining a steady temperature of around 225 degrees Fahrenheit is the sweet spot for smoking. Use a reliable thermometer to monitor the temperature and make any necessary adjustments.
Now, here’s a pro tip for you – don’t limit yourself to just wood chunks and chips. Expand your flavor possibilities by experimenting with other smoke-enhancing ingredients like wood pellets or even herbs and spices. These additions can take your smoky flavor to a whole new level, adding complexity and depth to your dishes.
Monitoring the Temperature with a Thermometer
Grab your apron, fire up the smoker, and let’s dive into the wonderful world of temperature monitoring.
Choose the Right Thermometer:
To begin your temperature monitoring journey, it’s important to select the right thermometer for your needs. There are several options available, each with its own advantages.
Analog thermometers are budget-friendly and straightforward, while digital thermometers offer precision and ease of reading.
For those seeking convenience and remote monitoring capabilities, wireless thermometers are ideal. Consider your budget and preferences before making a decision.
Calibrate for Accuracy:
Before embarking on your grilling adventure, take a moment to calibrate your thermometer for accurate readings. This simple step ensures that you’re getting precise results. Calibrating involves checking the accuracy of your thermometer using boiling water or ice water and making any necessary adjustments. It’s a small investment of time that pays off in perfectly cooked meats.
Proper Placement is Key:
For accurate temperature monitoring, proper probe placement is crucial. Insert the thermometer probe into the thickest part of the meat being smoked, away from bones or fat that can skew readings. This ensures you’re getting an accurate representation of the internal temperature. Remember, precision is key when it comes to achieving that perfect 225°F.
Regular Monitoring and Adjustments:
Maintaining a steady temperature requires vigilance. Regularly check your thermometer readings and make adjustments as needed. This may involve tweaking air vents, fuel levels, or heat sources. Additionally, external factors such as weather conditions, wind, or altitude can impact temperature, so keep an eye on those as well. By staying proactive and making necessary adjustments, you’ll ensure consistent temperature control throughout the smoking process.
Cross-Reference for Confidence:
Double-checking is always a good idea when it comes to temperature control. Having a backup thermometer or a second one for cross-referencing provides peace of mind and ensures the accuracy of your readings. This extra step can prevent any surprises and allow you to confidently maintain that perfect 225°F temperature.
Adjusting to Outdoor Conditions for Heat Retention
Today, we dive into the art of heat retention in your smoker and conquer the challenges posed by wind, temperature, and humidity. With strategic adjustments, you’ll maintain that perfect 225°F temperature for mouthwatering smoked meats every time.
Conquering the Wind:
The wind can be a formidable opponent when it comes to heat retention. Position your smoker in a sheltered area, shielded from strong gusts. Use windbreaks like fences or barriers to create a stable environment. Keeping that warm air surrounding your smoker intact is essential.
Taming Temperature:
Outdoor temperatures can throw a curveball into your smoking game. In hot weather, reduce fuel or open vents slightly to regulate heat and prevent it from skyrocketing. On colder days, insulate your smoker or use thermal blankets to maintain the optimal temperature.
Handling Humidity:
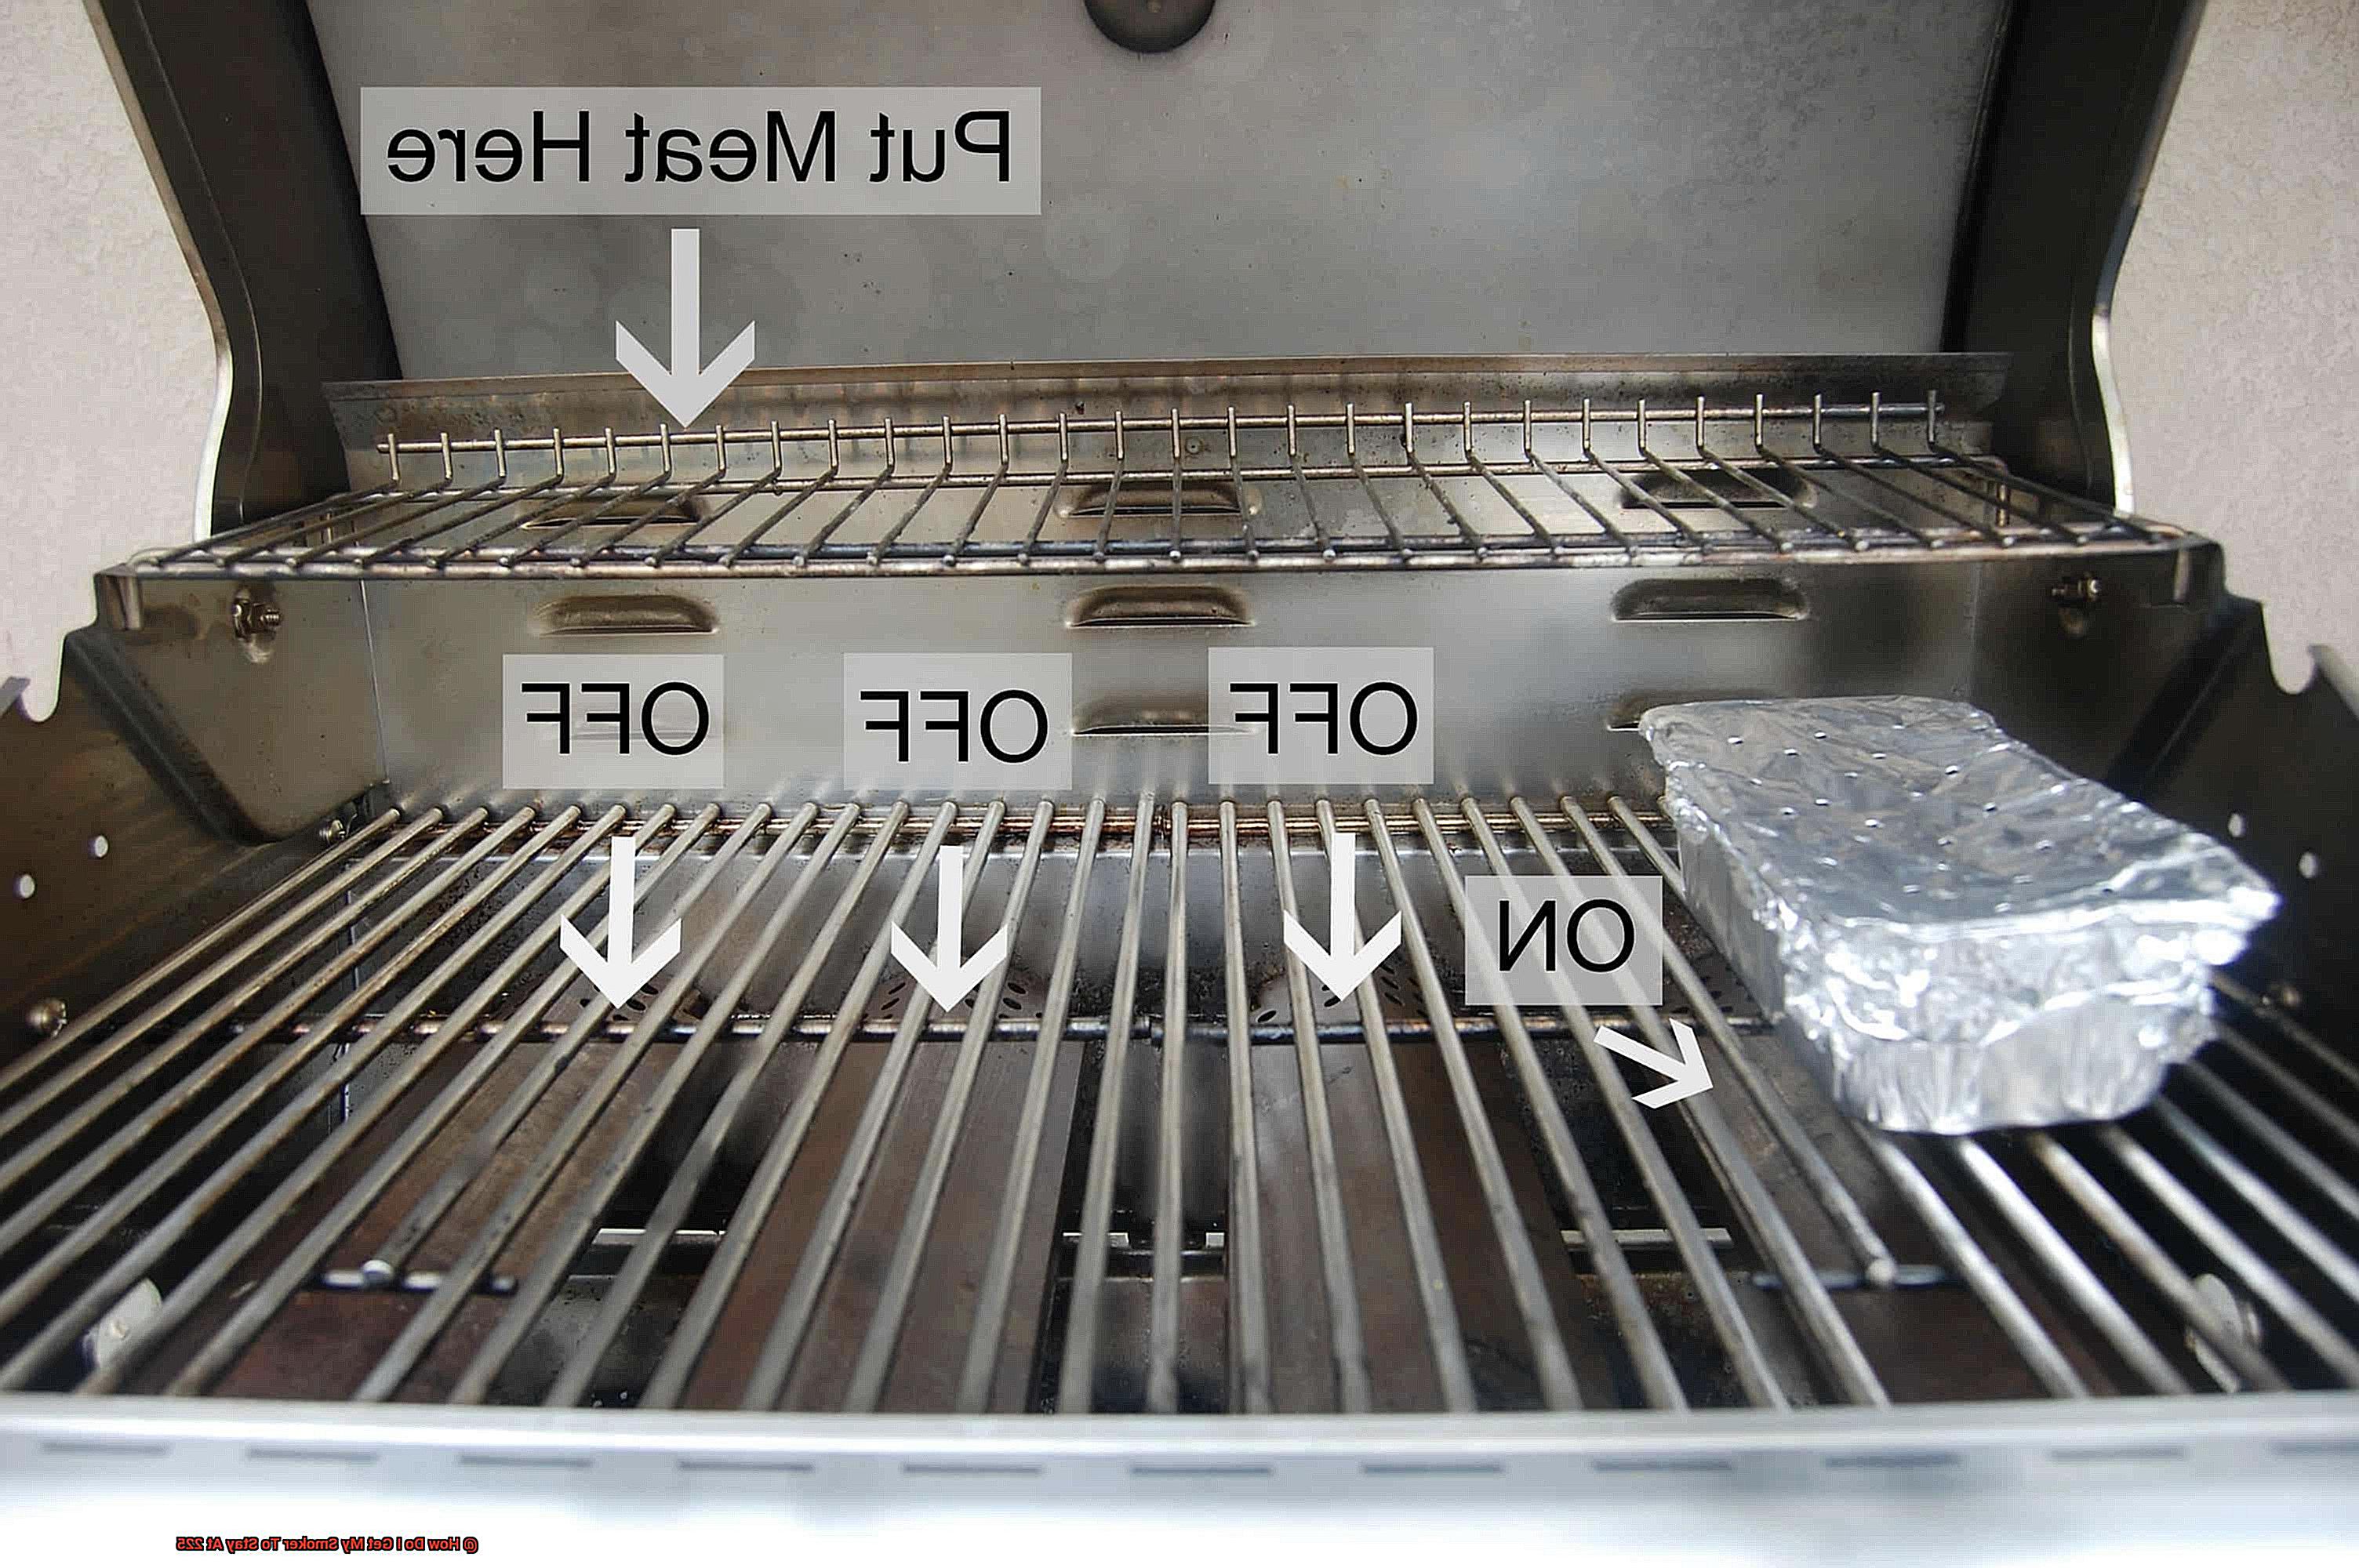
Humidity levels impact heat retention by absorbing energy needed for your smoker to reach and maintain 225°F. Ensure proper ventilation and airflow within your smoker. Open vents and place a water pan inside to create a more humid environment, improving heat retention while adding moisture to your meats.
Understanding Your Smoker’s Characteristics:
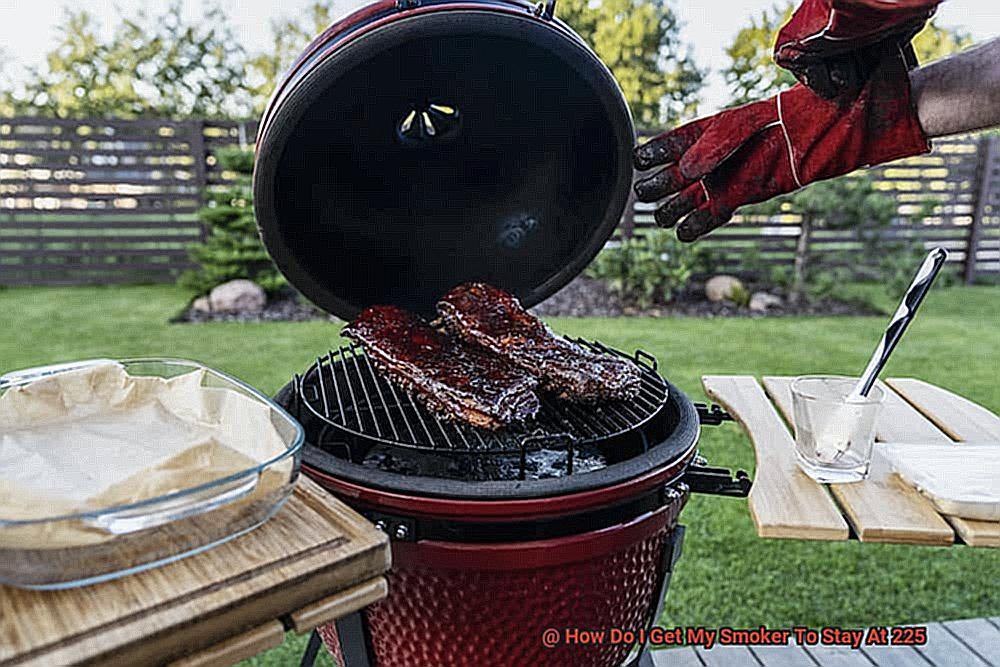
Different smokers have varying degrees of susceptibility to outdoor conditions. Thin-walled offset smokers may be more affected by wind and temperature fluctuations compared to insulated smokers like ceramic or pellet smokers. Get to know your specific smoker’s idiosyncrasies and adjust accordingly for a consistent cooking experience.
CuVIwLv30tI” >
Conclusion
Achieving a steady temperature of 225 degrees on your smoker can be a challenge, but fear not. With a few expert tips and tricks, you’ll have that perfect low and slow cooking environment in no time.
Firstly, it’s crucial to ensure that your smoker is properly calibrated. Check the thermometer for accuracy and make any necessary adjustments. A reliable temperature gauge is your best friend when it comes to maintaining a consistent heat level.
Next, pay close attention to the airflow within your smoker. Proper ventilation is key to achieving and sustaining that coveted 225-degree mark. Adjust the vents accordingly, allowing for just the right amount of oxygen to fuel the fire without causing drastic temperature fluctuations.
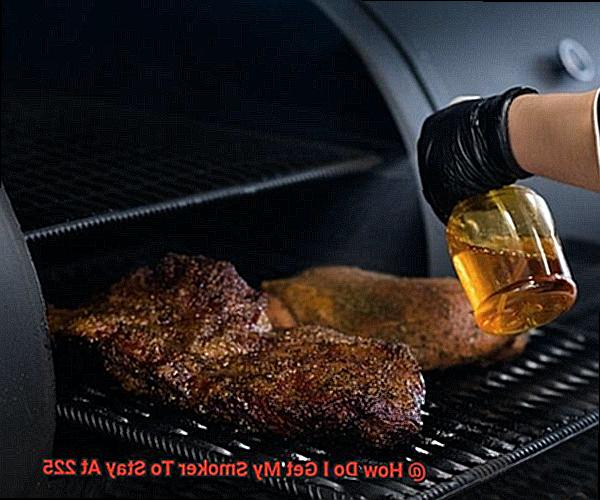
Additionally, consider using a water pan or heat sink in your smoker. This simple yet effective technique helps regulate the internal temperature by providing moisture and acting as a buffer between the heat source and your food. It’s like having an insurance policy against temperature spikes.
Now, let’s talk about fuel management. Whether you’re using charcoal, wood chips, or pellets, it’s essential to maintain a consistent fuel supply throughout the cooking process. Keep an eye on your fuel levels and replenish as needed to avoid sudden drops in temperature.
Lastly, patience is key when it comes to mastering the art of smoking at 225 degrees. Avoid opening the smoker unnecessarily as this can cause heat loss and disrupt the delicate balance you’ve worked so hard to achieve.
So there you have it – with proper calibration, airflow control, water pans, fuel management, and patience – you’ll be well on your way to maintaining that perfect 225-degree sweet spot on your smoker.