Contents
Welcome to the tantalizing world of ham glazing.
Prepare to embark on a mouthwatering journey that will take your precooked ham from good to gourmet. Glazing isn’t just about adding flavor; it’s about creating a masterpiece that will leave your guests in awe.
Picture this: a succulent ham, glistening with a sticky, caramelized coating that’s as visually stunning as it is delicious. Whether you’re gearing up for a festive feast or simply want to impress your loved ones with an unforgettable meal, glazing is the secret ingredient that will elevate any occasion.
In this blog post, we’ll uncover the secrets of perfecting the glazing technique. From selecting the perfect glaze to mastering the art of application, get ready to become the culinary superstar you were always meant to be.

So grab your apron and let’s delve into the delectable world of glazing – where your precooked ham’s hidden potential awaits.
What is Glazing?
When it comes to culinary masterpieces, flavor and visual appeal go hand in hand. One technique that can take your dishes to the next level is glazing. Glazing involves applying a delectable coating to a food item during the cooking process, enhancing taste, moisture, and presentation.
Here, we will explore the art of glazing, focusing on how it can transform a precooked ham into a succulent masterpiece. Prepare to tantalize your taste buds and impress your guests with the magic of glazing.
What is Glazing?
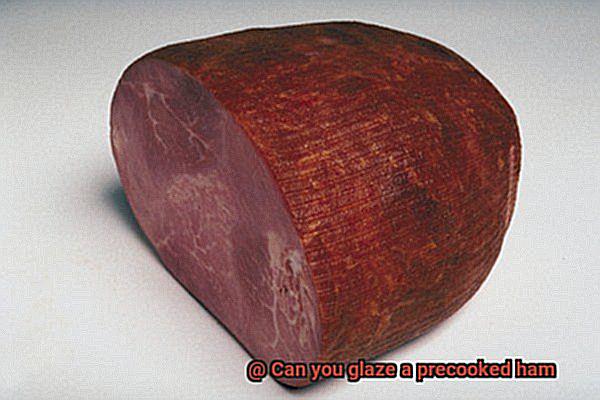
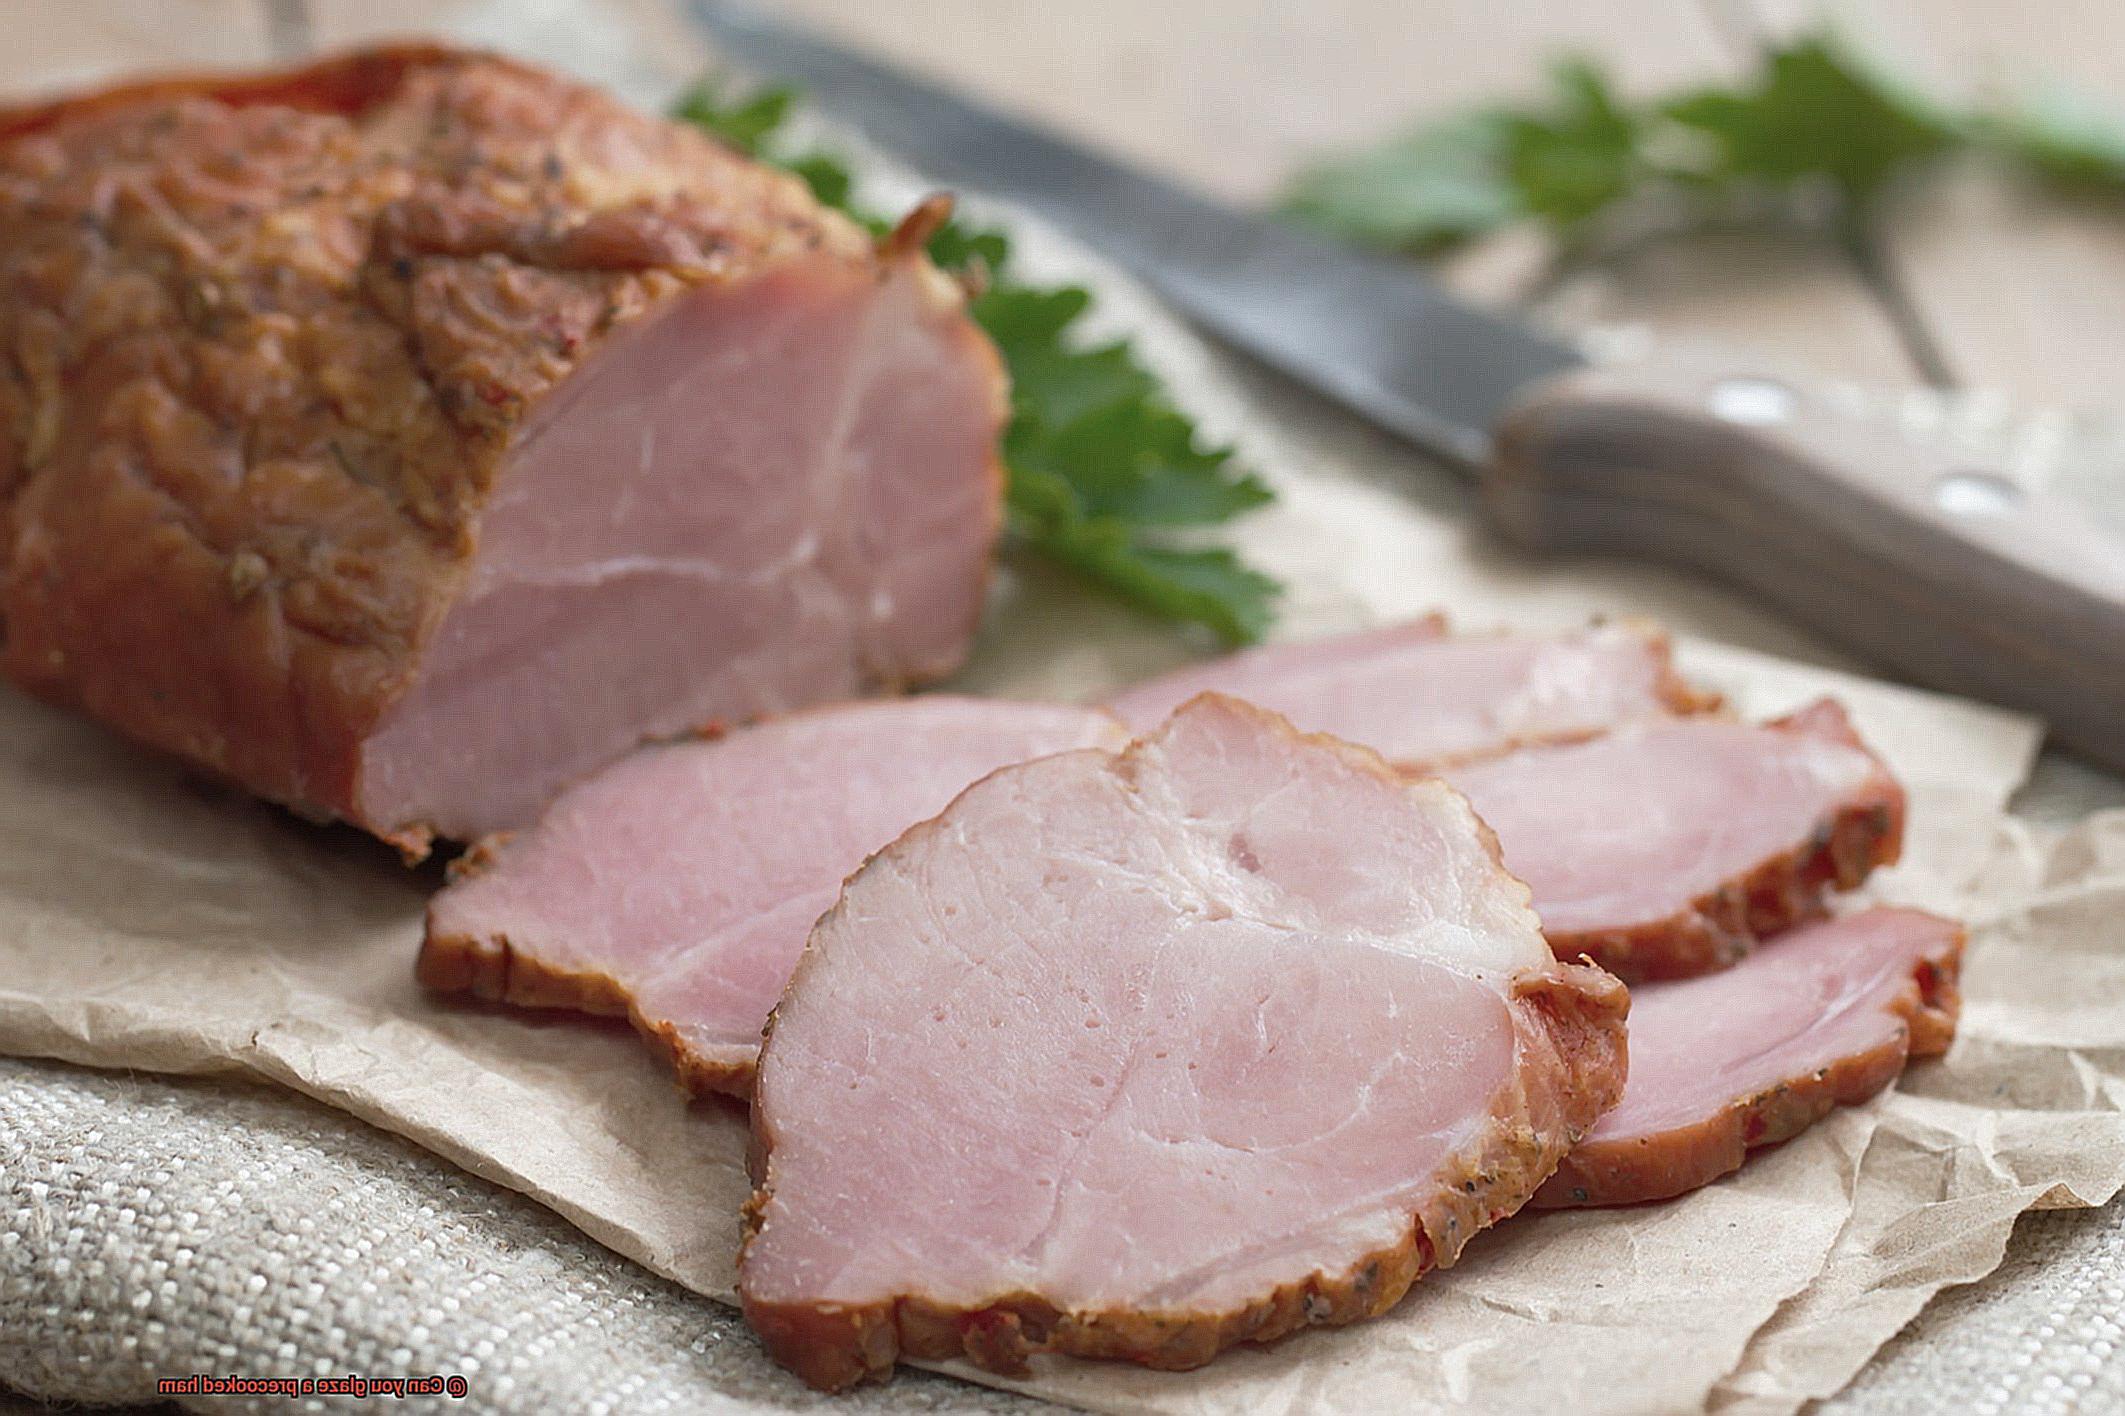
Glazing is a culinary technique that elevates the taste, texture, and appearance of a dish. It entails applying a luscious coating to meat, poultry, or seafood during cooking. When it comes to a precooked ham, glazing refers to adding a sumptuous coating before heating. This glaze creates an alluring glossy finish on the outside of the ham, making it visually irresistible and mouthwatering.
Creating the Perfect Glaze:
Unlock your inner culinary artist by creating the perfect glaze for your precooked ham. The options are endless as you explore ingredients such as honey, brown sugar, mustard, maple syrup, pineapple juice, and more. Mix and match these ingredients to create your own unique flavor profile. Generously apply the glaze to ensure every inch of the ham is coated for consistent flavor throughout.
The Glazing Process:
With your tantalizing glaze mixture ready, it’s time to apply it to your precooked ham. Use a brush or spoon to lavish the surface of the ham with this elixir of taste. Ensure that every nook and cranny is covered in this heavenly concoction for an even distribution of flavor and an eye-catching finish.
Cooking and Caramelization:
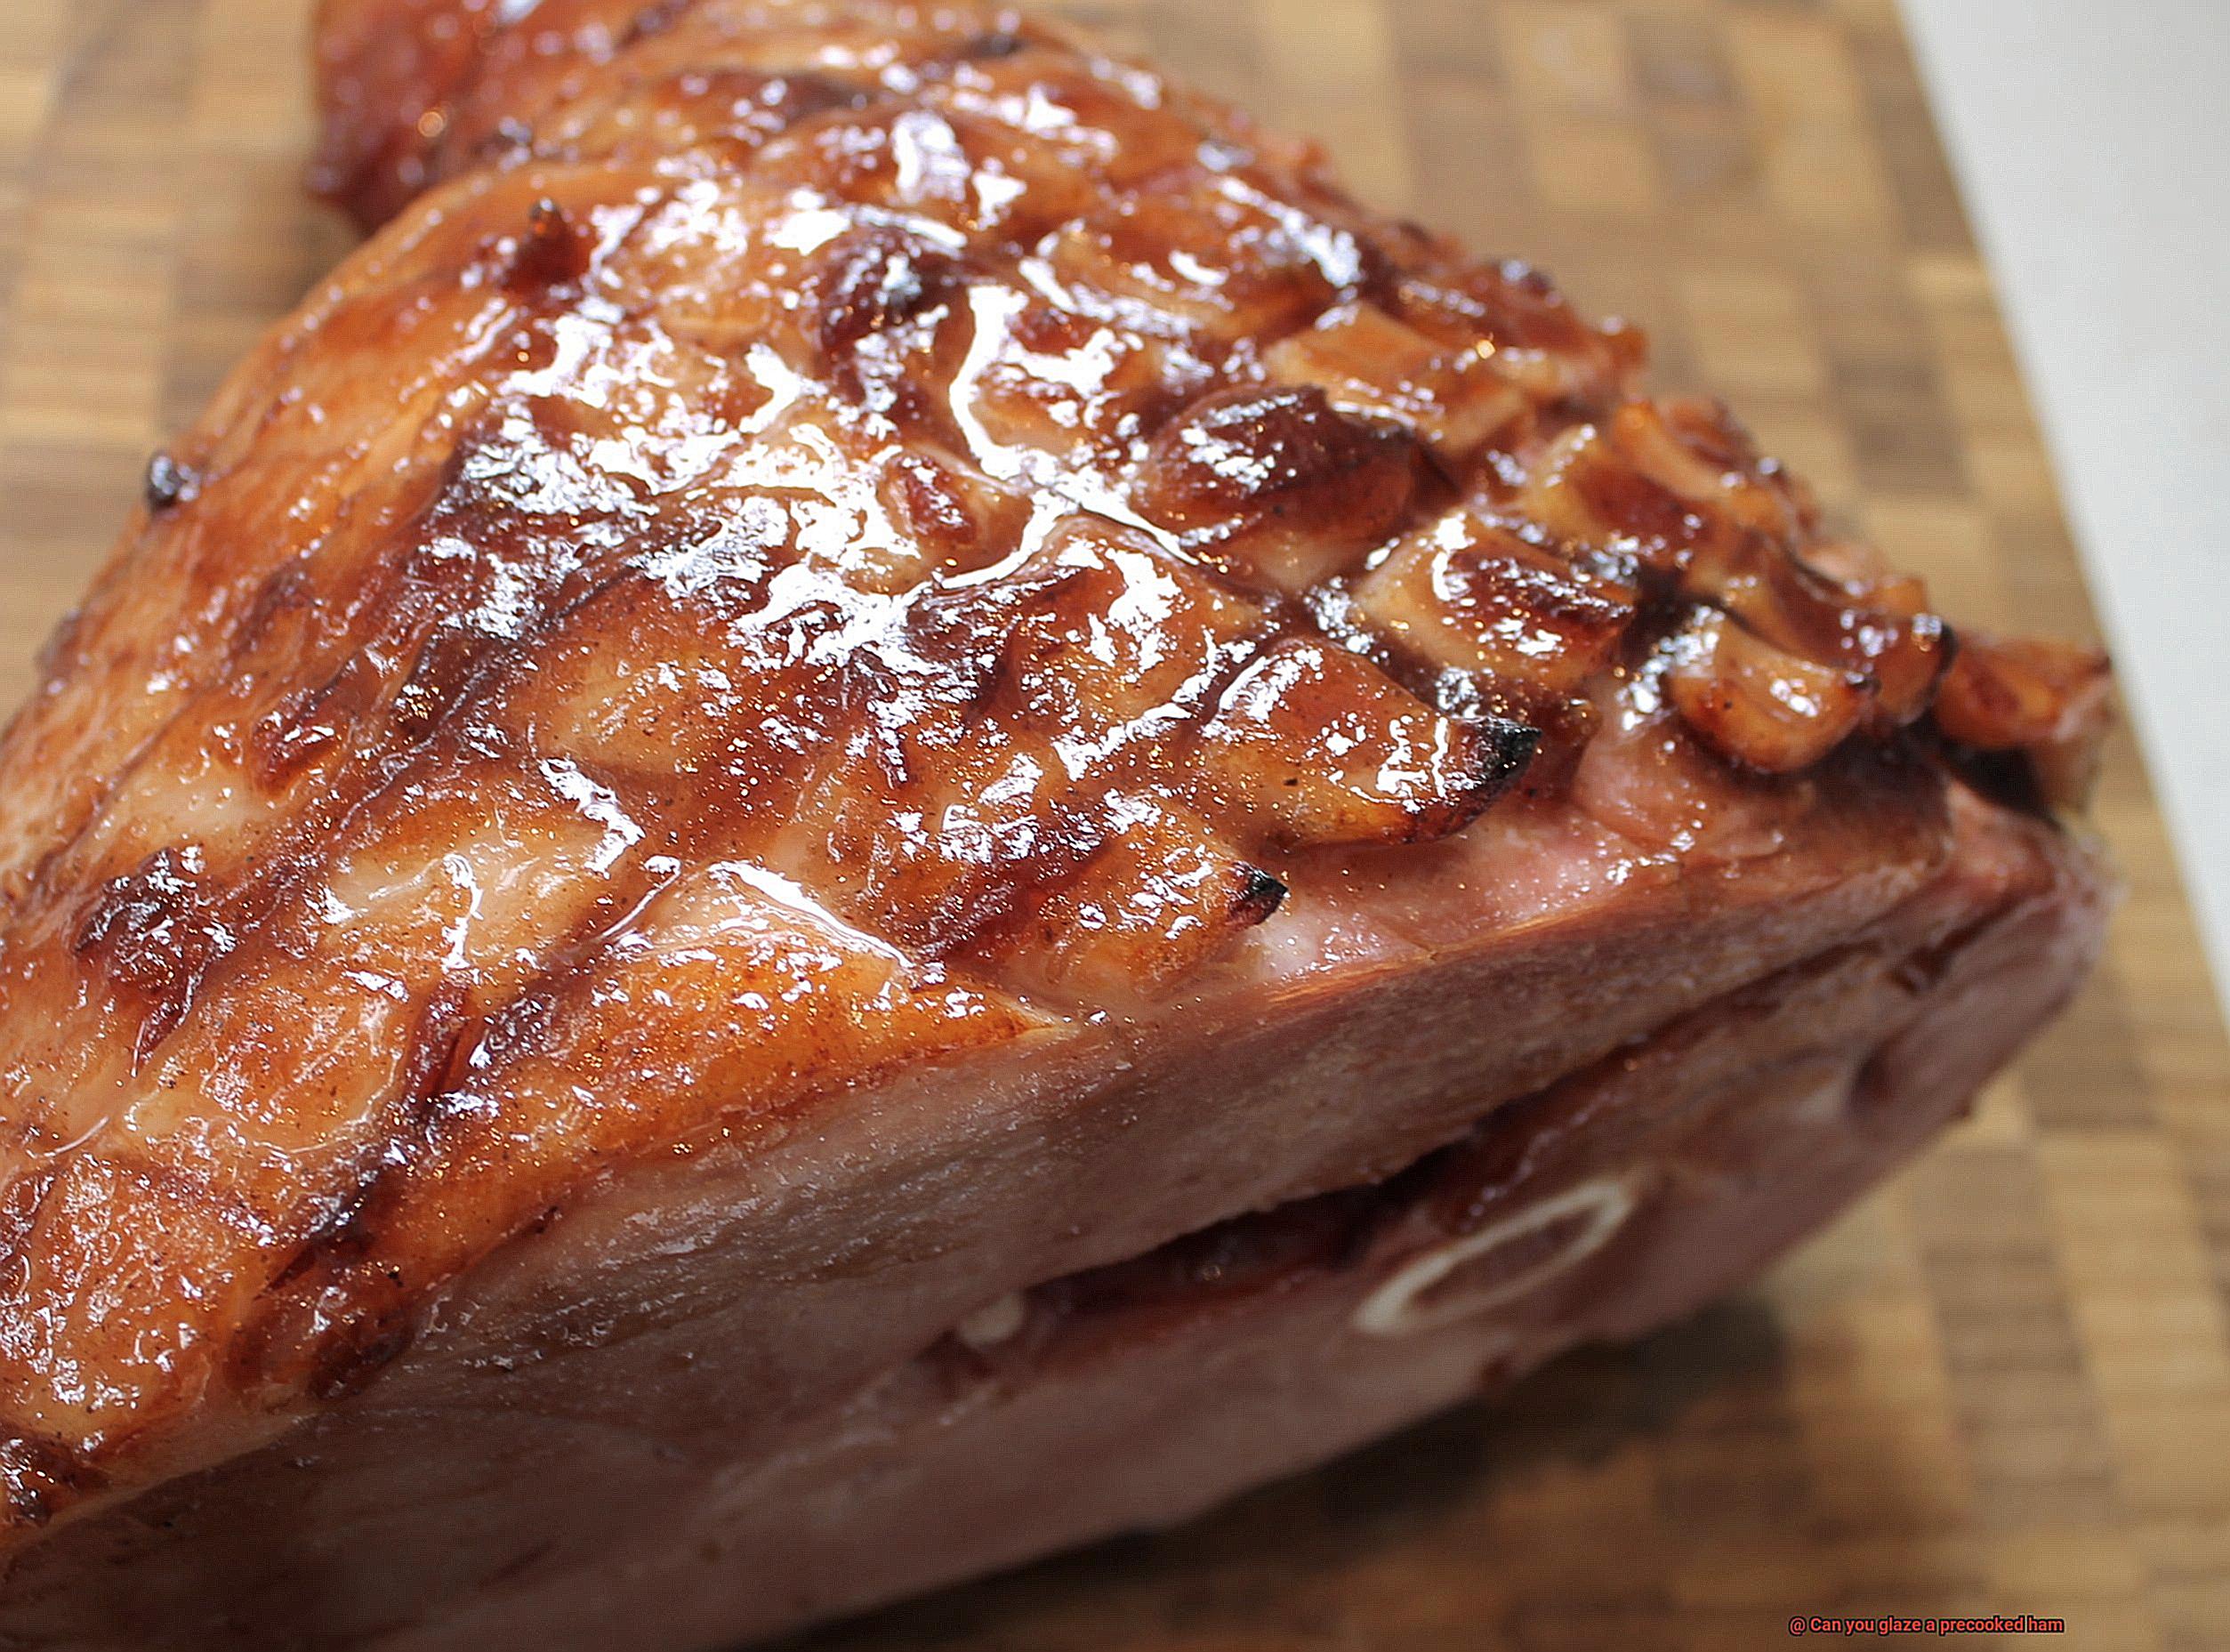
Now comes the moment of transformation. Place the glazed precooked ham in an oven or on a grill, following the cooking instructions for your specific ham. As the heat intensifies, watch in awe as the sugars in the glaze caramelize, creating a beautiful golden brown and sticky crust on the outside of the ham. This caramelization not only adds depth of flavor but also enhances the overall taste experience, taking your senses on a journey of sweet and savory delight.
Resting and Serving:
Allow the masterpiece to rest for a few minutes before carving and serving. This brief interlude allows the juices to redistribute, resulting in a more tender and succulent ham. As you slice into it, bask in the knowledge that your glazing technique has elevated this classic dish into something extraordinary.
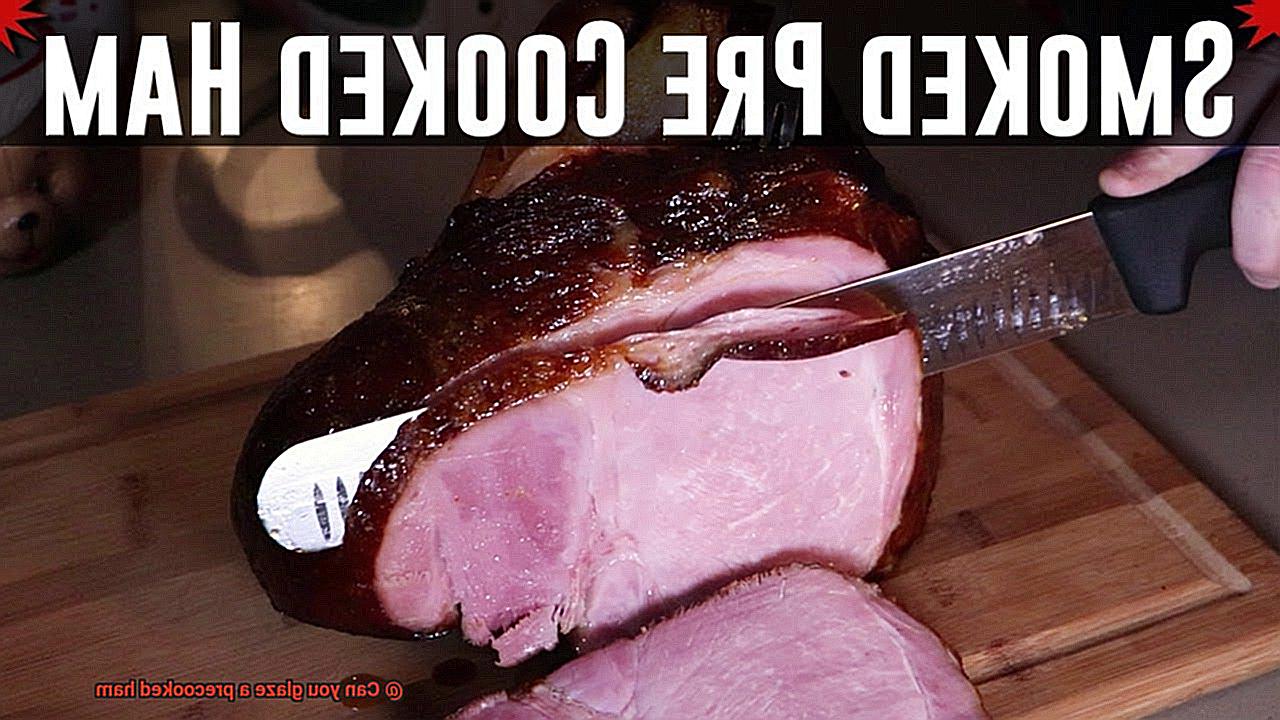
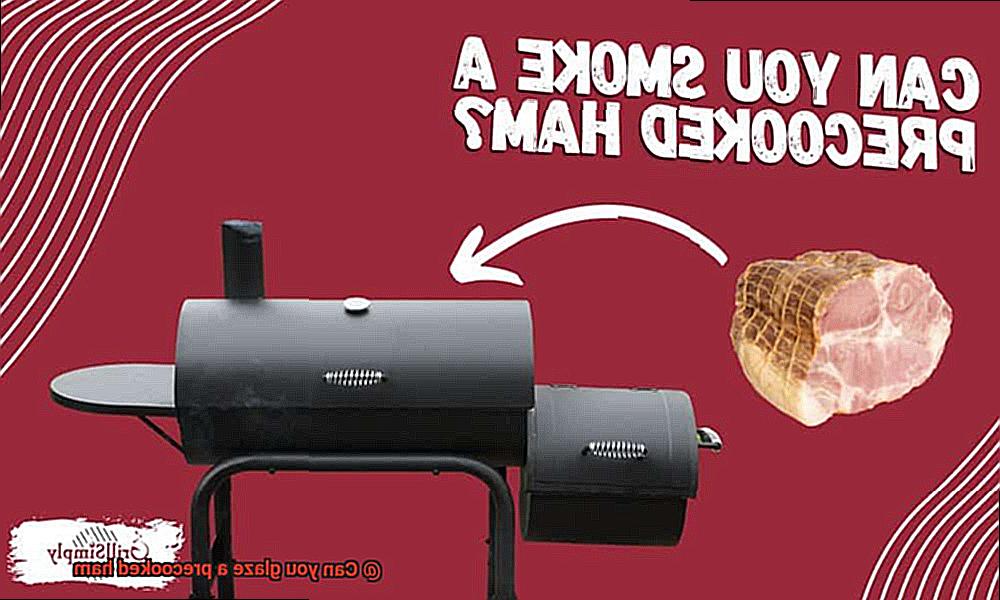
Can You Glaze a Precooked Ham?
Glazing a precooked ham isn’t just about adding flavor; it’s about creating a stunning masterpiece that will impress your guests. In this guide, we’ll show you how to glaze a precooked ham like a pro, from choosing the perfect glaze to achieving that mouthwatering caramelized finish. Get ready to elevate your grilling game and leave everyone craving for more.
Choosing the Perfect Glaze:
Step one in glazing a precooked ham is selecting the ideal glaze. Whether it’s the classic combination of honey and mustard or the tantalizing blend of brown sugar and pineapple, the choice is yours. You can even get creative with spices like cinnamon, cloves, and nutmeg. The key is to find a glaze that harmonizes with the flavors of the ham and ignites your taste buds.
Preparing for Glazing:
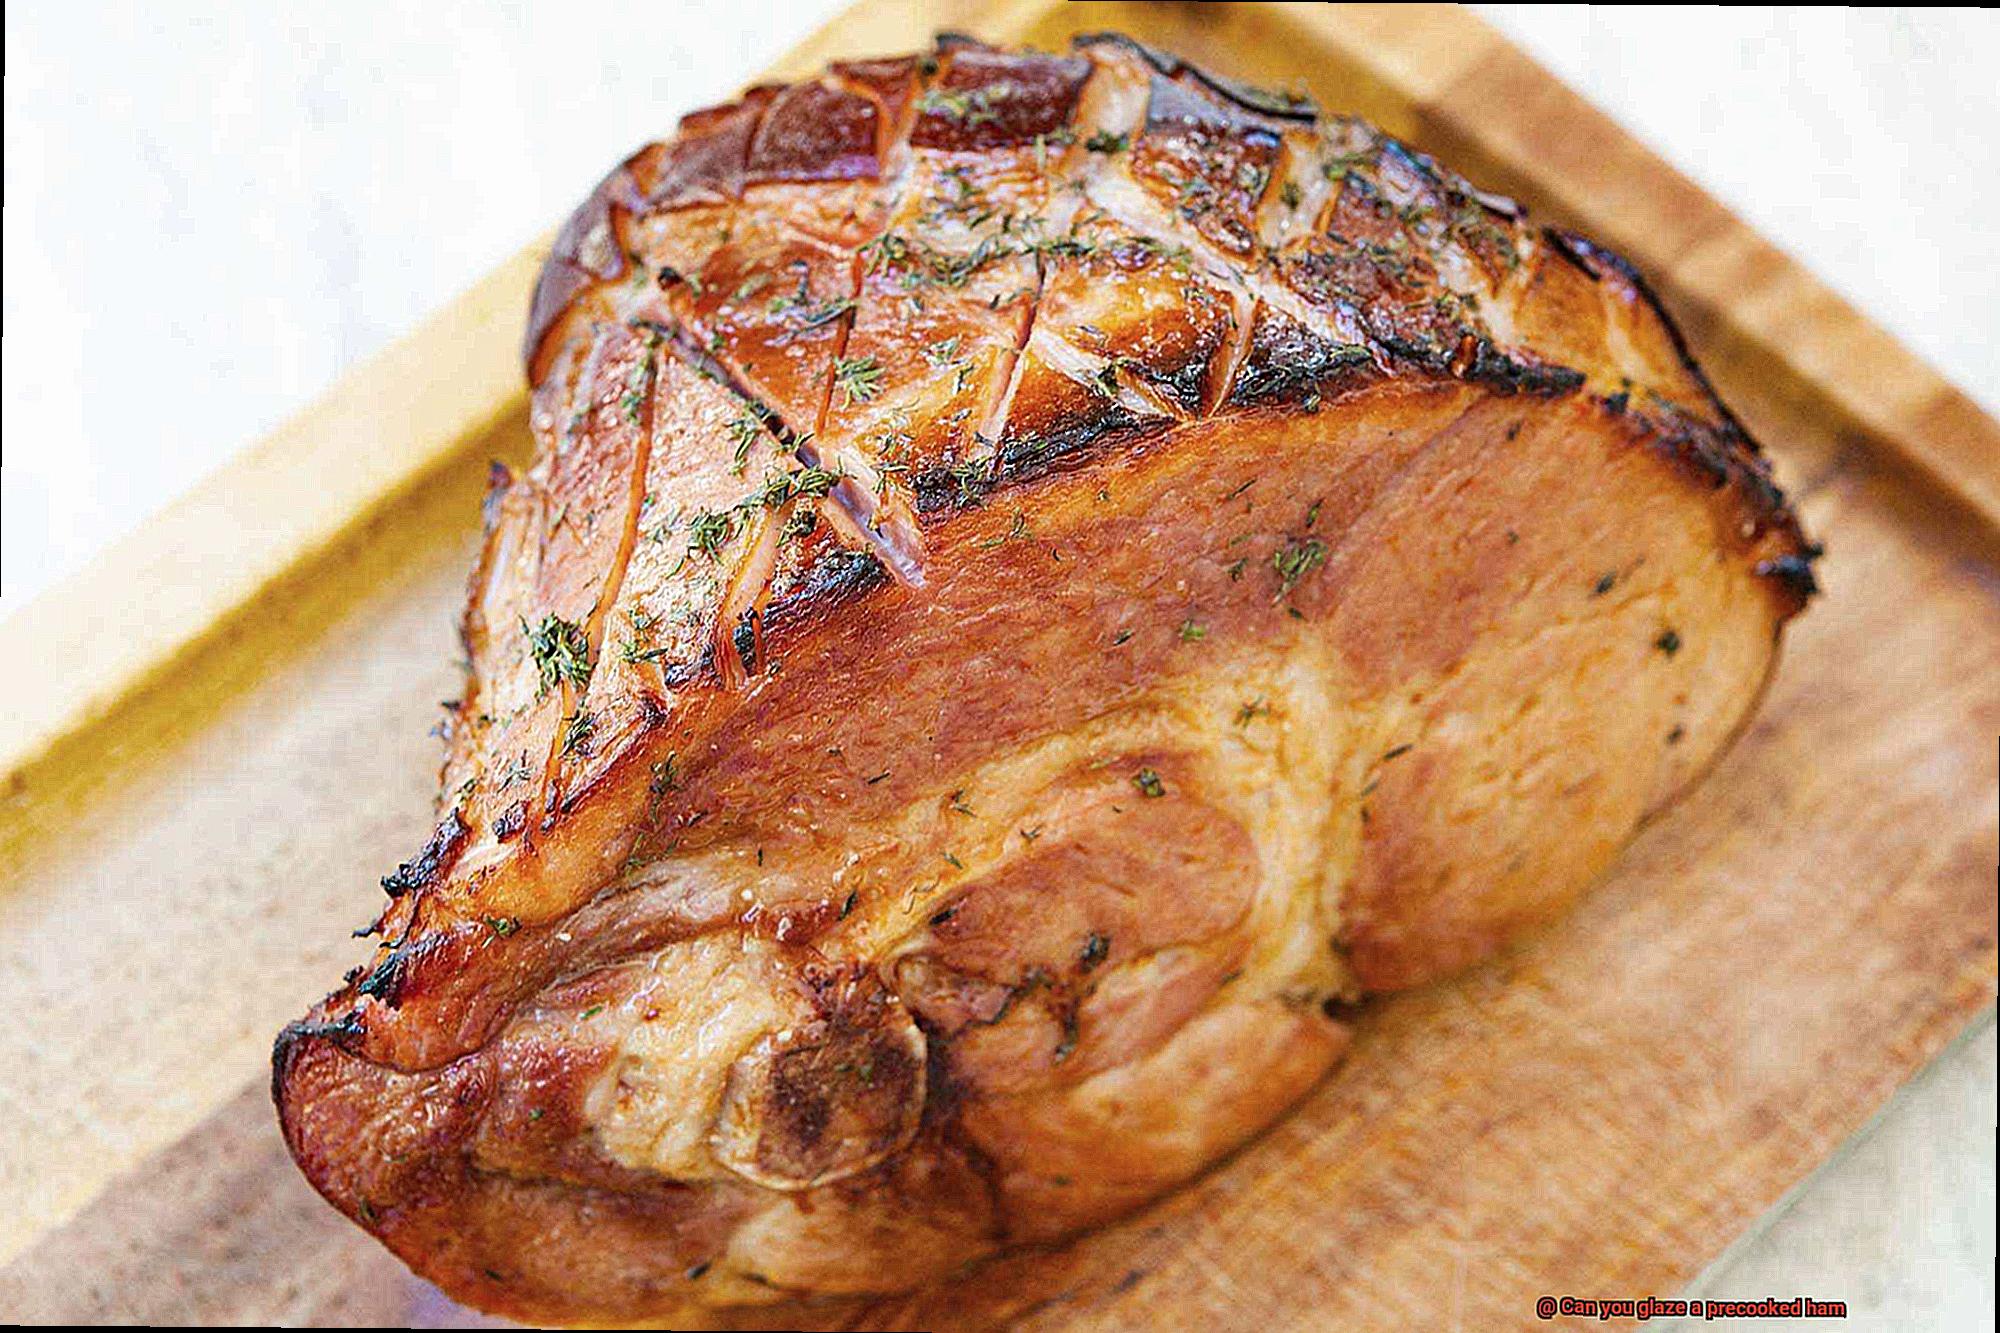
Before applying the glaze, let’s prepare the ham for its makeover. Score the surface of the ham with shallow cuts in a diamond pattern, allowing the glaze to seep into the meat and creating an eye-catching presentation when it caramelizes. Take your time, making sure not to cut too deep, as we want to keep those juicy flavors intact.
The Art of Glazing:
Now it’s time to bring on the glaze. Use a brush or spoon to generously coat the ham with your chosen mixture. Don’t be shy; let that glaze work its magic. For an extra burst of flavor, baste the ham with the glaze during the cooking process.
Cooking Time and Temperature:
With your beautifully glazed ham ready for action, it’s time to cook it to perfection. Refer to the package instructions or your trusted recipe for cooking times and temperatures. As a general rule of thumb, precooked hams require about 15-20 minutes per pound of cooking time at approximately 325°F (160°C). Keep the ham moist and flavorful by periodically basting it with any remaining glaze or pan juices.
Monitoring the Internal Temperature:
To ensure your ham reaches its full potential, monitor its internal temperature using a trusty meat thermometer. Aim for an internal temperature of 145°F (63°C) to guarantee both safety and taste. This will leave your ham juicy, tender, and ready to be devoured.
Resting and Serving:
Once your glazed ham is cooked to perfection, it’s time to let it rest. Allow it to sit for 10-15 minutes before carving, allowing the juices to settle and infuse every bite with succulence. Then, slice and serve as the star of your holiday feast or create delectable sandwiches and recipes that burst with sweet and savory flavors.
Preparing the Glaze Mixture
Preparing the glaze mixture for a precooked ham is an art that can take your grilling skills to the next level. It’s all about finding the perfect balance of sweet and savory flavors to complement the natural taste of the ham. So, let’s dive into the process and explore the key steps to create a mouthwatering glaze.
First, let’s talk about the ingredients. The options are endless – brown sugar, honey, maple syrup, Dijon mustard, pineapple juice, orange juice – these are just a few tantalizing choices. The key is to strike that delicate balance that will make your taste buds dance with joy.
Once you’ve chosen your ingredients, it’s time to get the proportions right. Start with equal parts of brown sugar and a liquid component like honey or fruit juice. But here’s the fun part – you can adjust the measurements to suit your taste buds. Craving more sweetness? Add extra brown sugar. Want a tangy kick? Increase the mustard or citrus juice. It’s all about finding that perfect harmony of flavors.
Now, let’s mix it up. Grab a bowl and whisk away until all the flavors are fully incorporated. You want a smooth and consistent texture that will coat your ham perfectly. But why stop there? This is your chance to get creative. Sprinkle in some ground cloves or cinnamon for warm and aromatic notes. Grate some fresh ginger for a subtle spicy kick. Let your taste buds guide you on this delicious journey.
Now comes the exciting part – applying the glaze to the ham. Take a brush or spoon and generously coat every inch of that ham with your luscious glaze mixture. Don’t be shy – make sure it’s covered in a tantalizing layer of flavor.
But we’re not done yet. To achieve that beautiful caramelized finish, baste the ham during cooking. Every 15-20 minutes, brush on more of that tantalizing glaze. This will build up layers of flavor and create a glossy, sticky coating that will have your guests drooling with anticipation.
Applying the Glaze to the Ham
Elevate your culinary skills and tantalize your taste buds by mastering the art of applying the perfect glaze to a precooked ham. This simple yet transformative technique will take your meal from ordinary to extraordinary, leaving your guests in awe and begging for the recipe.
Before we delve into the glazing process, let’s talk about scoring. Imagine a beautifully glazed ham, glistening on your grill with its surface adorned in delicate diamond-shaped cuts. These shallow incisions not only create an eye-catching presentation but also play a vital role in flavor infusion. By scoring the ham, you’re increasing the surface area for the glaze to seep into, resulting in maximum flavor infusion and that coveted caramelization.
Now, let’s explore the realm of glaze options. The world is your oyster when it comes to choosing the perfect glaze for your ham. Some tried-and-true favorites include a tangy honey mustard, a sweet and tangy brown sugar and pineapple combination, a harmonious blend of maple syrup and Dijon mustard, or even a tantalizing medley of cloves, cinnamon, and nutmeg for those seeking a more spiced flavor profile. The possibilities are endless; let your creativity shine and experiment until you find your signature glaze.
When it’s time to apply the glaze, channel your inner artist and pick up a brush or spoon. Begin by generously spreading the glaze over the scored surface of the ham, ensuring every nook and cranny is covered for an orchestra of flavors in every bite. Feeling adventurous? Nestle whole cloves into the scored lines for an aromatic twist that will transport your taste buds to flavor paradise.
Timing is crucial when it comes to glazing. To prevent the glaze from burning and losing its luster, it’s best to apply it towards the end of the cooking process. Brush it on during the last 30 minutes to an hour of cooking time, depending on the size of your ham. This allows the glaze to set and create that irresistible caramelized crust we all crave.
For those who crave an intensified flavor experience, consider layering the glaze. After each application, return the ham to the oven for a quick stint to let the glaze set before applying the next layer. This will result in a symphony of flavors that will leave your guests speechless.
While applying the glaze, it’s essential to maintain the temperature of your ham. Avoid opening the oven too frequently, as it can cause temperature fluctuations and affect cooking time. Aim for an internal temperature of 140°F (60°C), ensuring your ham is safe and succulent. Once this temperature is reached, remove the ham from the oven and allow it to rest for a few minutes, allowing the flavors to meld and intensify before slicing and serving.
Cooking the Precooked Ham with Glaze
Take your grilling skills to new heights with the tantalizing flavors and stunning presentation of a precooked ham with glaze. This guide will walk you through the step-by-step process, transforming you into the ultimate grill master. Get ready to impress your family and friends with this mouthwatering dish.
Step 1: Prepare the Glaze
Unleash your creativity by experimenting with various glaze ingredients such as brown sugar, honey, maple syrup, mustard, cloves, and pineapple juice. Combine these ingredients in a bowl until they form a harmonious blend of sweet and savory flavors.
Step 2: Score the Surface
Before applying the glaze, score the surface of the ham with shallow cuts in a crisscross pattern. This technique allows the glaze to penetrate every succulent bite, infusing the ham with an explosion of flavors.
Step 3: Preheat and Position
Preheat your grill to a temperature of 325°F (165°C). Place the ham on a roasting rack in a shallow pan and cover it with foil to preserve its juiciness and prevent drying out.
Step 4: Cook and Baste
Cook the ham for approximately 10 minutes per pound or until its internal temperature reaches 140°F (60°C). Ensure accuracy by using a meat thermometer. During the last 30 minutes of cooking, remove the foil and generously brush or spoon the glaze all over the surface of the ham. This is when pure magic happens.
Step 5: Caramelization Delight
Uncover the ham and return it to the grill. Let it cook for an additional 15-20 minutes until the glaze becomes sticky, creating a mesmerizing caramelized exterior. Baste the ham every 10 minutes with any leftover glaze to achieve a glossy and flavorful finish.
Step 6: Rest and Carve
Once the ham reaches an internal temperature of 140°F (60°C) and boasts a beautiful glaze, remove it from the grill and allow it to rest for approximately 15 minutes. This essential step redistributes the juices throughout the meat, guaranteeing a tender and juicy ham.
Monitoring the Cooking Process
Today, we embark on a glazing adventure and unravel the secrets to creating a glazed precooked ham that will have your taste buds singing. But before we dive into the glaze, let’s talk about the critical importance of monitoring the cooking process to achieve perfection.
Temperature is Key
To ensure your ham is cooked to succulent perfection, monitoring the internal temperature is paramount. Insert a reliable meat thermometer into the thickest part of the ham, avoiding contact with bone, and aim for an internal temperature of 140°F (60°C). This not only ensures the ham’s safety but also locks in its irresistible juiciness.
Timing is Everything
Cooking time varies based on the size of your ham, but as a general guideline, allocate 15-20 minutes per pound. However, always consult the packaging or manufacturer’s instructions for precise cooking times. By keeping a close eye on time, you’ll avoid the dreaded pitfalls of undercooking or overcooking, delivering a ham that effortlessly melts in your mouth.
Visual Cues and Basting
While visual cues aren’t foolproof indicators of doneness, they provide valuable insights along your glazing journey. As your ham cooks, it will acquire a luscious golden brown color on its surface, signaling that it’s time to commence glazing. But remember, trusty meat thermometers are still essential for accuracy.
During the cooking process, take a moment to baste your ham with its own tantalizing juices or glaze. This crucial step infuses flavor and moisture, elevating both taste and appearance. Lovingly brush or spoon the liquid over the surface periodically to prevent any drying out and to create an awe-inspiring glazed finish that will leave your guests in awe.
Resting and Carving the Glazed Ham
Today, we embark on a journey to discover the secrets of resting and carving a glazed precooked ham. These essential steps guarantee a flavor-packed, tender ham that will leave your guests in awe. Join me as we explore the importance of resting and carving, and uncover expert tips to help you achieve grilling greatness.
Resting the Glazed Ham:
After the glazing process, it’s crucial to let your ham rest for a few minutes before diving in. This period is more than just a break; it’s where the magic happens:
- Flavorful Distribution: During resting, the juices within the ham redistribute, ensuring that each bite bursts with an even distribution of glaze-infused deliciousness.
- Enhanced Juiciness: As the ham rests, it continues to cook ever so slightly from residual heat. This extra cooking time works its wonders, tenderizing the meat further and allowing the flavors of the glaze to penetrate deeper. The result? A succulent, moist masterpiece.
- Moisture Reabsorption: Resting also allows any excess moisture on the surface to be reabsorbed by the ham. This ensures that your masterpiece retains its moisture and doesn’t dry out when served.
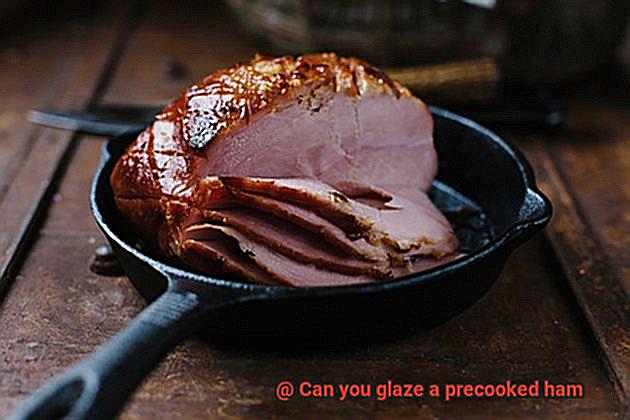
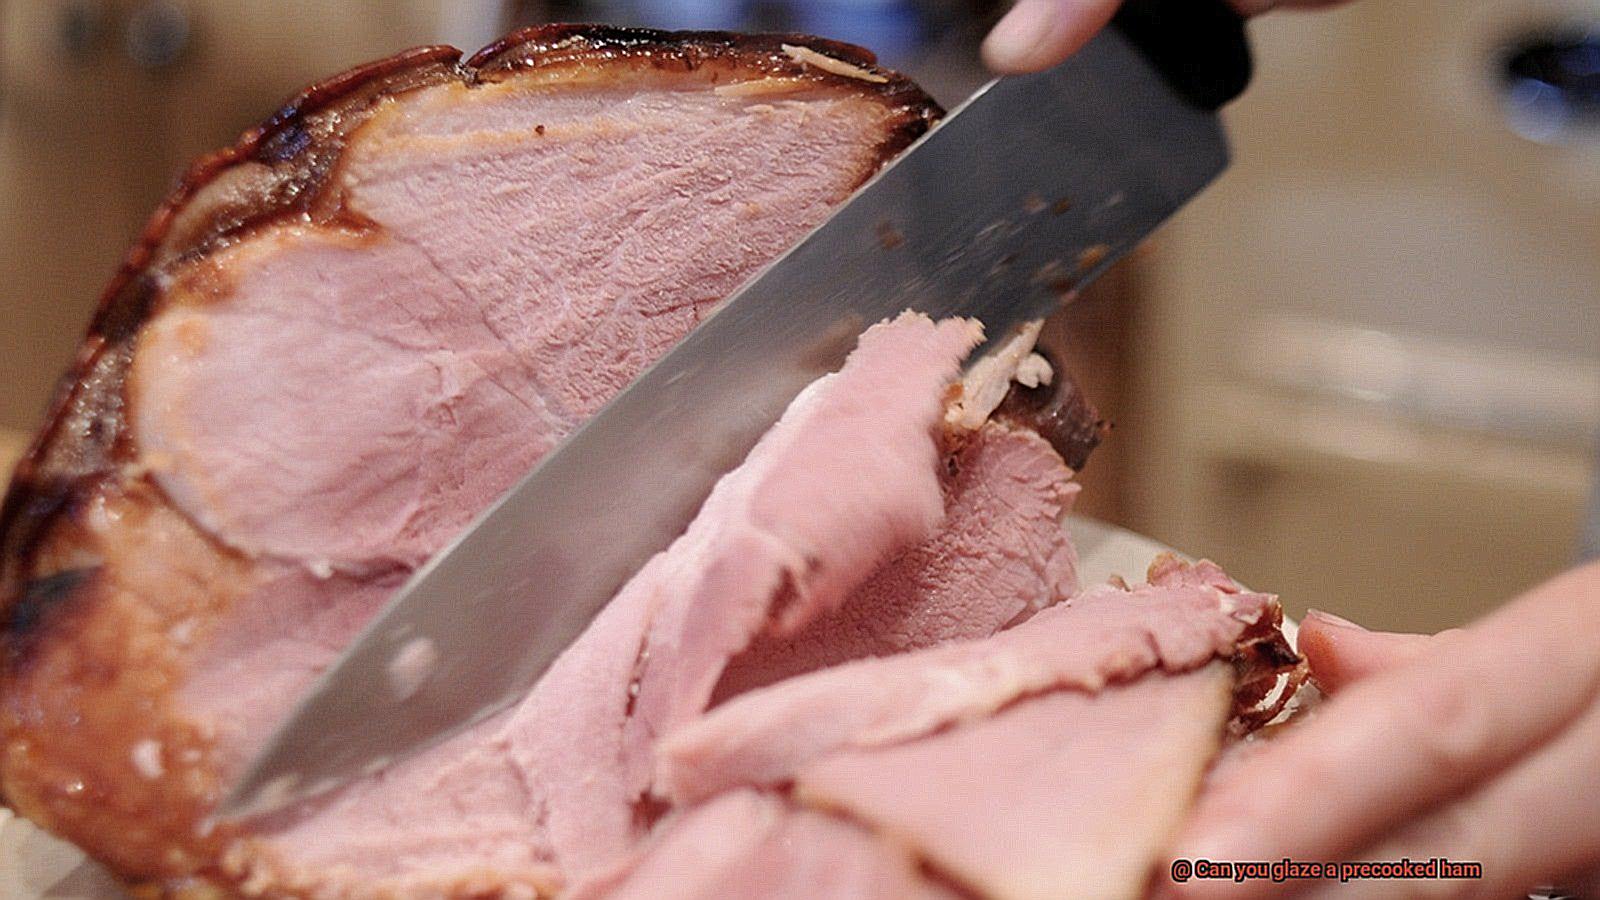
Carving Techniques:
Now that our glazed ham has enjoyed its well-deserved break, it’s time for the grand finale – carving. Follow these expert tips for flawless results:
- Prepare Your Tools: Arm yourself with a sharp carving knife, a sturdy cutting board, and either tongs or a carving fork. These trusty companions will ensure your safety and help you handle the hot meat with finesse.
- Free the Ham: Bid farewell to any string or netting holding the ham together. Cut through the glaze around the shank bone or any other bones present. This step will make carving a breeze.
- Slice with Precision: Begin by creating thin, even slices parallel to the bone. For maximum tenderness, cut across the grain of the meat. Aim for slices around 1/4 to 1/2 inch thick, depending on your preferences. Each slice will be a masterpiece of flavor and texture.
- Store Leftovers: In case there are any leftover slices or portions of this glorious ham, store them properly for future enjoyment. Wrap them tightly to maintain their freshness, and get ready to create mouthwatering sandwiches or incorporate them into delightful recipes.
Experimenting with Different Glazes
Well, put on your aprons because we’re about to dive into the world of experimenting with different glazes that will add a burst of unique flavors to your hams.
Glazing a precooked ham is like adding the final touch to a masterpiece. It not only enhances the taste but also creates a visually stunning dish that will have your guests salivating. And the best part? You can unleash your creativity and try out a multitude of glazes to find the perfect flavor combination that suits your taste buds.
Let’s explore some mouthwatering glaze options that will surely tantalize your senses:
- Honey Mustard Glaze: The sweet and tangy notes of honey combined with the zing of mustard create a perfect balance for a smoky ham.
- Pineapple Brown Sugar Glaze: This tropical delight brings together the sweetness of pineapple and the rich caramel undertones of brown sugar, complementing a sweeter ham.
- Apricot Glaze: The natural sweetness and slight tartness of apricots make this glaze a delightful choice, especially when paired with a mildly smoked ham.
- Maple Bourbon Glaze: Elevate your ham with the warm and robust flavors of maple and bourbon, adding depth and sophistication to every bite.
- Cherry Glaze: The bold and fruity essence of cherries brings a burst of flavor that pairs exceptionally well with a hickory-smoked ham.
When experimenting with different glazes, it’s vital to consider the overall flavor profile you want to achieve. For a smoky ham, a honey mustard glaze might be just what you need to balance out the flavors. On the other hand, if you’re working with a sweeter ham, a pineapple brown sugar glaze could be the perfect complement.
But why stop at just the glaze? Take it up another notch by adding spices or herbs to your concoction. Imagine the warmth of cloves or the aromatic essence of cinnamon infusing a maple bourbon glaze, creating a symphony of flavors.
Here’s a pro tip: Brush the glaze onto your ham during the last 30 minutes of cooking time. This allows it to caramelize and form a mouthwatering crust while preventing any burning mishaps. Trust me, that caramelized crust will transform your ham from good to finger-licking great.
Remember, different glazes may require different cooking methods. If you’re using a sticky fruit-based glaze, keep a close eye on your ham to prevent excessive browning or burning.
S-YTSXR9kkw” >
Conclusion
Yes, you can absolutely glaze a precooked ham.
Adding a glaze to a precooked ham is a fantastic way to enhance its flavor and create a beautiful caramelized crust. Whether you’re preparing it for a special occasion or simply want to elevate your weeknight dinner, glazing a precooked ham is an easy and delicious option.
The process involves applying a mixture of ingredients like brown sugar, honey, mustard, or even fruit preserves onto the surface of the ham and then baking it until the glaze becomes sticky and golden.
So go ahead, grab that precooked ham from your fridge, whip up a tantalizing glaze, and watch as your family and friends marvel at your culinary prowess.