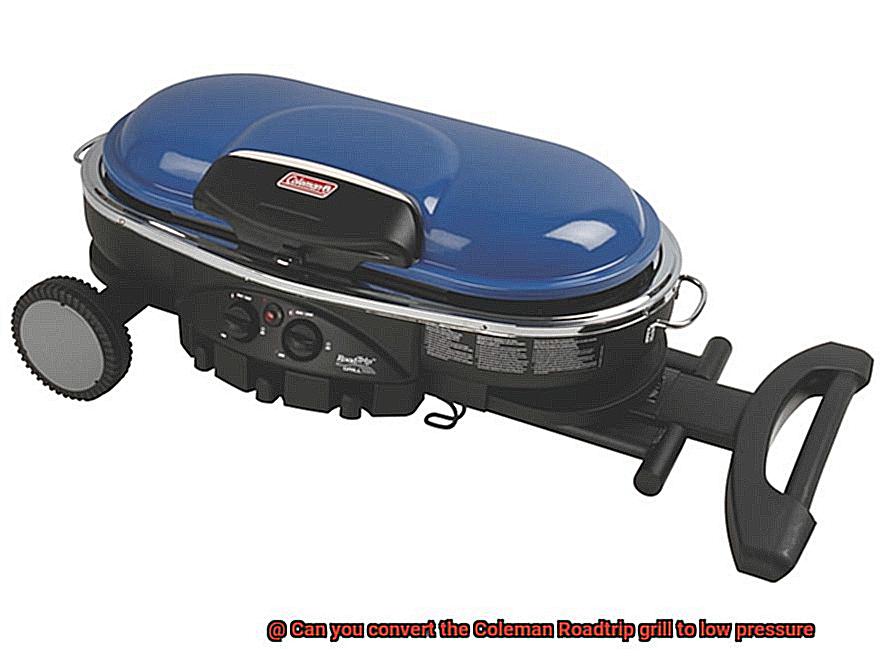
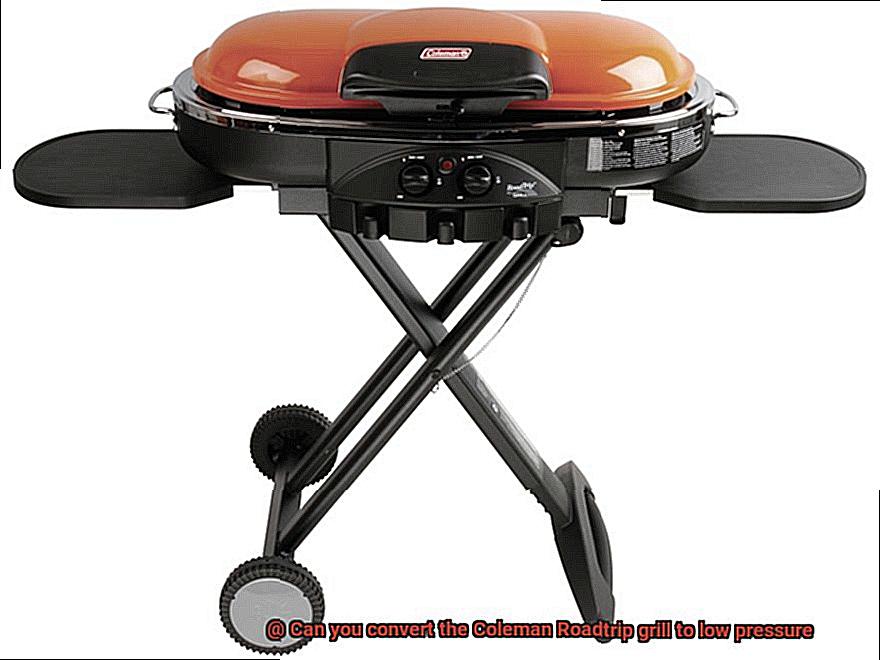
Summer is finally here, and what better way to enjoy the warm weather than by cooking up a storm on your Coleman Roadtrip grill? But, if you’re like many owners of this popular grill, you might be wondering if it’s possible to convert it to low pressure. The good news is that with the right tools and know-how, it’s definitely doable.
Converting your Coleman Roadtrip grill to low pressure can take your outdoor cooking game to the next level. Not only will you have greater control over the temperature of your grill, but you’ll also save money on propane in the long run. However, before you get started on this project, there are a few things you need to keep in mind.
First and foremost, you’ll need a conversion kit. These kits can be found online or at camping supply stores and typically include a regulator and hose. Once you have your kit in hand, it’s time to disconnect the existing regulator and hose from your grill and attach the new ones. Depending on your specific model of Coleman Roadtrip grill, you may also need to make some adjustments to the burners and valves for optimal performance.
With your Coleman Roadtrip grill now converted to low pressure, get ready for some seriously delicious meals. You’ll be able to cook up juicy steaks, perfectly charred burgers, and crisp veggies with ease. So invite some friends over, fire up that newly converted grill of yours, and let the good times roll.
Contents
Understanding Low Pressure Grilling
Low pressure grilling may be the solution you’ve been searching for.
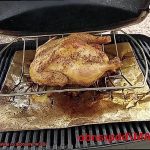
But what exactly is low pressure grilling, and how does it work? This cooking method operates at a lower pressure than the standard gas pressure of 20 PSI, allowing for greater control over cooking temperatures and resulting in more deliciously grilled food. With this method, you can achieve consistent heat levels throughout the grilling process, leading to perfectly cooked meats and veggies every time.
To convert your Coleman Roadtrip grill to low pressure, you’ll need a conversion kit that includes a low-pressure regulator and hose. However, not all models are created equal, so it’s important to check your product manual or contact Coleman customer service before purchasing a kit to ensure compatibility. Once confirmed, purchase the necessary parts and carefully follow the manufacturer’s instructions.
It’s also important to keep in mind that improper modifications could potentially void the warranty or pose a safety risk. It’s recommended that you seek professional advice if you’re unsure about making the conversion on your own.
Is It Possible to Convert the Coleman Roadtrip Grill to Low Pressure?
The short answer is yes, with some modification and additional parts, you can enjoy a more consistent and even heat output that can result in better cooking results.
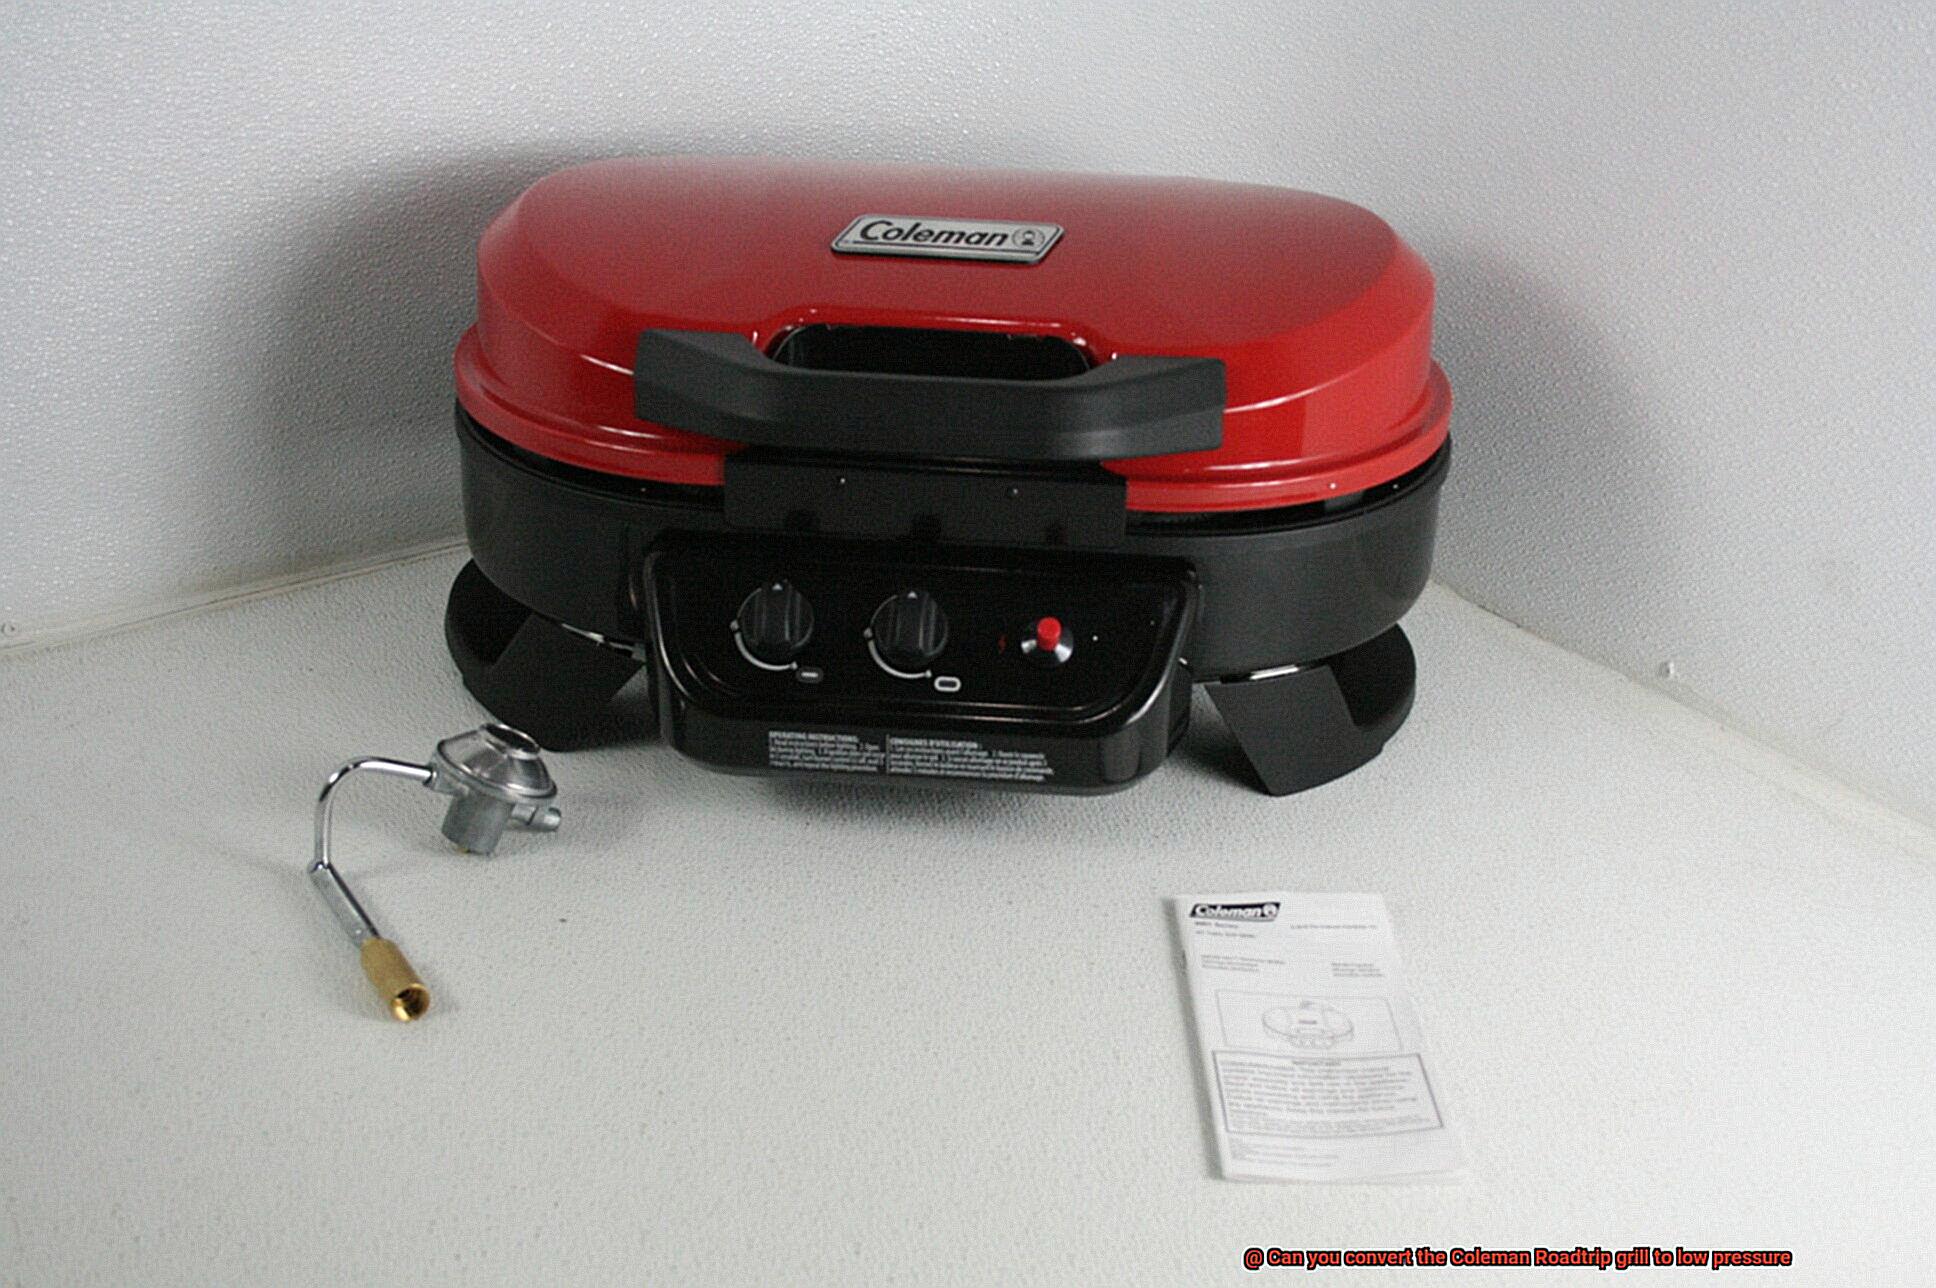
Converting your Coleman Roadtrip grill to low pressure requires a few things: a low-pressure regulator, a hose assembly, and some basic tools. The first step is removing the high-pressure regulator that comes with the grill and replacing it with a low-pressure regulator. Then attach the hose assembly to the new regulator, making sure it reaches from the regulator to the propane tank. You may need adapters or fittings to connect the hose assembly to the regulator and propane tank.
It’s important to test your newly converted grill for leaks by spraying soapy water on all connections. If there are no leaks, turn on your propane tank and ignite your grill as usual. With this modification, you can enjoy more efficient and cost-effective use of propane gas, resulting in mouth-watering meals every time.
But before you get too excited, converting your Coleman Roadtrip grill to low pressure may void its warranty. Also, if you’re not comfortable making modifications or working with gas appliances, seek professional assistance instead.
In summary, converting your Coleman Roadtrip grill to low pressure is possible and can provide several benefits for outdoor cooking enthusiasts. Here are some things to keep in mind:
- You will need a low-pressure regulator, a hose assembly, and some basic tools.
- Follow the steps carefully to ensure proper installation and testing for leaks.
- Enjoy more efficient and cost-effective use of propane gas for better cooking results.
- Converting your grill may void its warranty, so proceed with caution.
- Seek professional assistance if you’re not comfortable making modifications or working with gas appliances.
Advantages of Converting the Coleman Roadtrip Grill to Low Pressure
This simple and affordable upgrade has numerous advantages that will take your grilling skills to the next level.
One of the main advantages of converting to low pressure is the option to use bulk propane tanks instead of disposable canisters. This not only saves money in the long run, but it also reduces waste and is better for the environment. Plus, with a steady supply of fuel from a bulk propane tank, you won’t have to worry about running out of propane in the middle of a cookout.
But that’s not all – low pressure conversion also allows for better temperature control and more even cooking. With a stable flame provided by the low-pressure regulator, hot spots and burnt food will be a thing of the past. You’ll be able to cook up perfect meals every time, impressing your family and friends with your newfound grilling skills.
Safety is another important advantage of converting to low pressure. Disposable propane canisters are prone to leaks and can be dangerous if not handled properly. But with a bulk propane tank and low-pressure regulator, the risk of leaks is greatly reduced, ensuring that you can enjoy your grilled creations without any worry.
The best part? Converting to low pressure is easy and affordable. Kits are available for less than $50, and no special tools or expertise are required. In just a few simple steps, you can upgrade your Coleman Roadtrip Grill and enjoy all the benefits that come with low pressure conversion.
Necessary Components for Conversion
Converting your Coleman Roadtrip grill to low pressure is a great way to achieve better temperature control, even cooking, and a safer grilling experience. But, before you dive into this conversion process, it’s essential to know the necessary components.
First on the list is a low-pressure regulator. This component helps regulate the propane gas coming from the tank and ensures it stays at a safe and consistent level for grilling. Without this component, gas pressure fluctuations could lead to hazardous situations.
Next up is the hose adapter kit. You’ll need this kit to connect your low-pressure regulator to your Coleman Roadtrip grill. Make sure to choose a kit that is compatible with both the grill and the regulator to avoid potential issues.
In addition, you’ll require a propane tank with a low-pressure valve. These tanks have valves that limit the flow of propane gas, which is necessary for safe grilling. Be sure to check your grill’s owner’s manual or reach out to Coleman customer service if you’re unsure about specific hose lengths or fittings required for your particular model.
It’s important to note that some Coleman Roadtrip grill models may require additional components for conversion. Make sure to double-check all necessary parts before starting the conversion process.
How to Check if Your Model is Compatible with a Conversion Kit
A low-pressure conversion kit might be the solution, but it’s important to ensure that your model is compatible beforehand. Here are five steps to follow:
Check the Owner’s Manual
The first step is to consult your Coleman Roadtrip grill owner’s manual. It should indicate whether or not your model can be converted to low pressure and what conversion kit is required. If you don’t have the manual, check online on the manufacturer’s website.
Hunt for a Label or Sticker
If you can’t find information in the manual, look for a label or sticker on the grill that indicates whether or not it can be converted. This label may also provide information on what type of conversion kit is needed.
Contact the Manufacturer
If you’re still unsure, reach out to the manufacturer directly. They should be able to give you specific details regarding compatibility and recommend a suitable conversion kit for your model.
Research Online
In addition to checking with the manufacturer, research online by looking for forums or groups where people discuss grilling. Ask if anyone has converted their Coleman Roadtrip grill to low pressure and what kit they used.
Safety First
It’s essential to note that attempting to convert a grill that’s not designed to be converted can be hazardous and damage the grill. So, only attempt a conversion if your model has been specifically designed for this purpose and if you have the proper equipment and knowledge to do so safely.
Step-by-Step Guide for Converting the Coleman Roadtrip Grill to Low Pressure
For those who love to grill on-the-go, the Coleman Roadtrip grill is a top choice. But what if you want to convert your high-pressure Coleman Roadtrip grill to low pressure? Fear not, it’s simpler than you might think. In this step-by-step guide, we’ll show you how to convert your Coleman Roadtrip grill to low pressure so that you can savor your favorite meals no matter where you are.
Step 1: Gather Your Materials
Before starting the conversion process, make sure you have all the necessary materials. This includes a low-pressure regulator, additional hoses and fittings, and basic tools such as pliers and a wrench, depending on the specific conversion kit you’re using.
Step 2: Remove the High-Pressure Regulator
The first step in converting your Coleman Roadtrip grill to low pressure is removing the existing high-pressure regulator. This can be done by loosening the hose clamp that attaches the regulator to the grill and unscrewing it from the propane tank. Don’t forget to close the valve on the propane tank before removing the regulator.
Step 3: Install the New Low-Pressure Regulator
Now that the high-pressure regulator is removed, it’s time to install the new low-pressure regulator. Start by attaching one end of a new hose to the propane tank and then connecting it to the inlet port on the low-pressure regulator. You may also need to attach an additional hose from the outlet port on the low-pressure regulator to the input port on your Coleman Roadtrip grill.
Step 4: Test Your Grill
With all hoses and fittings securely attached, it’s time to test your newly converted Coleman Roadtrip grill. Turn on your propane tank and adjust the pressure on your new low-pressure regulator as needed to get your desired heat output. Consult any instructions that came with your conversion kit for guidance on this step.
Converting your Coleman Roadtrip grill to low pressure is a relatively easy process that can be completed with just a few basic tools. With the right materials and some patience, you’ll be able to use your Coleman Roadtrip grill with a variety of propane sources, making it a versatile and convenient option for grilling on the go.
Safety Considerations When Converting Your Grill
Grilling is a beloved pastime for many, and it’s easy to see why. The smoky, charred flavor of grilled food is simply unbeatable. However, if you’re considering converting your Coleman Roadtrip grill to low pressure, it’s important to prioritize safety above all else.
To begin with, carefully read the manual and follow the manufacturer’s instructions when converting your grill. This is not a task to be taken lightly and requires specific tools and knowledge to avoid dangerous situations. Take your time, read the manual thoroughly, and follow the instructions precisely.
Next, ensure that all connections are secure and leak-free. Leaks can lead to gas buildup and result in potential explosions or fires. Soapy water solution can help you check for leaks. Apply it to all connections and look for bubbles. If you see any bubbles, turn off the gas supply immediately, and fix the leak before attempting to use the grill.
It’s essential to use high-quality parts when converting your grill. Poorly made or cheap parts can fail or leak, leading to hazardous situations. It’s always best to purchase parts from reputable manufacturers and retailers.
Finally, never attempt to modify or alter your grill beyond what is recommended by the manufacturer. Doing so can void warranties and result in dangerous situations. If you’re unsure about any aspect of converting your grill to low pressure, consult a professional or reach out to the manufacturer for assistance.
Common Mistakes To Avoid When Converting Your Grill
There are several common mistakes that can be made during this conversion process. In order to ensure a safe and successful conversion, it’s important to be aware of these pitfalls.
Firstly, it’s crucial to check the compatibility of your regulator with your specific grill model. Skipping this step could cause damage to your grill or result in poor performance. Take the time to ensure that the regulator can handle the low pressure conversion and that it’s compatible with your grill.
Another mistake to avoid is not properly adjusting the pressure of the regulator. This is essential to ensure that your grill operates safely and efficiently. If the pressure is too high or too low, you’ll likely experience issues such as uneven heating or burners that won’t light up at all.
In addition, it’s important to replace your original orifices with ones designed for low pressure. Failing to do so could cause clogs and other issues that will hinder your grilling experience. Follow manufacturer instructions carefully and ensure that all necessary parts are replaced.
Lastly, attempting to convert your grill without adequate knowledge or experience can be dangerous and potentially cause harm. It’s recommended to consult with a professional or do thorough research before attempting any conversions.
qRh8c_B7DUE” >
Conclusion
To elevate your outdoor cooking experience, converting your Coleman Roadtrip grill to low pressure is a game-changer. Say goodbye to uneven cooking and hello to perfect temperature control and cost-effective propane use. Impress your loved ones with flawlessly cooked meals every time.
Before diving into this project, it’s crucial to gather a conversion kit and basic tools. Also, check the product manual or contact Coleman customer service to ensure compatibility with your specific model.
Safety should be the top priority when converting your grill. Follow the manufacturer’s instructions precisely, ensuring all connections are secure and leak-free. Don’t modify or alter your grill beyond what’s recommended by the manufacturer, and use high-quality parts from reputable manufacturers.
Avoid common mistakes such as failing to check compatibility or not adjusting the regulator pressure correctly.