Welcome to the world of mouth-watering, succulent pork chops. If you’re anything like me, you crave the taste of a perfectly seasoned and tender pork chop. But cooking pork chops on an electric stove can be a bit tricky, especially if you’re new to cooking or unfamiliar with electric stoves. However, don’t fret. With the right tools and techniques, you can cook pork chops that are both delectable and juicy.
In this post, we’ll delve into the basics of cooking pork chops on an electric stove. From selecting and seasoning your pork chops to cooking them to perfection, we’ve got you covered. You’ll learn all the tips and tricks for preparing pork chops that are tender, juicy, and bursting with flavor.
First up, let’s talk about how to choose the perfect cut of pork chops. We’ll also explore different seasoning combinations and share our secrets for marinating your meat to maximize its flavor potential. Next comes the fun part – cooking. We’ll walk you through preheating your electric stove and searing and browning your pork chops to achieve that crispy outside while keeping the inside moist and tender. Plus, we’ll reveal our best practices for achieving optimal cooking temperature and timing.
Are you ready to become a pro at cooking pork chops on an electric stove? Let’s get started on this culinary journey together.
Contents
What You Need To Prepare Pork Chops On An Electric Stove
With just a few essential items, you can cook up a mouth-watering meal in no time.
Here’s what you need:
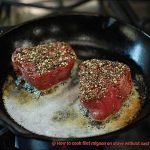
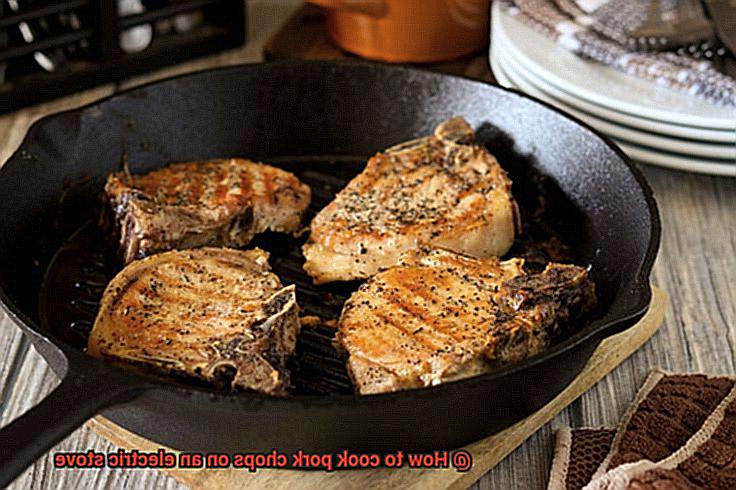
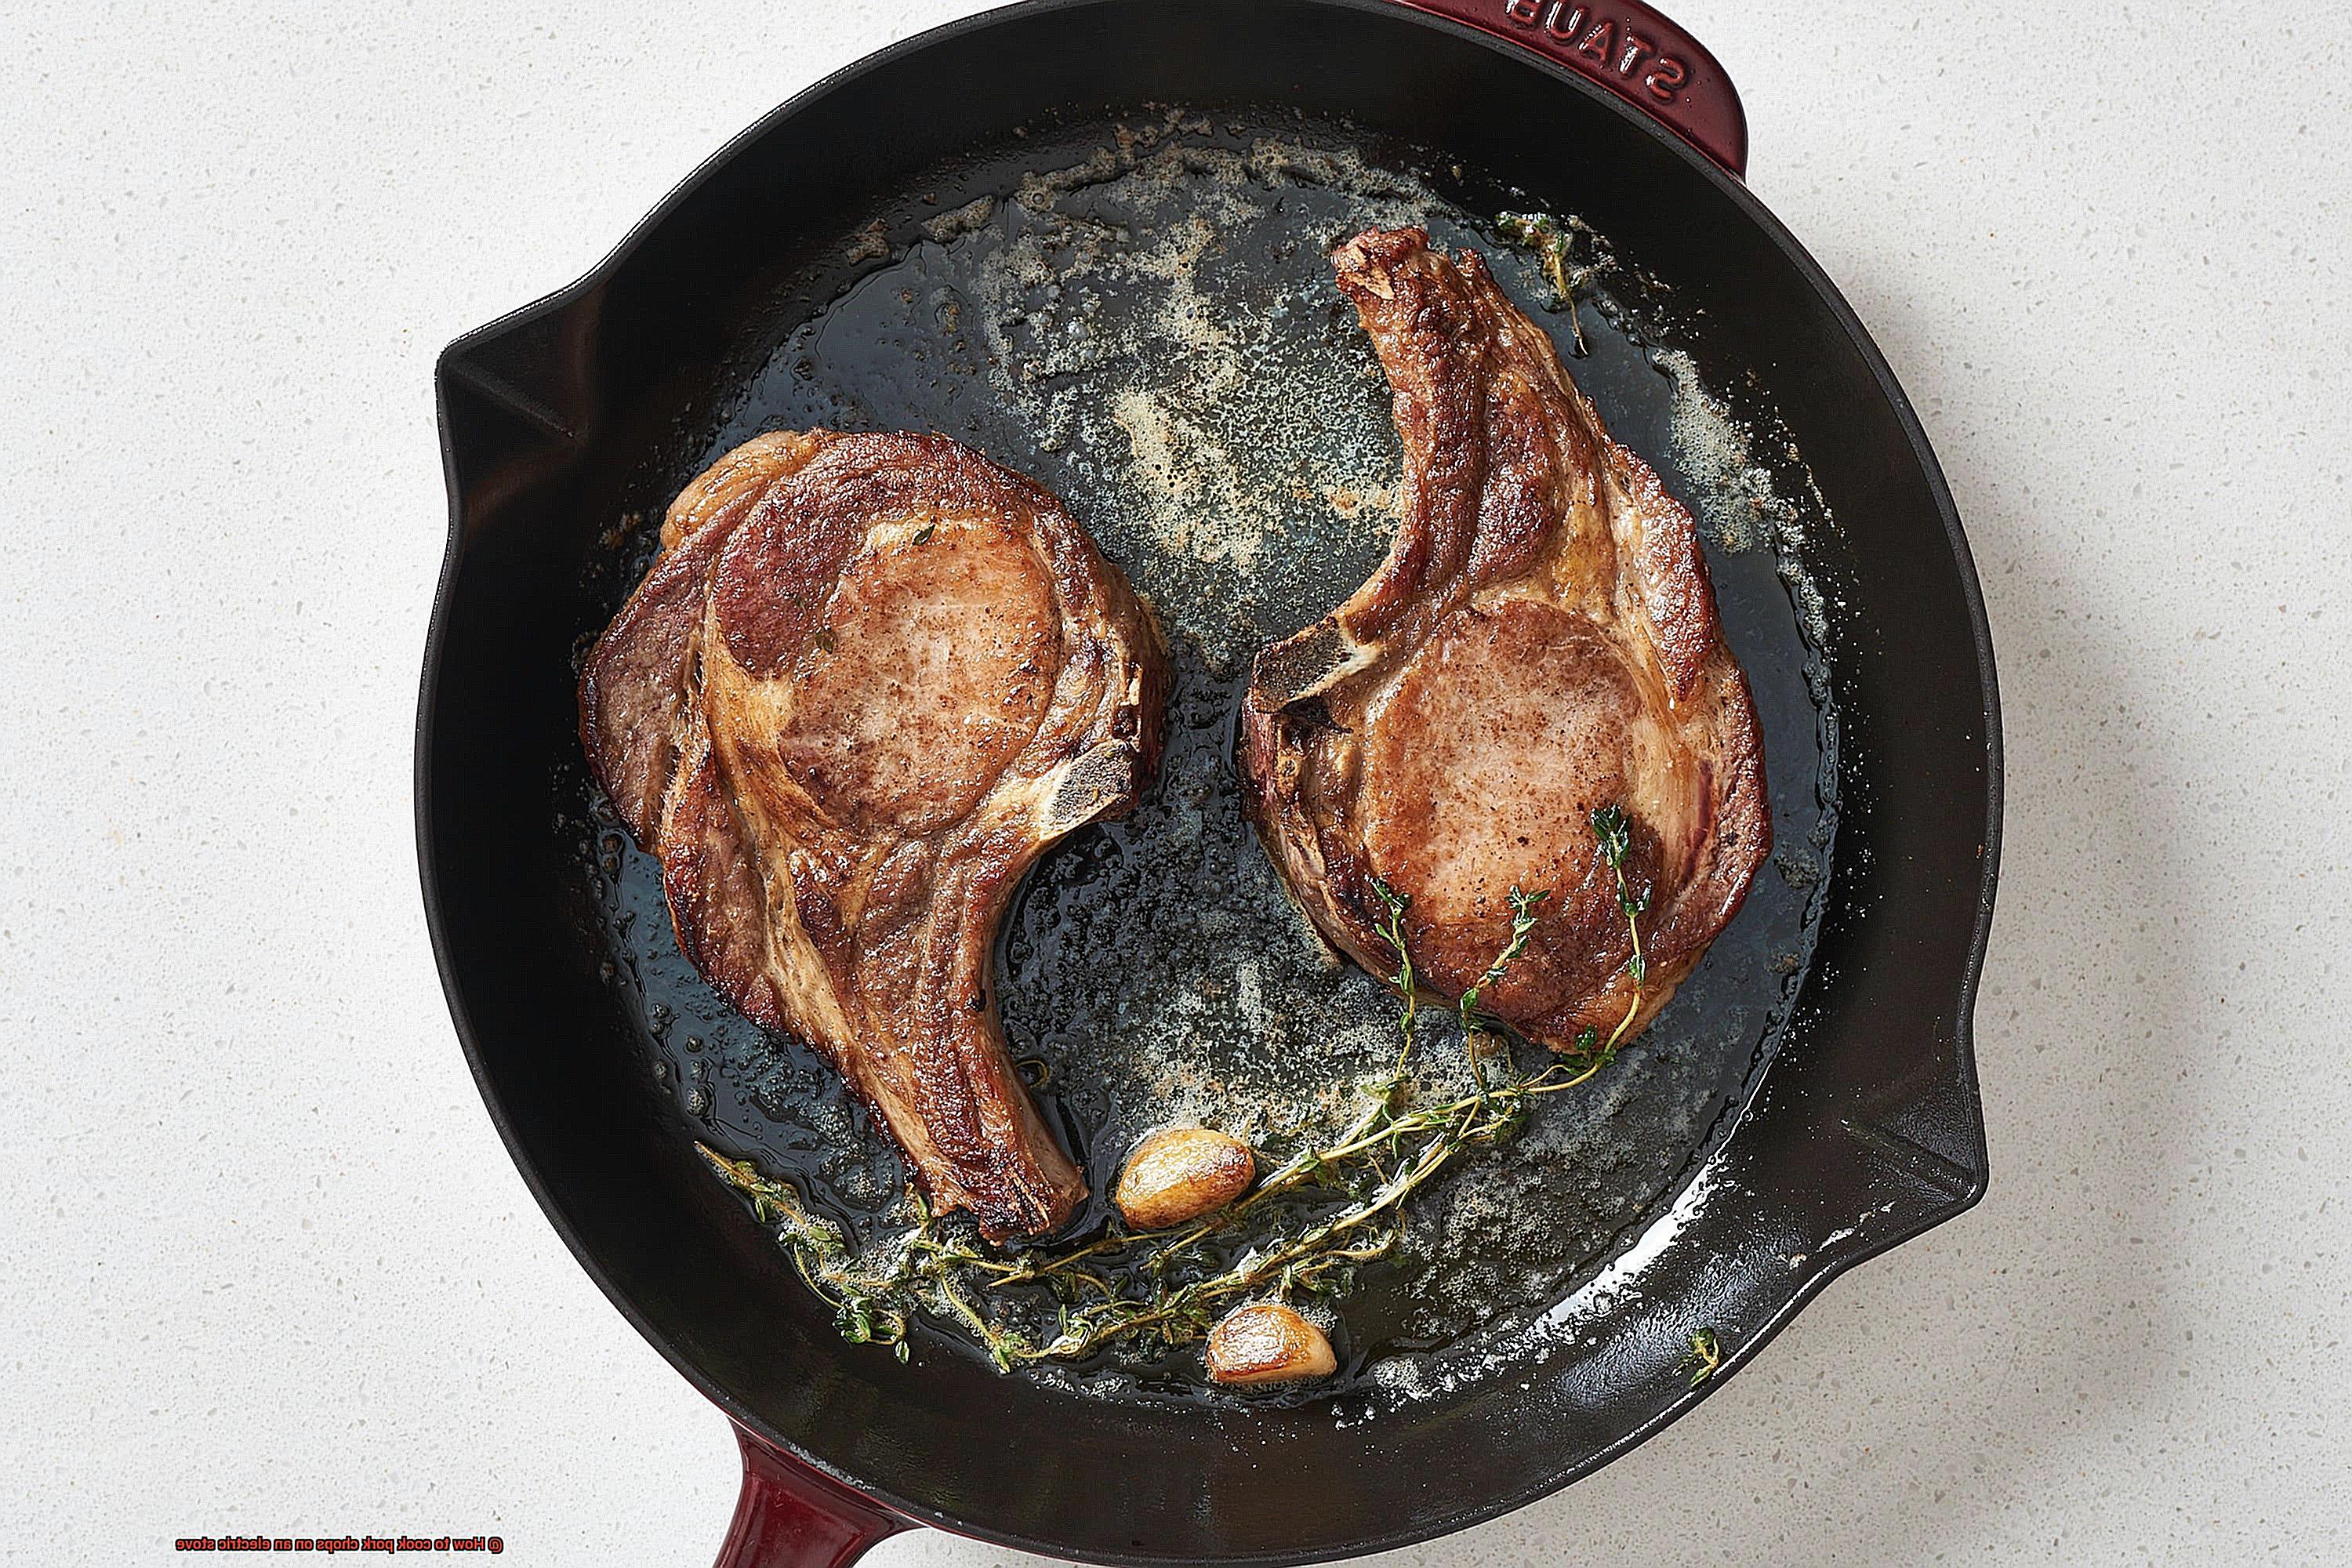
- Skillet or Frying Pan: Choose a large skillet or frying pan that can hold the pork chops without overcrowding them. A cast-iron skillet is a great option because it distributes heat evenly and holds heat well.
- Cooking Oil: Use an oil with a high smoke point such as vegetable oil, canola oil, or peanut oil. Avoid using butter or olive oil as they have low smoke points and will burn quickly.
- Seasonings: Salt and pepper are essential, but you can also use other seasonings like garlic powder, onion powder, paprika, or dried herbs like thyme or rosemary to add some extra flavor.
- Tongs or Spatula: You’ll need tongs or a spatula to flip the pork chops while cooking.
- Meat Thermometer: To ensure that the pork chops are cooked to a safe temperature of 145°F, use a meat thermometer to check the internal temperature.
Before you start cooking, take the pork chops out of the refrigerator at least 30 minutes before to allow them to come to room temperature. Season them with your favorite spices and herbs, then heat up your skillet over medium-high heat and add a tablespoon of oil.
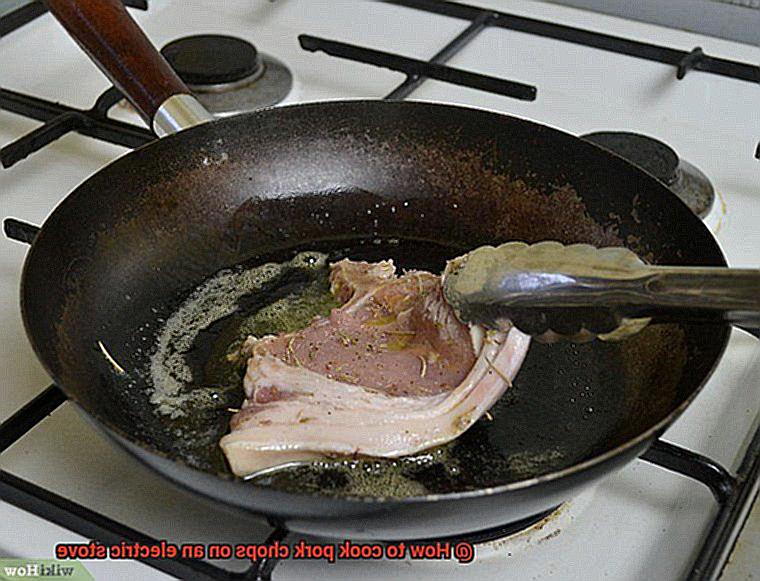
Once the oil is hot, add the seasoned pork chops to the pan. Make sure they are not crowded in the pan, as this can cause uneven cooking. Cook the pork chops for about 3-4 minutes on each side, using tongs or a spatula to flip them.
Use a meat thermometer to check that the internal temperature has reached 145°F. If you don’t have a meat thermometer, simply cut into the thickest part of the chop and make sure there is no pink in the center.

Finally, remove the pork chops from the skillet and let them rest for a few minutes before serving. This will allow the juices to redistribute throughout the meat, resulting in more flavorful and tender pork chops.
Taking The Pork Chops Out Of The Refrigerator
Before you dive into the kitchen, let’s talk about the crucial step of taking the pork chops out of the refrigerator.
Firstly, it is important to store pork at a temperature below 40°F to prevent harmful bacteria growth. Ensure your fridge is set to the correct temperature and store your pork chops in an airtight container or wrap them tightly in plastic wrap.
Before handling the pork, wash your hands thoroughly with soap and warm water to avoid any cross-contamination. Safety first.
Now, onto the main event – taking the pork chops out of the refrigerator. This step is crucial because if you cook cold meat straight from the fridge, you may end up with overcooked outside and undercooked inside pork chops. Not ideal. To avoid this, let your pork chops sit at room temperature for about 30 minutes before cooking to ensure even cooking throughout.
While waiting for the pork chops to come up to room temperature, season them with salt and pepper. This will enhance their natural flavor and make them even more delicious. For those feeling adventurous, marinating your pork chops before cooking adds an extra burst of flavor. Remember to marinate them in the refrigerator and not at room temperature to prevent bacterial growth.
In summary, here are some key takeaways when taking the pork chops out of the refrigerator:
- Store pork below 40°F
- Wash hands thoroughly before handling
- Allow pork chops to come up to room temperature before cooking
- Season with salt and pepper to enhance flavor
- Marinate in the refrigerator to prevent bacterial growth
Seasoning The Pork Chops
Cooking pork chops on an electric stove can be a delicious and satisfying experience, but it all starts with proper seasoning. As a seasoned expert in this area, I’m here to help you create amazing pork chops every time.
Seasoning the pork chops is undoubtedly a crucial step in ensuring that they are flavorful and tasty. The key to enhancing their natural taste is to choose the right ingredients. Some of the most common seasoning options include salt, black pepper, garlic powder, onion powder, paprika, and dried herbs such as thyme and rosemary. These ingredients will add a burst of flavor to your pork chops.
Before cooking, it’s essential to prepare the pork chops for seasoning. Start by patting them dry with paper towels to remove any excess moisture. This will help the seasonings stick better to the meat. Then, sprinkle your seasoning mix generously over both sides of the pork chops, making sure to cover every inch of meat. To ensure even distribution of the seasoning, use your hands to rub it into the meat.
If you have some extra time, let the seasoned pork chops sit at room temperature for about 30 minutes before cooking. This will help the meat cook more evenly and retain its juiciness. If you’re short on time, you could also cover the pork chops and refrigerate them for up to 24 hours. This will allow the flavors to penetrate deeper into the meat.
When you’re ready to cook your seasoned pork chops on an electric stove, preheat it to medium-high heat. Place the pork chops in the skillet and cook each side for about 4-5 minutes or until an internal temperature of 145°F is reached. Once cooked, let them rest for a couple of minutes before serving.
Heating The Skillet
There’s nothing quite like the sizzle of pork chops hitting a hot skillet, but achieving that perfect sear and juicy interior can be tricky. Fear not, my fellow foodies, for I am here to share my expertise on the art of heating the skillet.
First and foremost, selecting the right size skillet is crucial. Overcrowding your meat will result in steamed, lackluster pork chops. So, choose a skillet that comfortably fits your pork chops without cramping their style.
Now, it’s time to heat things up. Preheat your skillet on medium-high heat for at least 5 minutes to ensure even heating. This step is essential in developing that delicious crust and avoiding undercooked or overcooked spots.
Once your skillet is hot and ready, it’s time to add oil. Opt for high-heat oils such as vegetable, canola, or grapeseed oil and swirl a tablespoon around the bottom of the skillet evenly. When the oil starts to shimmer, it’s go time.
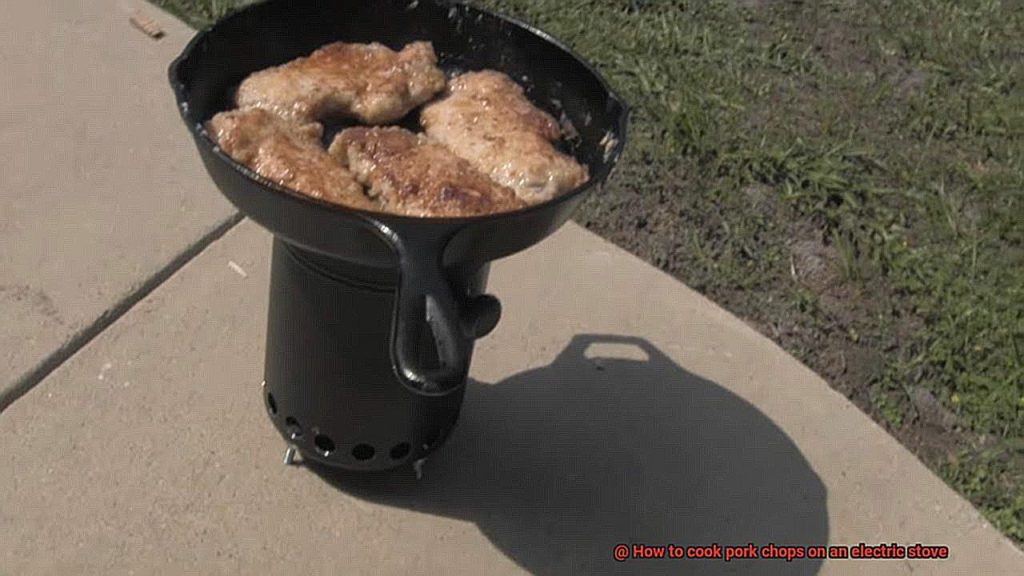
Carefully lay your pork chops in the skillet, making sure they don’t overlap or overcrowd each other. If needed, cook them in batches to ensure even cooking. Sear each side for 2-3 minutes until a golden-brown crust forms. This not only adds flavor but also helps lock in those precious juices.
Adding The Pork Chops To The Skillet
We have finally arrived at a crucial step in the process of cooking pork chops on an electric stove – adding them to the skillet. As an expert in this field, I’m here to guide you through this process with ease and ensure your pork chops come out perfectly seared and tender every time.
First and foremost, let’s talk about the importance of a hot skillet. To achieve that beautiful, golden crust on the outside of your pork chops, it’s essential to have a hot skillet. Start by adding a small amount of oil, such as vegetable or canola oil, to the skillet and heat it over medium-high heat for at least 5 minutes.
Once your skillet is hot enough, it’s time to add the pork chops. However, be mindful not to overcrowd the skillet. Overcrowding can cause the pork chops to steam instead of sear. So, ensure they are spaced out evenly in the skillet. If necessary, cook them in batches to avoid overcrowding and ensure even cooking.
Now that your pork chops are in the skillet, it’s important not to move them around too much. This can prevent them from developing that perfect crispy crust on the outside. Instead, let them cook for several minutes on one side before flipping them over to cook on the other side.
It is important to note that the cooking time will vary depending on the thickness of your pork chops. A general rule of thumb is to cook them for about 3-4 minutes per side. To ensure that they’re cooked all the way through, you can use a meat thermometer to check their internal temperature.
Cooking Times and Internal Temperature
It’s not the most pleasant experience. But fear not, as an expert in cooking times and internal temperature, I am here to help you achieve the perfect pork chop on your electric stove.
First things first, let’s talk about the magic number – 145°F (63°C). This is the minimum safe temperature recommended by the USDA for cooked pork chops. To ensure that your pork chops reach this temperature, use a meat thermometer. Insert it into the thickest part of the meat, making sure it doesn’t touch bone or the pan. Once it reads 145°F (63°C), remove the pork chops from heat and let them rest for a few minutes. This allows the juices to redistribute, resulting in more tender and juicy meat.
Now that we’ve covered internal temperature, let’s dive into cooking times. A lot depends on factors like thickness, type of pan used, and heat setting. Generally speaking, a 1-inch thick pork chop will take about 8-10 minutes to cook on medium-high heat. However, don’t rely solely on this rule of thumb. Adjust cooking time based on these factors and use a meat thermometer to ensure that the internal temperature is correct.
In addition to using a meat thermometer and adjusting cooking times, there are other tips that can help you achieve perfectly cooked pork chops on your electric stove. Season your pork chops before cooking with salt, pepper, and any other desired spices or herbs. Using a non-stick pan or seasoning cast iron skillet will prevent sticking and help achieve a nice sear on the pork chops.
And let’s not forget about the skillet itself. A hot skillet is like a fiery dragon breathing life into your dish. Add a small amount of oil and heat it for at least 5 minutes before adding the pork chops. Don’t overcrowd them like passengers on a train during rush hour; instead, give them enough space to breathe and cook evenly. Resist the temptation to flip them too soon or move them around too much as this will prevent that coveted crispy crust from forming – just let them cook for several minutes on each side until they reach an internal temperature of 145°F.
Resting the Pork Chops
You have mastered the art of cooking the perfect chop, but there is one final and crucial step to achieve restaurant-quality results: resting your pork chops.
You may be thinking, “Really? Is it necessary to wait?” We understand that when you are starving and your chops are sizzling hot on your plate, it can be challenging to resist the temptation to dive right in. But we assure you that taking a few extra minutes to let your pork chops rest will elevate your dining experience.
Resting your pork chops is essential because it allows the juices to redistribute throughout the meat, resulting in a tender and flavorful chop. Juices tend to pool towards the center while cooking, but by letting your pork chops rest for about 5-10 minutes, these juices spread evenly throughout the meat. This ensures that every bite is juicy and delicious, with no dry spots.
But that’s not all; resting your pork chops also allows them to finish cooking off the heat. When you remove them from the stove or oven, they continue cooking even if you turn off the heat source. By allowing them to rest, you’re giving them time to finish cooking through without drying out.
The first step in resting your pork chops is removing them from the heat source and placing them on a clean plate. Cover the plate loosely with aluminum foil or a lid to keep the heat in. While they’re resting, you can use this time to prepare any sides or sauces that you plan to serve with them. This ensures that everything is ready at the same time and at optimal temperature.
Resist the urge to cut into your pork chops immediately after cooking. Cutting into them will cause all of the juices to flow out, leaving you with dry and tough meat. Instead, take a deep breath, let them rest for a few minutes, and enjoy the juicy, tender pork chops that you deserve.
Tips For Perfectly Cooked Pork Chops Every Time
Cooking the perfect pork chops on an electric stove may seem like a daunting task, but with the right tips and tricks, you can achieve delicious and tender pork chops with minimal effort. Here are some steps to help you get started:
Choose the Right Cut of Pork Chops
The first step to cooking perfect pork chops on an electric stove is to choose the right cut. Bone-in pork chops are preferred for electric stove cooking as they retain their moisture and tenderness during the cooking process. Additionally, pork chops should have a thickness of at least 1 inch to ensure even cooking.
Season Generously
Before cooking your pork chops, make sure to season them generously with salt and pepper. This simple seasoning not only enhances the flavor but also creates a nice crust on the outside. You can also add other seasonings such as garlic powder, paprika, or herbs like thyme or rosemary for added flavor.
Use a Heavy-Bottomed Pan
When it comes to cooking on an electric stove, using a heavy-bottomed pan is recommended as it helps distribute heat evenly and prevents hot spots. Preheat the pan over medium-high heat and add a tablespoon of oil once it’s hot. When the oil is shimmering, carefully add the seasoned pork chops to the pan.
Don’t Overcrowd the Pan
It’s important not to overcrowd the pan as this can cause the temperature to drop and result in unevenly cooked pork chops. Cook the pork chops for 3-4 minutes on each side until they are golden brown and have developed a crust.
Check for Doneness with a Meat Thermometer
To check for doneness, use a meat thermometer inserted into the thickest part of the chop. The internal temperature should read 145°F for medium-rare and 160°F for medium. Once cooked, remove the pork chops from the pan and let them rest for a few minutes before serving.
Conclusion
In summary, don’t be intimidated by cooking pork chops on an electric stove. With the right tools and techniques, it can be a delicious and satisfying experience that will have your taste buds dancing with delight. First, make sure to choose the perfect cut of pork chops – bone-in and at least 1 inch thick. Then, season them generously with salt, pepper, and any other desired spices or herbs.
To ensure even heating, use a heavy-bottomed pan and avoid overcrowding while cooking. And remember to check for doneness using a meat thermometer – aim for an internal temperature of 145°F for medium-rare or 160°F for medium.
Finally, let your pork chops rest for a few minutes before serving to allow those juicy flavors to redistribute throughout the meat. By following these tips and tricks, you’ll be able to achieve perfectly cooked pork chops every time on your electric stove.