Are you a cooking enthusiast who loves outdoor grilling? If so, the Blackstone griddle is a must-have addition to your culinary arsenal. With its versatility and reliability, this tool is perfect for cooking up all your favorite dishes. However, before you start flipping burgers and sizzling veggies, it’s crucial to break in your griddle properly for optimal performance and longevity.
Breaking in your Blackstone griddle involves removing any factory oils or residues and creating a non-stick surface for future meals. This process requires cleaning the griddle, seasoning it with oil, and heating it thoroughly to form a protective layer on the cooktop.
But don’t worry. Breaking in your griddle is a simple task that can be completed in just a few easy steps. In this blog post, we’ll discuss the best methods for breaking in your Blackstone griddle, including effective cleaning products and oil types to use. We’ll also share tips on how to maintain and prolong the life of your griddle for years to come.
Get ready to elevate your outdoor cooking game with a perfectly broken-in Blackstone griddle – let’s get started.
Contents
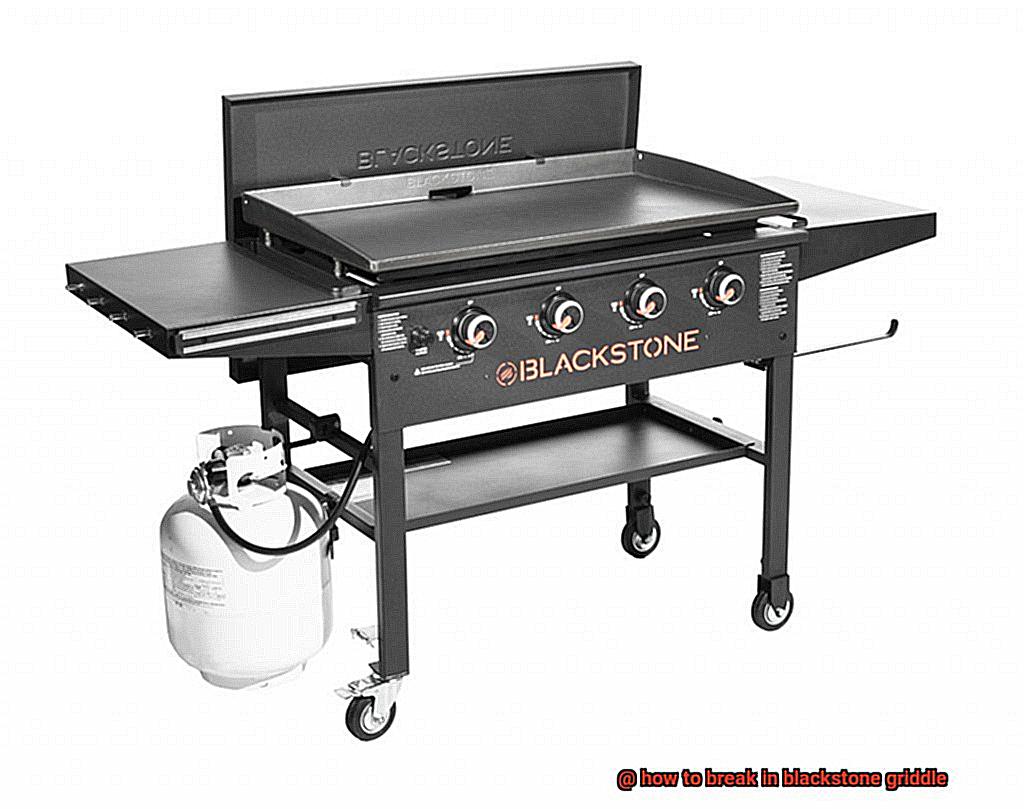
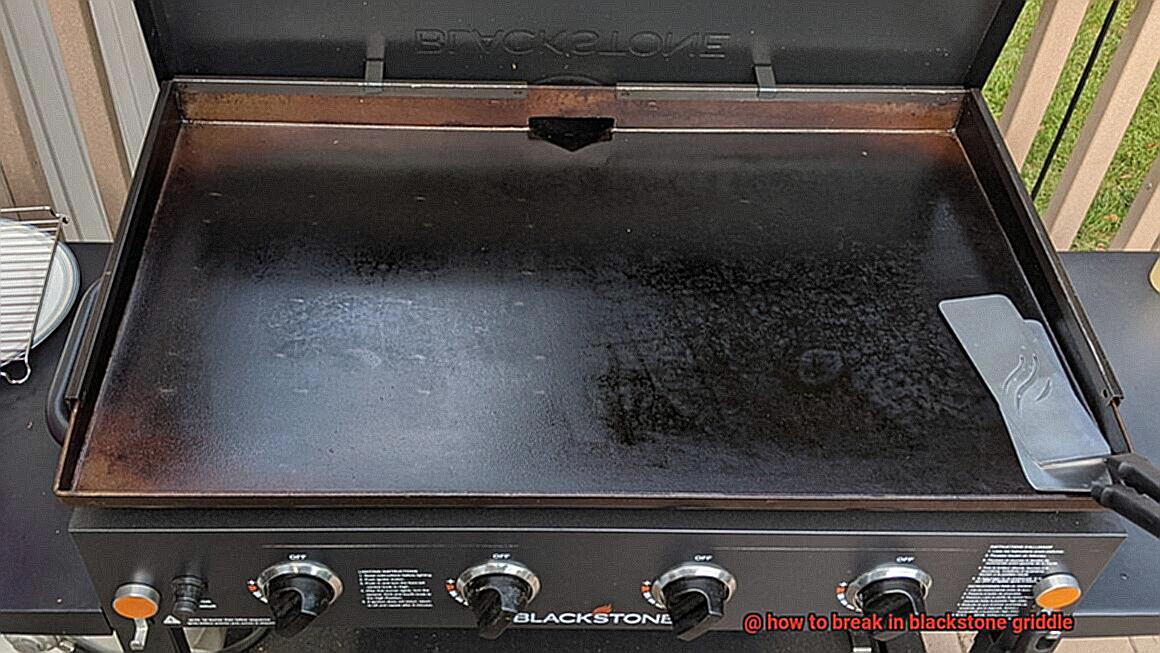
What is a Blackstone Griddle?
Look no further than the Blackstone Griddle – a popular and versatile appliance that has taken the outdoor cooking world by storm.
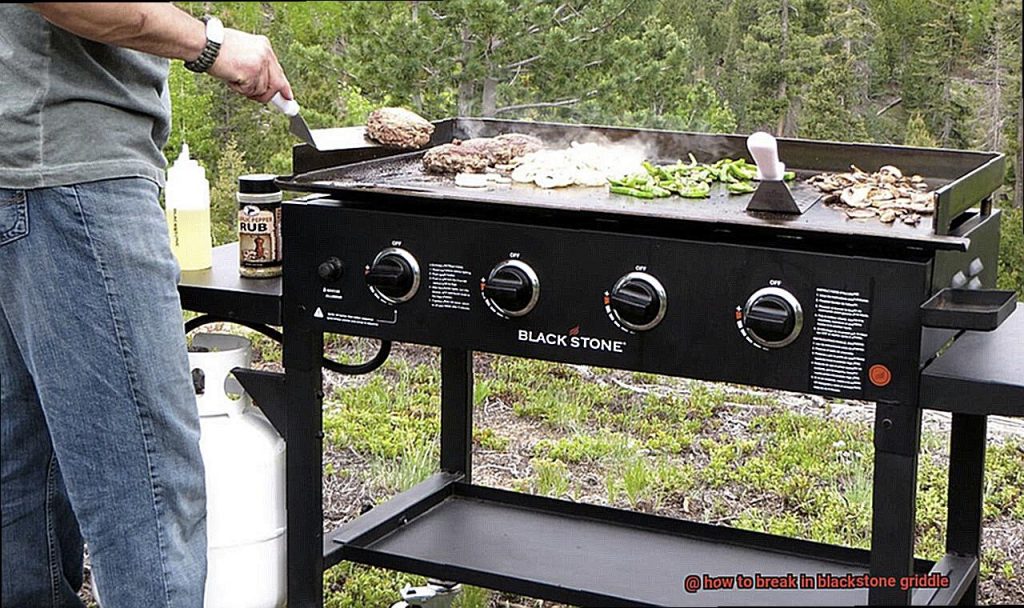
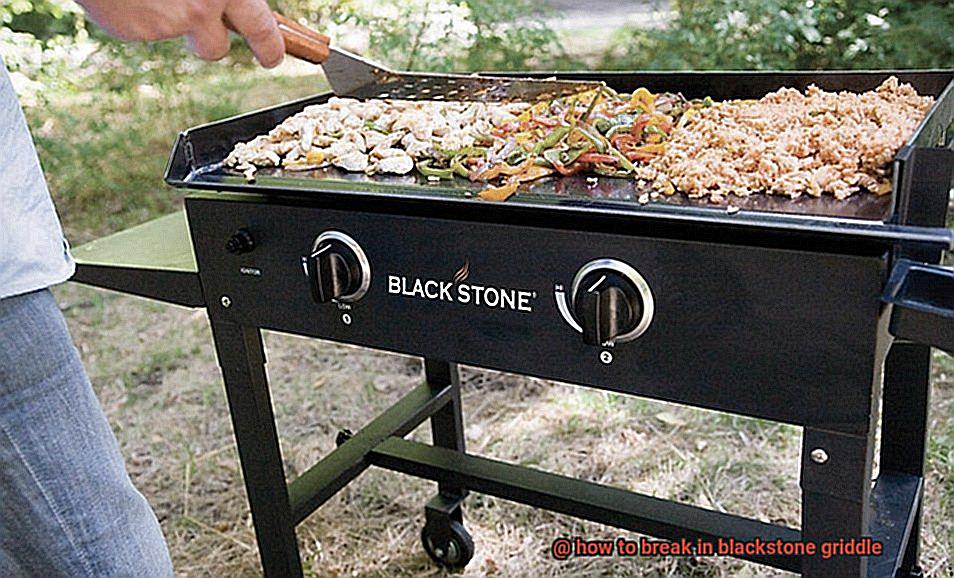
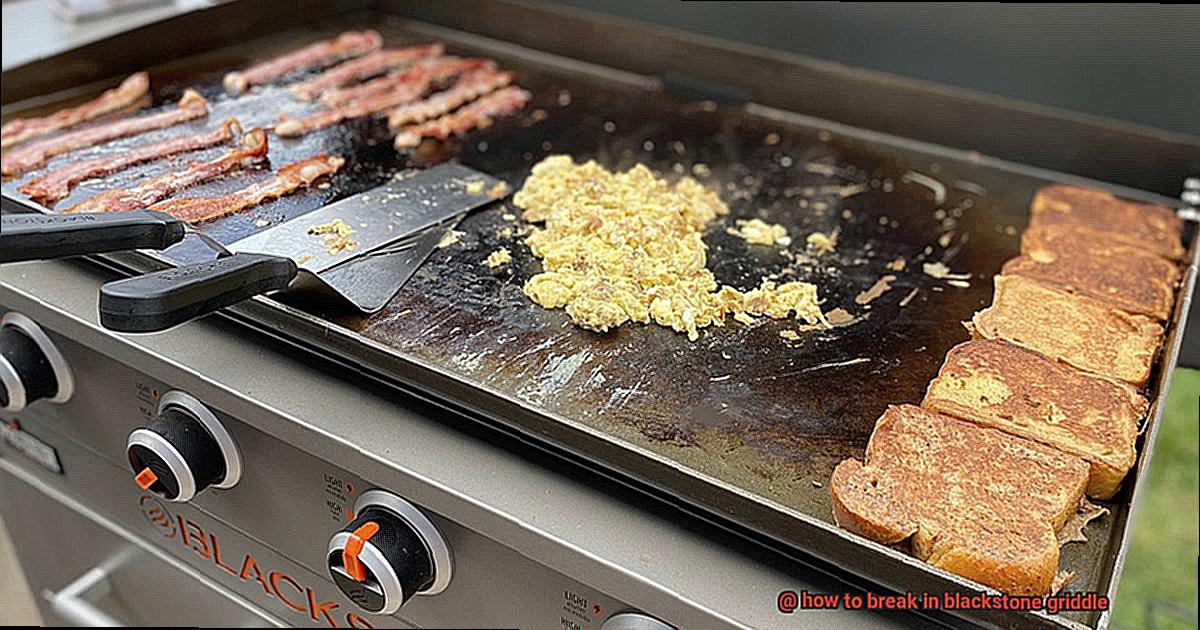
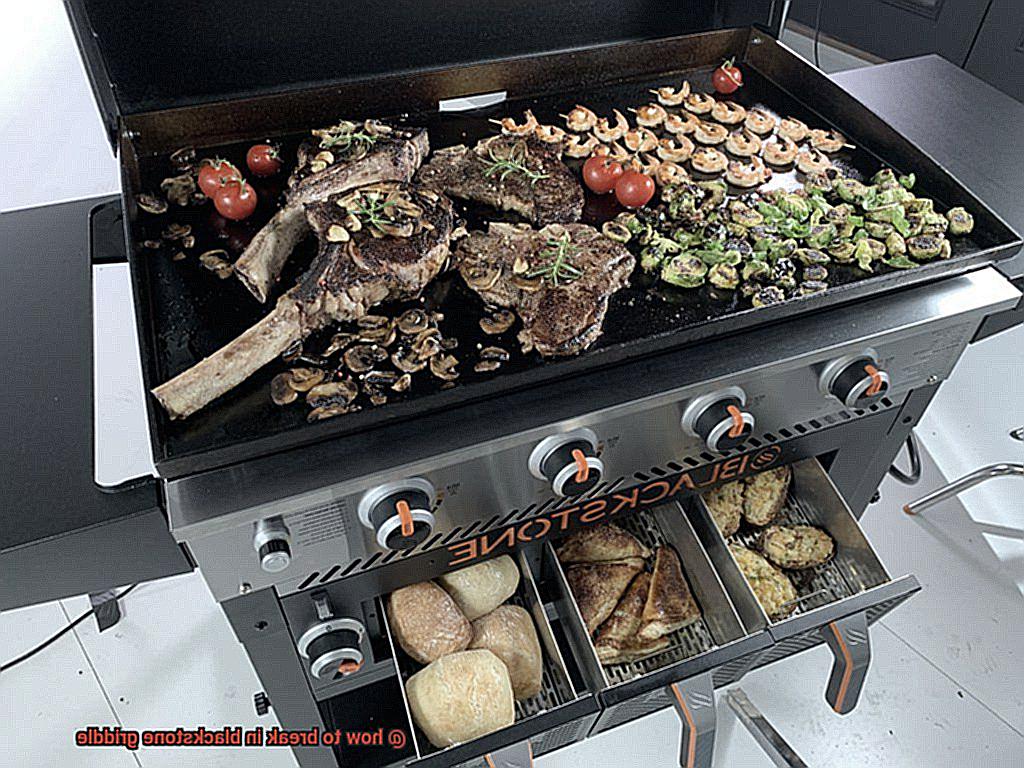
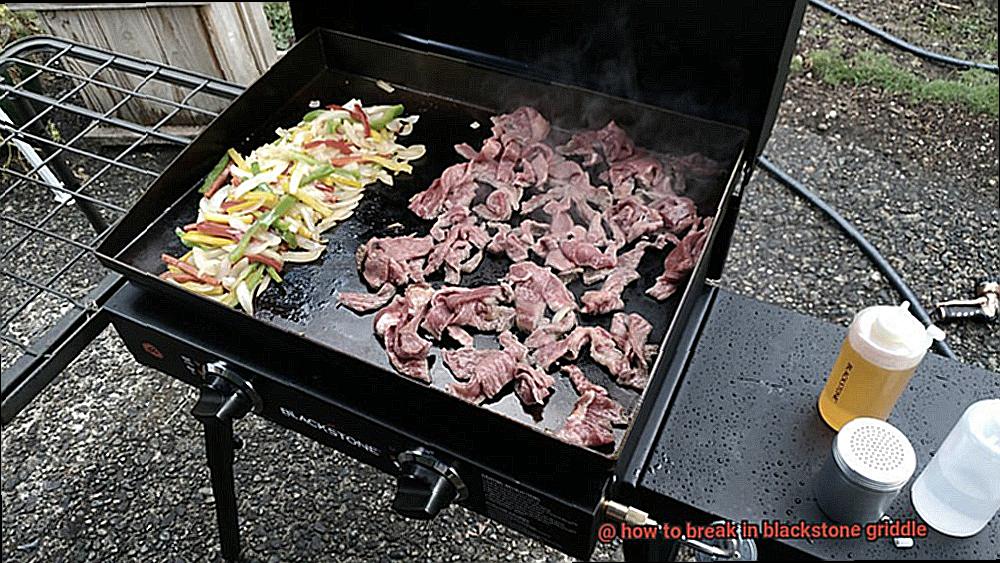
So, what exactly is a Blackstone Griddle? This outdoor cooking appliance is fueled by propane or natural gas and features a flat cooking surface made of steel or cast iron. The griddle’s large size and even heat distribution make it perfect for cooking everything from breakfast foods like pancakes and eggs to burgers, steaks, and vegetables. It’s an ideal choice for cooking for a crowd or preparing meals in batches, making it perfect for camping trips or backyard barbecues alike.
One of the most significant advantages of using a Blackstone Griddle is its consistent cooking results thanks to its even heat distribution across the entire cooking surface. It’s also renowned for its durability and ease of cleaning, making it a popular choice among outdoor cooking enthusiasts.
With various sizes and designs available, some models even feature additional features like side burners and storage shelves. Whether you’re a beginner or seasoned outdoor cook, there’s a Blackstone Griddle that’ll fit your needs perfectly.
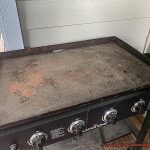
However, before you start grilling up a storm on your new appliance, it’s essential to properly break it in. Seasoning your griddle involves creating a protective layer of oil on the surface to prevent rust and provide a non-stick cooking surface. Begin by washing your Blackstone Griddle with warm soapy water and drying it thoroughly. Then apply a thin layer of vegetable oil or flaxseed oil to the entire surface of the griddle, including the sides and back. Heat the griddle to medium-high for about 20 minutes and let it cool down completely. Repeat this process two or three times until you notice that the griddle has developed a dark, non-stick coating.
Remember, never use soap or abrasive cleaners on your Blackstone Griddle as this will remove the seasoning layer. Instead, use a scraper or spatula to remove any excess food debris, then wipe down with a clean cloth or paper towel.
Why is Breaking in a Blackstone Griddle Important?
Before you start cooking up a storm, it’s crucial to understand the importance of breaking it in properly.
Firstly, breaking in your griddle helps to remove any manufacturing residue or chemicals that could impact the taste of your food and potentially harm your health. By taking the time to break it in, you’ll ensure that the griddle is safe for cooking.
Secondly, seasoning your Blackstone griddle creates a natural non-stick surface. The process involves coating the surface with oil and heating it until it becomes polymerized, filling in any pores or imperfections on the surface. This means that you’ll have an easier time cooking and won’t have to worry about food sticking to the griddle.
But that’s not all – breaking in your Blackstone griddle also helps to protect the surface from rust and corrosion. The seasoning layer acts as a protective barrier, preventing moisture and oxygen from coming into contact with the metal surface and causing rust. By properly seasoning your griddle, you can extend its life and continue to enjoy delicious meals for years to come.
To summarize, breaking in your Blackstone griddle is essential for three reasons:
- It removes manufacturing residue, ensuring that the griddle is safe for cooking.
- It creates a natural non-stick surface, making cooking easier and preventing food from sticking.
- It protects against rust and corrosion, extending the life of your griddle.
How to Break in a Blackstone Griddle
Breaking in a Blackstone griddle is a crucial step to ensure that you get the best performance and longevity from your cooking surface. Here are five sub-sections that will guide you through the process:
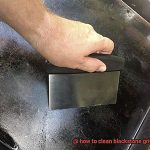
Clean the Griddle Surface
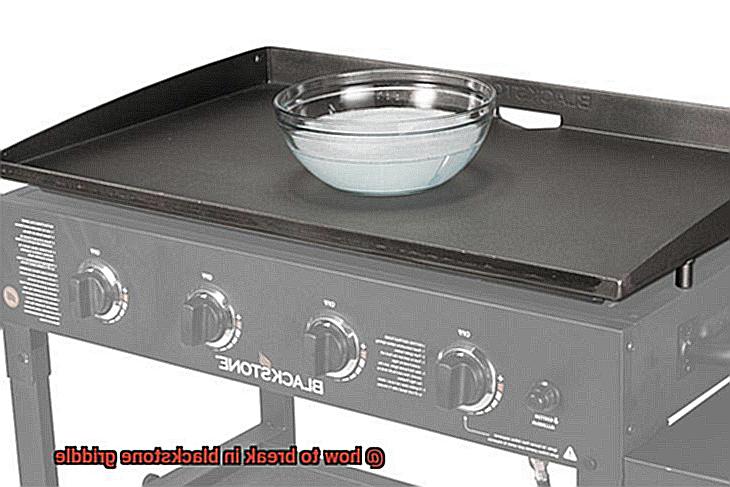
Before seasoning your Blackstone griddle, it’s important to clean its surface thoroughly. Use hot water, soap, and a scraper to remove any protective coating and food residue from the surface. Once you have removed all debris, rinse the surface with water and dry it completely.
Apply Oil
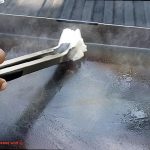
To create a non-stick surface on your Blackstone griddle, apply a thin layer of oil to the entire surface of the griddle, including the sides and back. Opt for an oil with a high smoke point such as canola or vegetable oil. Avoid olive oil, as it has a low smoke point and can leave your griddle sticky and hard to clean.
Use a paper towel or brush to spread the oil evenly over the entire surface of the griddle. Make sure to apply a thin layer of oil so that it doesn’t pool in any areas.
Heat Up the Griddle
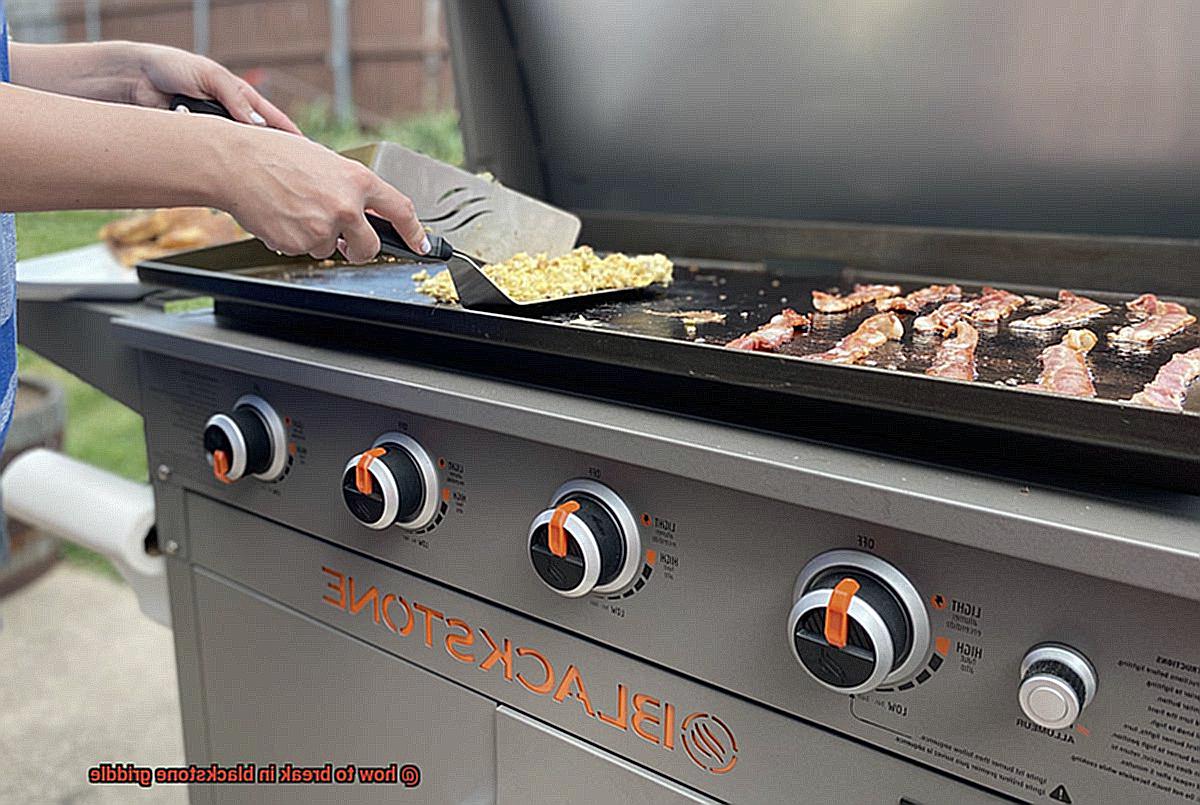
Turn on your Blackstone griddle to medium-high heat and let it heat up for about 15-20 minutes. This will help to season the griddle by allowing the oil to penetrate into the pores of the surface and create a protective layer.
Let It Cool Down
After heating up your Blackstone griddle for 15-20 minutes, turn off the heat and let it cool down completely. Once cool, use a paper towel or cloth to wipe away any excess oil from the surface.
Repeat
Repeat this process two or three times until you notice that your Blackstone griddle has developed a dark, non-stick coating. This seasoning process will help prevent food from sticking to the griddle and make cleaning much easier.
Step 1: Clean the Griddle
Before you dive in, it’s important to ensure that your griddle is clean and ready for use. That’s where step 1 comes in – cleaning the griddle.
Start by using a scraper tool or spatula to remove any large debris or food particles from the surface of the griddle. You don’t want any leftover gunk interfering with your cooking. Once you’ve cleared the surface, give it a wipe down with a damp cloth or paper towel.
Now it’s time to turn up the heat. Set your Blackstone griddle to medium heat and let it warm up for around 10-15 minutes. This step will not only burn off any remaining residue but also sterilize the surface of the griddle, ensuring that it’s safe for cooking.
Once your griddle has heated up, grab a stainless steel brush and gently scrub the surface. But be careful not to apply too much pressure as you don’t want to scratch the surface of your precious griddle. The stainless steel brush is a great tool for removing any stubborn debris that didn’t come off with the scraper tool.
After you’ve finished scrubbing, give the surface another wipe down with a damp cloth or paper towel. It’s important to make sure that all debris is removed before moving on to the next step.
Finally, turn off your Blackstone griddle and allow it to cool down completely before moving on to the next step. This will not only protect you from burns but also prevent any damage to your griddle.
Step 2: Apply Oil to the Griddle
Before you start creating mouth-watering meals, it’s important to properly season your griddle. Step two in the seasoning process is applying oil to the griddle.
Choosing the right oil is key. Flaxseed oil is highly recommended because it has a high smoke point, dries quickly, and creates a hard, non-stick surface. Plus, it’s a natural and food-safe option. Avoid cooking spray or vegetable oil as they can leave behind a sticky residue that can damage your griddle over time.
To begin, ensure your griddle is clean and dry. Apply a thin and even layer of oil using a paper towel or brush across the entire surface of the griddle, including the edges and corners. Be mindful not to use too much oil, as this can make your griddle greasy and cause food to stick.
Now for the fun part – turn up the heat. Let the griddle warm up for several minutes until it starts smoking. This process polymerizes the oil, creating that coveted non-stick coating. Repeat this process several times until you see a dark brown or black color on the surface of your griddle.
Remember to keep your griddle well-oiled after each use to maintain its non-stick surface. With proper care, your Blackstone griddle will provide you with many years of delicious grilled meals.
In summary:
- Choose flaxseed oil for best results
- Clean and dry your griddle before applying oil
- Use a thin and even layer of oil to prevent food from sticking
- Turn up the heat until it starts smoking to polymerize the oil
- Repeat several times until you see a dark brown or black color
- Avoid cooking spray or vegetable oil to prevent sticky residue
- Keep your griddle well-oiled after each use
Step 3: Heat the Griddle
The first step to success is heating it up properly. As an expert on this question, “Step 3: Heat the Griddle,” I will take you through the process step-by-step.
Firstly, make sure that your griddle has been seasoned with flaxseed oil and left to dry completely. Now, turn all the burners on high and close the lid. This allows for even heat distribution and an optimal cooking experience.
But here’s where patience comes in – don’t check the temperature right away. Let the griddle heat up for at least 10-15 minutes before checking if it has reached about 400°F. If it hasn’t, give it another 5-10 minutes to heat up further.
Once the desired temperature has been reached, turn off all the burners and let the griddle cool down naturally. Don’t be tempted to speed up the process with water, as this can cause warping or cracking of the steel surface. Once it has cooled down completely, wipe it clean with a paper towel to remove any excess oil or debris.
Congratulations. Your Blackstone griddle is now ready for your culinary creations. By heating it up correctly, you have created a non-stick surface that will make cooking a breeze. Here are some additional tips to keep in mind:
- Always heat up your griddle before cooking.
- Don’t overcrowd the surface, as this can affect the cooking temperature.
- Clean your griddle after each use and reapply oil as needed.
Step 4: Let the Griddle Cool Down
That’s why step 4 – letting the griddle cool down – is crucial to the longevity and durability of your beloved cooking surface.
When you’re finished cooking up a storm, it can be tempting to jump right into cleaning. But resist that urge. First, turn off the heat source and give your griddle time to cool down naturally. Pouring water on a hot surface can cause warping or cracking, and nobody wants their griddle to be wonky.
It’s also important to avoid using any abrasive materials while the griddle is still hot. Scratching or damaging the surface can ruin your griddle’s non-stick coating and make it harder to clean in the long run. So put away those metal scouring pads and wait until your griddle has cooled down completely.
Once your griddle is cool to the touch, it’s time to clean it up. Start by using a scraper or spatula to remove any excess food debris or grease. Then, simply wipe down the surface with a damp cloth or paper towel. For any stubborn stains or burnt-on food, use a mild detergent and warm water to clean the surface.
By taking the time to let your Blackstone griddle cool down after use, you’re not only preventing damage but also making it easier to clean. And who doesn’t want an easy-to-clean griddle that lasts for years? Remember these steps for proper maintenance and your future cookouts will be a breeze.
Tips for Maintaining Your Blackstone Griddle
Maintaining your Blackstone griddle is essential if you want to enjoy delicious meals cooked to perfection for years to come. As an expert on maintaining Blackstone griddles, I’m excited to share my tips with you on how to properly care for your griddle. Here are five sub-sections that will help you keep your griddle in top condition:
Clean Your Griddle After Every Use:
Cleaning your griddle after each use is crucial to maintaining it. Food debris and grease can build up on the surface of your griddle, making it harder to cook on and potentially causing damage over time. To clean your griddle, use a scraper or spatula to remove any excess food debris or grease while it’s still hot. Once it’s cooled down, wipe the surface with a damp cloth or paper towel. A mixture of water and vinegar can also help remove stubborn stains.
Season Your Griddle Regularly:
Seasoning your griddle is key to creating a non-stick surface and preventing rust from forming. To season your griddle, apply a thin layer of oil to the surface and heat it up until it starts to smoke. Once cooled down, wipe off any excess oil with a paper towel. This process should be done regularly, especially when you first get your griddle. The more you use it, the more seasoned it becomes, making it easier to cook on.
Store Your Griddle Properly:
When not in use, store your griddle in a dry place away from moisture or humidity. Exposing your griddle to moisture can lead to rust and other forms of damage over time. Use a protective cover or store it in a dry place to prevent rust from forming.
Use High-Quality Utensils:
Avoid using metal utensils on your griddle as they can scratch the surface. Opt for high-quality plastic or wooden utensils instead. Scratches on the surface can lead to food sticking and potentially damaging your griddle.
Inspect Your Griddle Regularly:
Regularly inspect your griddle for any signs of damage or wear and tear. If you notice any issues, such as cracks or rust spots, address them immediately before they become more serious. It’s better to catch these issues early on than to let them worsen over time.
YyeI1SL2fLs” >
Conclusion
In summary, breaking in your Blackstone griddle is an essential step for achieving optimal performance and durability. By eliminating any factory oils or residues and establishing a non-stick surface, you’ll be able to cook up your favorite dishes with ease. The key steps to breaking in your Blackstone griddle include cleaning it thoroughly, seasoning it with oil, and heating it adequately to create a protective layer on the cooktop.
It’s crucial to keep in mind that proper maintenance is just as critical as breaking it in correctly. Regularly cleaning the griddle after each use, seasoning it frequently, storing it appropriately, using high-quality utensils, and checking for signs of damage are all vital aspects of proper maintenance.
With its versatility and reliability, the Blackstone griddle is a must-have addition for any outdoor cooking enthusiast. By following these simple steps for breaking in and maintaining your griddle properly, you can enjoy delicious grilled meals for years to come.