Imagine this: the sun is beaming down, the sweet scent of barbecue sauce fills the air, and your stomach is growling with anticipation. You’re ready to start grilling up a storm for your loved ones, but as soon as you turn on the gas and hit the ignition button, the flames flicker for a moment before fizzling out. Frustration sets in as you try again and again to no avail.
If this sounds like a familiar situation to you, don’t worry – you’re not alone. Many grill enthusiasts have faced the same issue of trying to keep their grill lit throughout their cookout. But fear not. In this blog post, we’ve got your back with some top tips and tricks to help ensure a steady flame and a perfectly cooked meal.
We’ll dive into various methods that will help you get your grill to stay lit and explain why it’s crucial to maintain a consistent temperature for optimal grilling. From clogged burners to low gas pressure and malfunctioning regulator valves – we’ll cover all the common issues that can cause problems with keeping your grill lit. Plus, we’ll provide easy-to-follow solutions so that you can get back to cooking up a storm in no time.
Whether you’re an experienced grill master or just starting out, our guide will give you everything you need to know about getting your grill fired up and keeping it that way. So sit back, relax, and read on – because with these tips in hand, you’ll be able to enjoy stress-free grilling every time.
Contents
Clean and Maintain Your Grill Before Use
As a grill master, you undoubtedly understand that nothing is more frustrating than having your grill repeatedly go out or not stay lit. But fear not. With just a few simple steps, you can keep your grill running smoothly and ensure that your food is cooked to perfection every time.
The first step to ensuring that your grill stays lit is to clean and maintain it before each use. Start by removing any ash or food particles left over from the previous use. Use a grill brush to scrub the grates and remove any stuck-on food particles. For a deeper clean, soak the grates in warm soapy water for a few hours before scrubbing them clean.
Before you start cooking, it’s crucial to check the burners and make sure they are free of debris. If they’re not, use a wire brush or toothpick to carefully remove any obstructions. Also, check the fuel line for signs of wear or damage. If there are any issues with the fuel line, replace it immediately.
Another critical factor in getting your grill to stay lit is ensuring that the gas tank is properly connected and has enough propane or natural gas to fuel the grill. Before each use, check the gas tank’s level to ensure it’s adequately filled. A low or empty tank can cause intermittent gas flow, making it difficult to keep the flames burning consistently.
Finally, don’t forget to adjust the air vents on your grill as needed. Opening the vents allows for more oxygen to flow into the burners, which can help ignite and maintain a consistent flame. However, be careful not to leave them fully open as this can cause flare-ups or uneven cooking.
Ensure the Gas Tank is Adequately Filled
Grilling is the perfect way to enjoy summer with friends and family. The tantalizing aroma of sizzling burgers, hot dogs, and veggies on the grill is enough to make anyone’s mouth water. But nothing can ruin a BBQ more than a grill that won’t stay lit. Have you ever experienced this frustrating situation? If so, you’re not alone. One of the most common reasons why grills fail to stay lit is due to low gas levels. Hence, it’s vital to ensure that your gas tank is adequately filled before starting your grill.
Here are some easy steps that you can follow to ensure your gas tank is adequately filled:
Step 1: Check the propane gauge on your grill
Most grills come with a built-in propane gauge that shows how much gas is left in the tank. If you notice that the gauge shows a low gas level or the tank feels light, it’s time to refill or replace the tank.
Step 2: Use a propane tank scale
If your grill doesn’t come with a propane gauge, don’t worry. You can use a propane tank scale to determine how much gas is left in the tank. Place the scale under the tank and weigh it. A full propane tank typically weighs 20 pounds. Therefore, if the scale displays less than 18 pounds, it’s time to refill or replace the tank.
Step 3: Refill or replace the tank
Refilling or replacing propane tanks requires extra care and safety guidelines. Always turn off all burners and the propane tank valve before disconnecting and replacing an empty tank. Additionally, store propane tanks in a safe and ventilated area away from heat sources and direct sunlight.
Step 4: Have a spare propane tank on hand
Preparedness is key when it comes to grilling. Therefore, having an extra propane tank on hand can save you from running out of gas during a BBQ.
Check for Leaks or Damage in the Gas Line
Before you do, make sure to check your gas line for any leaks or damage. A faulty gas line can cause inconsistent flames or even prevent your grill from lighting altogether. Don’t let frustration and danger ruin your summer fun – follow these steps to ensure your gas line is safe and functional.
- Turn off the gas supply: Safety should always come first. Before you start inspecting your gas line, turn off the gas supply to your grill.
- Disconnect the gas line: Carefully disconnect the gas line from the grill. This will allow you to inspect it more closely.
- Apply soapy water solution: Mix dish soap with water to create a solution of soapy water. Brush it onto the gas line.
- Look for bubbles: If there are any leaks in the gas line, bubbles will form in the soapy water. Keep an eye out for any bubbles forming on the gas line.
- Fix any leaks: If you do find any leaks, it’s crucial to fix them before using your grill again. Tighten connections or replace parts if necessary.
- Inspect for damage: Alongside checking for leaks, also inspect the gas line for any cracks, dents, or signs of wear and tear. Should you find any damage, replace the gas line before using your grill again.
By doing regular checks for leaks or damage in your gas line, you can keep your grill safe and efficient. Here are some additional tips to keep in mind:
- Keep an eye on propane tank levels and have a spare tank on hand.
- Make this a part of your routine maintenance.
- Enjoy delicious grilled meals without any interruptions or worries.
Adjust the Air Vents as Needed
Then it’s time to talk about one of the most crucial steps in keeping your grill lit and cooking evenly – adjusting the air vents.
Airflow is essential for combustion, and regulating the amount of oxygen that enters your grill is key. Improper airflow can cause your grill to extinguish or burn unevenly, resulting in poorly cooked food. But fear not, because the air vents on your grill are here to save the day.
Most grills will have two vents – one on the bottom and one on the lid. Adjusting these vents is a simple process that can make all the difference in your grilling experience. To increase airflow and provide more fuel for combustion, open the vents. And if your grill is getting too hot, close the vents to reduce airflow.
However, it’s important to remember that every grill is different. You may need to experiment with the vents to find the perfect balance of airflow for your specific model. And don’t forget about the wind. Wind can greatly affect your grill’s performance, so make sure to position it in a sheltered area or use a windscreen.
Properly adjusting the air vents on your grill is a surefire way to control the temperature and ensure that your food is cooked evenly and to perfection. But that’s not all – here are some additional tips to keep in mind:
- Keep an eye on the smoke coming from your grill. If there’s too much smoke, it could be a sign that there’s not enough airflow.
- If you’re using charcoal, try arranging it in a pyramid shape with the thicker pieces at the bottom. This will help with airflow and make it easier to light.
- Consider investing in a grill thermometer to help you monitor the temperature more accurately.
Use a Grill Starter to Ignite the Burners
Look no further than the trusty grill starter. As an expert in this area, I’m here to give you some tips on how to use a grill starter to effortlessly ignite the burners on your grill.
A grill starter is a handy device that runs on electricity, making it one of the easiest and most efficient ways to ignite your grill burners. Simply plug it into an electrical outlet and place it near the burners on your grill.
Once plugged in, turn on the burners and set them to high heat for optimal results. Hold the grill starter near the burners until they ignite, which should produce both visible and audible cues. If your burners fail to ignite after a few seconds, turn them off and wait a few minutes before trying again. This will help dissipate any excess gas and ensure a safe ignition.
One of the biggest advantages of using a grill starter is its ability to eliminate the need for hazardous matches or lighters around an open flame. Not only is it safer, but it can also help you get your grill going quickly so you can start cooking up a storm without delay.
However, it’s important to keep in mind that a grill starter uses electricity, which can be dangerous if not handled carefully. Always use a grounded outlet when plugging in your grill starter and never touch the metal prongs on the end of the cord while it’s still plugged in.
Utilize Charcoal Briquettes for an Even Heat Source
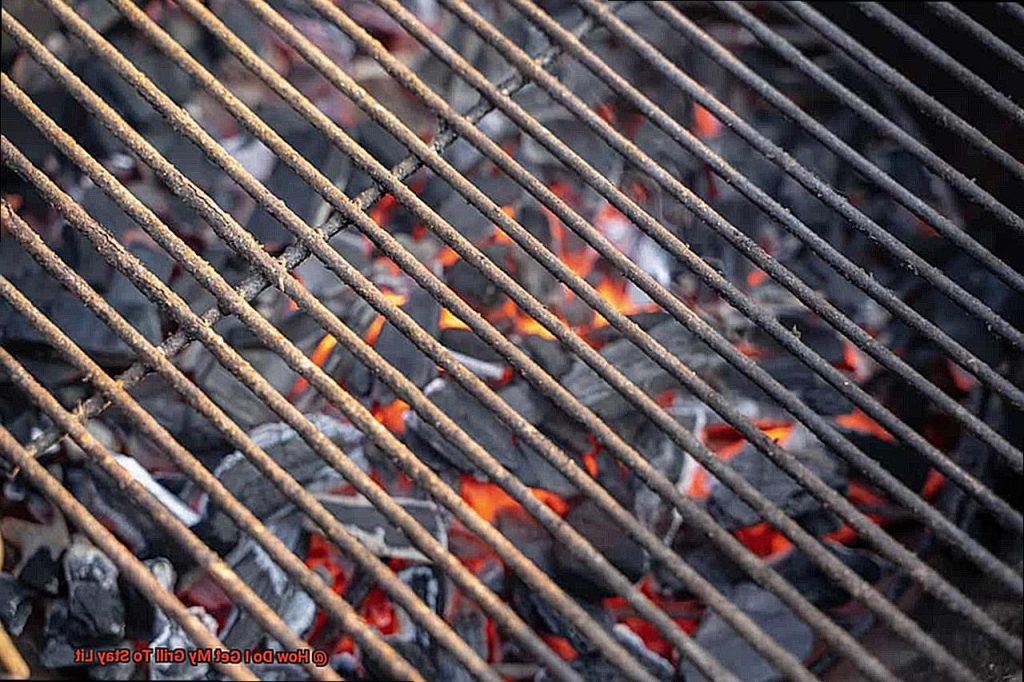
As a grill master, you know that achieving an even heat source is key to nailing perfectly grilled meats and veggies. And when it comes to creating that even heat source, charcoal briquettes are the way to go.
Charcoal briquettes are a fantastic option for creating an even heat source on your grill. Unlike traditional lump charcoal, which can burn unevenly, briquettes are designed to burn evenly and for a longer period of time. This means you won’t have to constantly add more charcoal throughout the cooking process.
To get started, arrange the briquettes in a uniform layer across the bottom of your grill. This will ensure that heat is distributed evenly and prevent any hot spots from forming. Allow the briquettes to fully ignite before placing any food on the grill. This can take anywhere from 20-30 minutes, depending on your grill size and amount of charcoal used.
Once your charcoal has turned white-hot, spread them out evenly across the grill grates for an even distribution of heat. To maintain an even temperature throughout the cooking process, periodically add more briquettes as needed. This will help prevent sudden drops in temperature and ensure that your food is cooked evenly.
Investing in a charcoal chimney starter can make lighting and adding additional charcoal a breeze. Simply fill the chimney with briquettes, light them at the bottom, and watch as they quickly ignite.
Make Sure You Have Enough Fuel to Last Through Cooking
As any grill master knows, running out of fuel in the middle of cooking can be a major buzzkill. Not only does it lead to frustration, but it can also impact the taste and texture of your food. That’s why it’s crucial to make sure that you have enough fuel to last through the entire cooking process.
To help you avoid this pitfall, here are some tips to make sure that you have enough fuel for your next grilling session:
- Check Your Fuel Level: Before you even think about firing up the grill, take a moment to check your fuel level. If you’re using propane, make sure that the tank is full or has enough gas to last through the cookout. You can check the level by lifting the tank and weighing it or by using a gauge that attaches to the tank’s valve.
- Have Extra Charcoal or Propane on Hand: If you’re using charcoal, make sure that you have enough briquettes or lump charcoal to last through the entire cooking session. A good rule of thumb is to use about 30 briquettes per hour of cooking time. It’s always better to have too much charcoal than too little. Similarly, it’s wise to keep an extra propane tank on hand so that you’re prepared for any unexpected fuel shortages.
- Regulate Airflow: The proper flow of oxygen is essential for keeping your grill lit and cooking consistently. Most grills have vents on both the top and bottom that regulate airflow. Be sure to keep them clear and open during cooking, as blocked or closed vents can cause the flame to go out or burn too low.
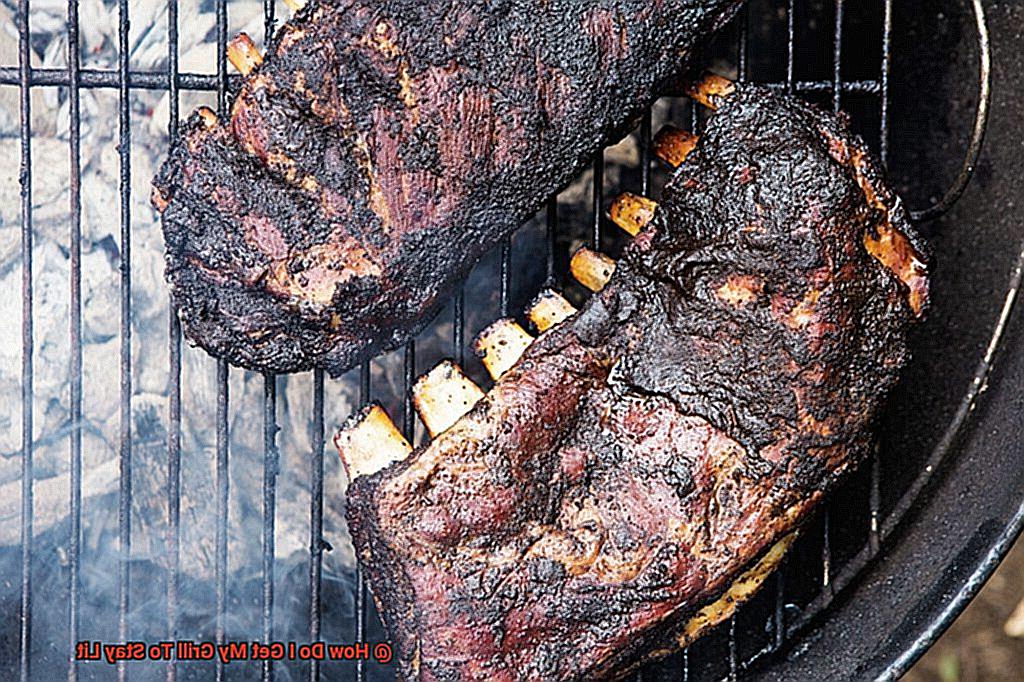
Avoid Overloading the Grill with Too Much Food
On a beautiful day, there’s nothing better than firing up the grill for a delicious barbecue with friends and family. However, before you start loading up the grates, it’s important to avoid overloading the grill with too much food. Overcrowding your grill can cause serious issues, such as dropping temperatures and struggling to maintain consistent heat. When this happens, the flame may go out, which is never good when you’re cooking for a group of hungry guests.
To prevent this problem, plan your meals carefully and only cook as much food as your grill can handle. Don’t try to fit everything onto the grill at once – it’s always better to cook in batches. Additionally, some foods take longer to cook than others, so it’s best to stagger their cooking times.
Another crucial tip is to arrange your food on the grill in a way that promotes even heating. For example, if you’re cooking chicken breasts and burgers, place them on different parts of the grill. Burgers cook faster, so they should be placed over the hotter part of the grill, while chicken should be cooked over a cooler area.
Besides preventing the flame from going out, avoiding overloading the grill can also improve the flavor of your food. When there’s too much food on the grates, juices and oils can drip onto the coals or burners, causing flare-ups and smoke. This can result in unevenly cooked food with a charred or bitter taste – something that nobody wants.
K5DRltODdSQ” >
Conclusion
In summary, the key to achieving mouthwatering grilled dishes lies in keeping your grill lit and maintaining a consistent temperature. To ensure that your grill stays lit throughout your cookout, it’s crucial to clean and maintain it before each use, check the fuel level, inspect the gas line for leaks or damage, adjust the air vents as needed, ignite the burners using a grill starter, and utilize charcoal briquettes for an even heat source.
But that’s not all. You should also make sure you have enough fuel to last through cooking and avoid overloading the grill with too much food. By following these tips and tricks, you’ll be able to enjoy stress-free grilling every time.
Don’t forget to plan your meals carefully and only cook as much food as your grill can handle. Arrange your food on the grill in a way that promotes even heating and stagger their cooking times. This will ensure that every item on your menu is cooked perfectly.
Whether you’re an experienced grill master or just starting out, our comprehensive guide has given you everything you need to know about getting your grill fired up and keeping it that way.