Summer is finally here, and it’s the season for grilling up some mouth-watering feasts for your loved ones. But if you’re tired of running out of propane mid-cookout or constantly replacing empty tanks, then connecting your gas grill to your natural gas line might just be the solution you need. Not only will it save you from frequent refills and trips to the store, but it also guarantees an uninterrupted flow of fuel.
Connecting your gas grill to your natural gas line may seem like a daunting task, especially if you’re not a professional plumber or gas line installer. But fear not. In this post, we’ll take you through each step needed to safely and effectively connect your grill to your natural gas line. We’ll cover everything from understanding the connection points between your gas grill and natural gas line, to purchasing the right tools and equipment for the job.
So kick back, relax, and get ready to become a grilling pro with the convenience and reliability of natural gas. By the end of this post, you’ll have all the knowledge necessary to impress your guests with perfectly cooked meals all summer long.
Contents
What You Need to Know Before Connecting Your Gas Grill to a Natural Gas Line
Connecting your gas grill to a natural gas line can provide a convenient and reliable source of fuel. However, before making any modifications, it is essential to take several precautions to ensure that the connection is safe and secure.
First and foremost, it is crucial to determine if your grill is compatible with natural gas. Not all gas grills can be converted, so check the manufacturer’s specifications and verify that it can be converted with a conversion kit. If not, you may need to purchase a new grill or continue using propane tanks.
Once you have the correct conversion kit, shut off the gas supply to your grill and disconnect the propane tank. Remove the burners from the grill and replace them with the new orifices included in the conversion kit, which regulate the flow of natural gas into your grill. Then, attach the new regulator and hose to the grill and connect it to your natural gas line. Be sure to use a flexible hose approved by your local gas company that is long enough for movement but not a tripping hazard.
Before igniting your grill, it is crucial to test for leaks using a soapy water solution. Check all connections thoroughly and ensure they are secure. It is also important to consult with your local gas company to confirm that the gas line is properly installed and meets building codes and regulations.
Additionally, it is recommended that you hire a professional plumber or gas technician to install the gas line and connect it to your grill. They will ensure that everything is installed properly and safely, giving you peace of mind while grilling.
Lastly, proper maintenance and cleaning of your grill are crucial to prevent any potential hazards or accidents. Schedule regular inspections to identify any leaks or other issues that may arise.
Determining if Your Gas Grill is Compatible with Natural Gas
Connecting your gas grill to a natural gas line may be the solution you need. However, before you start the conversion process, it’s vital to determine if your grill is compatible with natural gas.
The first step is to check the manufacturer’s specifications. Not all gas grills are designed to work with natural gas, so it’s essential to ensure that yours is before proceeding with any conversion process.
One way to determine compatibility is to look for a conversion kit. Most manufacturers offer these kits, which include all the necessary parts and instructions to convert your grill from propane to natural gas. These kits typically consist of new regulators, hoses, and orifices that are specifically designed for use with natural gas.
Another critical factor to consider is your grill’s burner rating. Natural gas requires a higher pressure than propane, so it’s crucial to ensure that your grill’s burners are rated for use with natural gas. If you can’t find this information in the owner’s manual or on the manufacturer’s website, don’t hesitate to reach out to them directly for more information.
It’s important to keep in mind that attempting to connect a grill that is not designed for natural gas use can be incredibly dangerous and should never be attempted. Always follow the manufacturer’s instructions and safety guidelines when connecting your grill to a natural gas line.
Purchasing the Correct Conversion Kit for Your Grill Model
Before you start connecting your grill to a natural gas line, it’s essential to purchase the correct conversion kit for your specific grill model. As an expert in this field, I have compiled some steps to take when purchasing the right conversion kit for your grill, ensuring that you have a safe and enjoyable grilling experience.

Step 1: Confirm Compatibility
The first step is to confirm if your grill is compatible with natural gas. Do not assume that all grills are designed for natural gas use; attempting to connect them otherwise can be dangerous. Check the owner’s manual or contact the manufacturer to confirm compatibility.
Step 2: Find the Correct Conversion Kit
Once you have confirmed compatibility, you need to find the correct conversion kit for your grill model. Each grill model requires a specific conversion kit, so it’s essential to purchase the right one. You can find this information in the owner’s manual or by contacting the manufacturer.
Step 3: Check for Compatibility with Your Natural Gas Line
Conversion kits are designed for either low-pressure or high-pressure natural gas lines, so it’s crucial to select the correct one. If you are unsure about your natural gas line’s pressure, consult with a professional plumber or gas technician.
Step 4: Verify Safety
Using the wrong conversion kit can result in safety hazards and damage to your grill. Therefore, before starting any installation process, double-check all components’ compatibility and ensure that they meet safety standards and regulations.
Step 5: Enjoy Grilling All Year Round
By following these steps, you can safely and effectively connect your gas grill to a natural gas line and enjoy outdoor grilling all year round. Say goodbye to constantly replacing propane tanks and hello to a more cost-efficient and eco-friendly grilling experience.
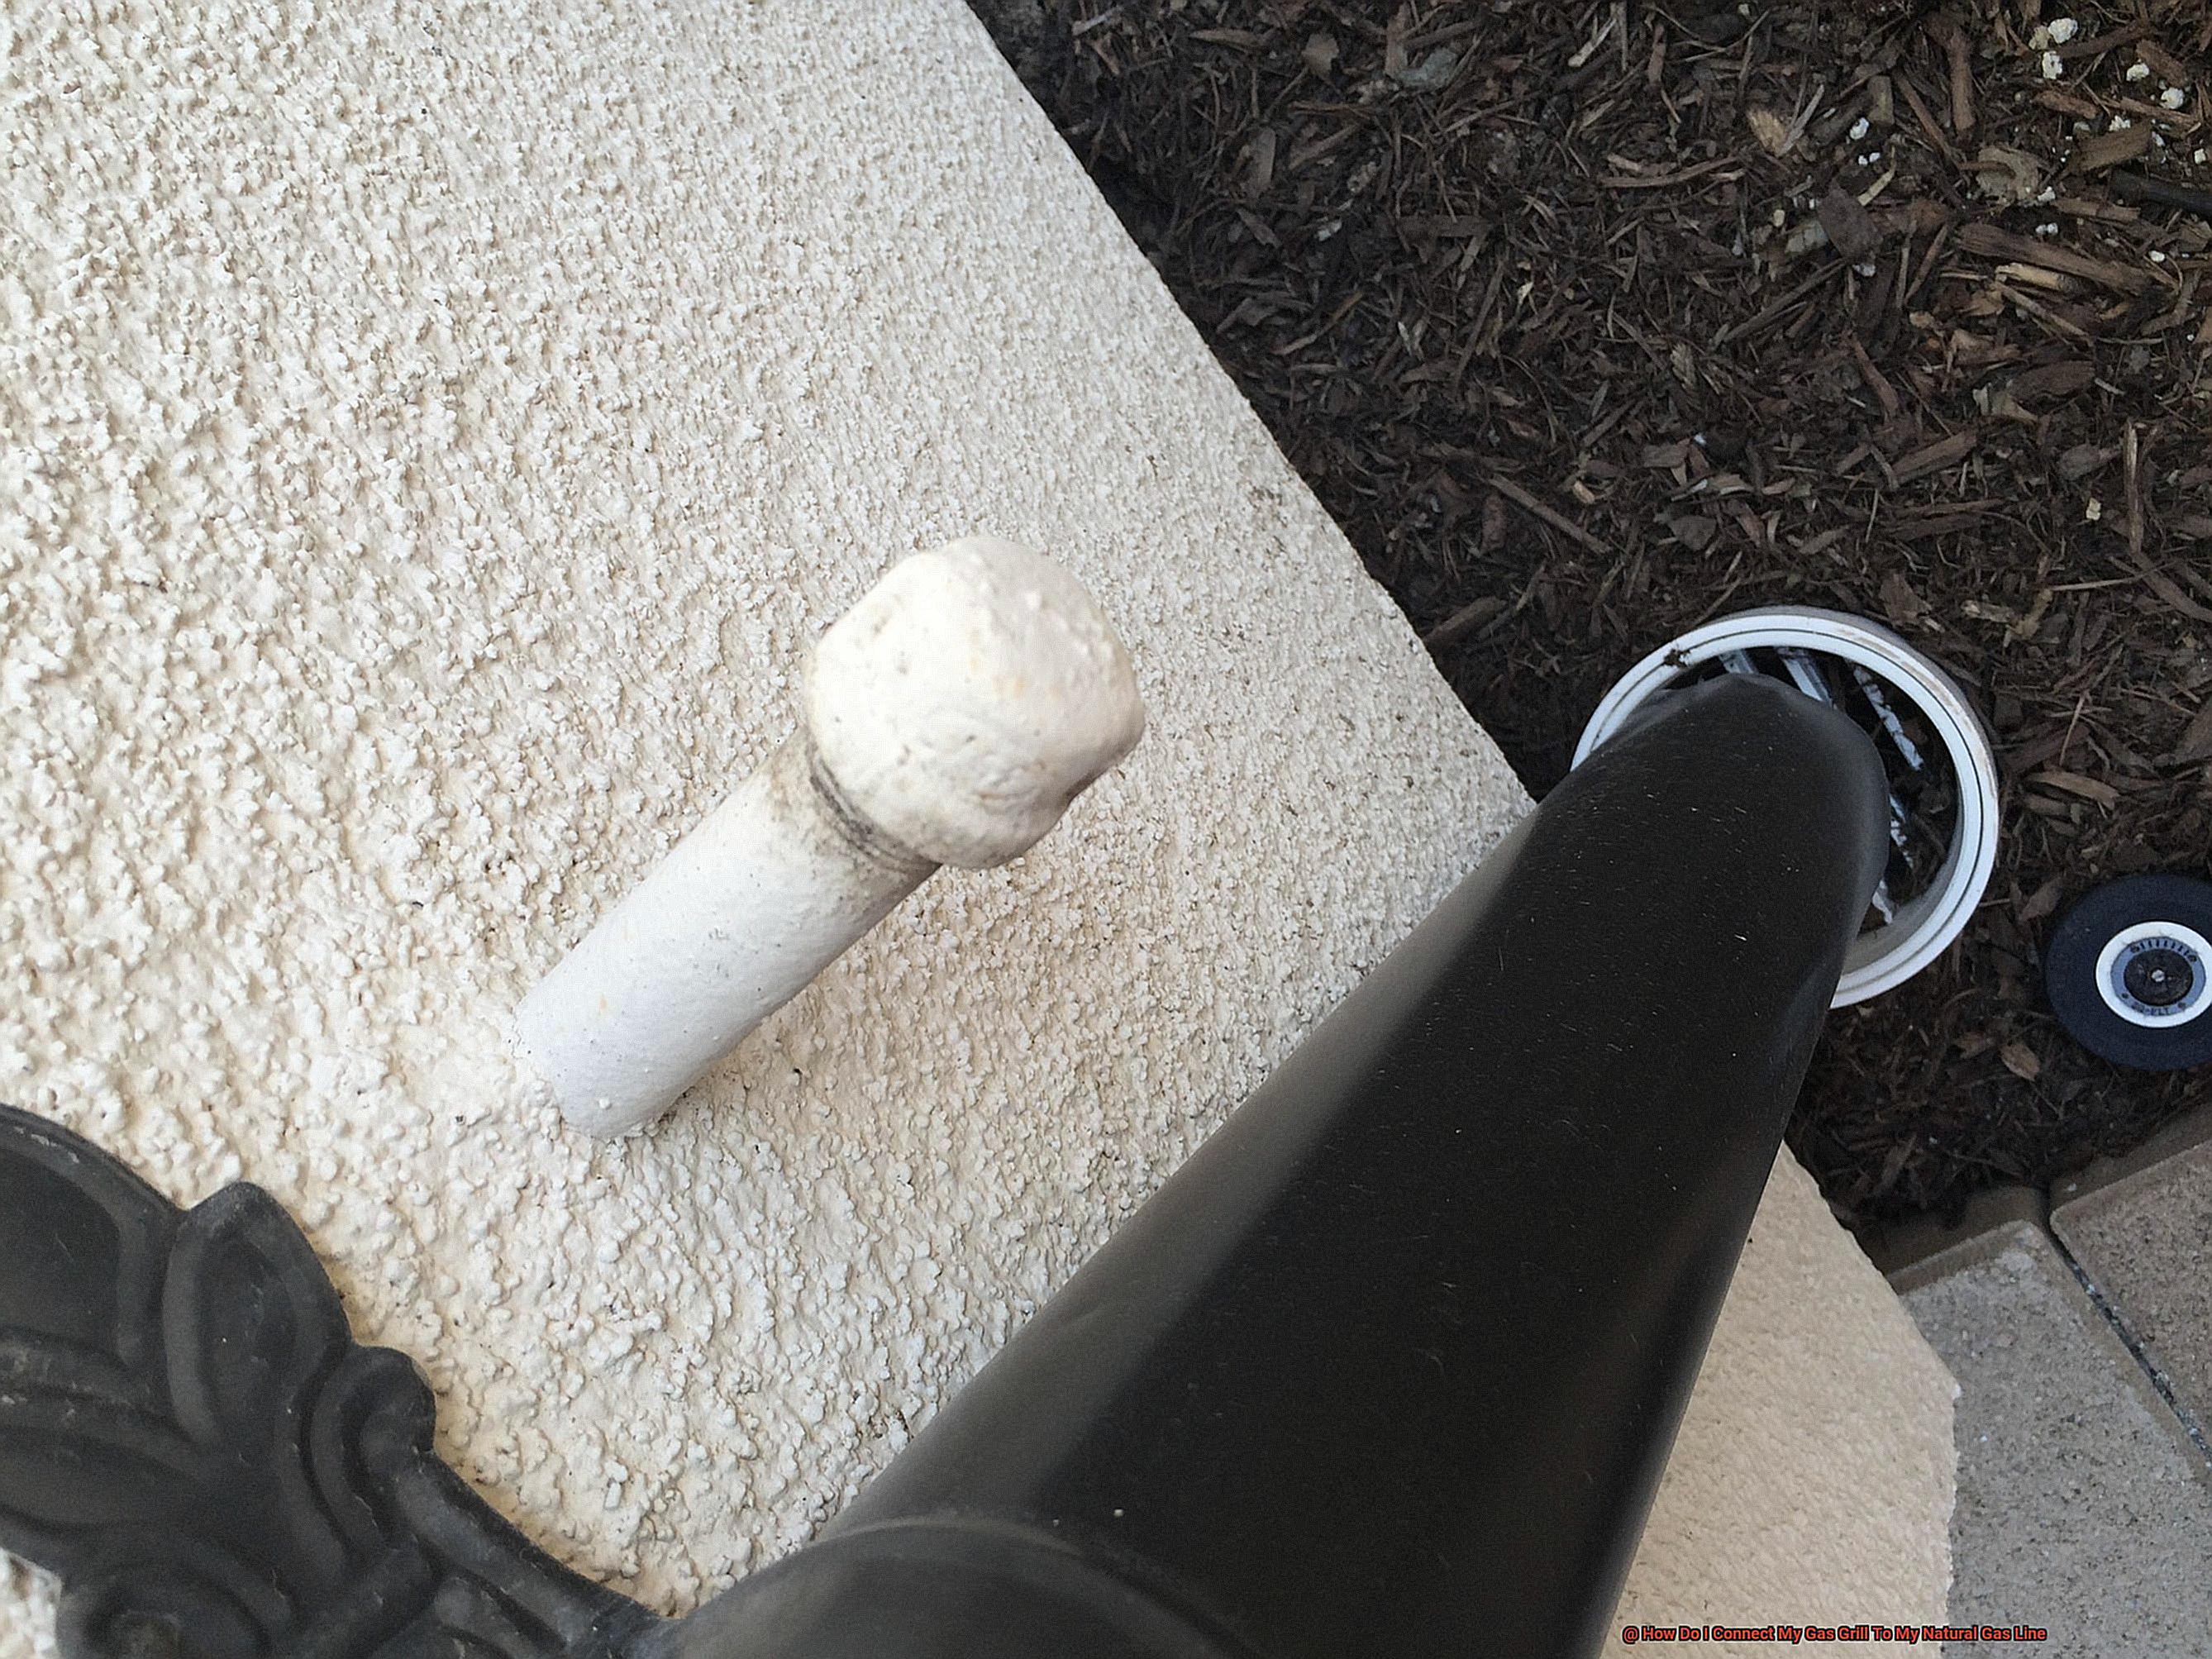
Shutting Off the Gas Supply and Disconnecting the Propane Tank
Before you start, it’s important to know how to safely shut off the gas supply and disconnect the propane tank from your grill. Follow these easy steps to ensure a safe and seamless transition.
Step 1: Shut off the Gas Supply
First things first, turn off the valve on the propane tank by turning it clockwise until it is snug. Next, turn on all the burners on your grill and let them run for a few minutes until the flames die down and the grill cools off. Once it’s cool, turn off all of the burners and then turn off the gas flow at the control panel. This will ensure that there is no residual pressure in the system, which could cause a dangerous gas leak.
Step 2: Disconnect the Propane Tank
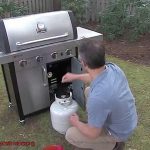
Now that you’ve turned off the gas supply, it’s time to disconnect the propane tank from your grill. Start by removing the protective cap from the propane tank valve and turning it counterclockwise until it is fully open. Then, loosen the coupling nut connecting the regulator to the propane tank by turning it counterclockwise. Once it is loose, pull the regulator away from the propane tank valve and set it aside.
Congratulations. Your propane tank is now disconnected, and you’re ready to move on to installing your natural gas connection kit and connecting your grill to your home’s natural gas line. Remember to handle your grill and gas supply with care and follow these steps carefully.
Replacing Burners with New Orifices from the Conversion Kit
Congrats. But before you start enjoying the benefits of a natural gas line, you’ll need to replace the old orifices in your burners with new ones from a conversion kit. Don’t worry; it’s not as complicated as it may seem.
Firstly, safety is paramount, so make sure your grill is turned off and disconnected from the propane tank if it’s still connected. Afterward, remove the grates and burner covers to access the burners. With a wrench, carefully remove each burner and locate the orifice.
Now comes the exciting part- using a small screwdriver, remove the old orifice from each burner and replace it with the new one from the conversion kit. Ensure that you follow the manufacturer’s instructions carefully to guarantee that they fit correctly and regulate gas flow correctly. Tighten each orifice securely with a wrench, but be cautious not to over-tighten and cause stripped threads.
Once you’ve replaced all of the orifices, reassemble the grill and connect it to your natural gas line following the manufacturer’s instructions. However, before you fire up that grill and start cooking up a storm, you need to check for leaks. Safety first.
To check for leaks, apply soapy water to all connections and observe if any bubbles form. If there are bubbles forming, there may be a leak that needs addressing before using your grill. It may seem like an extra step, but trust us- safety is of utmost importance.
In conclusion, replacing burners with new orifices from a conversion kit is an essential step in connecting your gas grill to your natural gas line. Here’s a quick recap of what we covered:
- Turn off and disconnect your propane tank if it’s still connected.
- Remove grates and burner covers.
- Use a wrench to remove each burner and locate the orifice.
- Use a small screwdriver to replace the old orifice with a new one from the conversion kit.
- Reassemble the grill and connect it to your natural gas line following the manufacturer’s instructions.
- Check for leaks by applying soapy water to all connections and observing if any bubbles form.
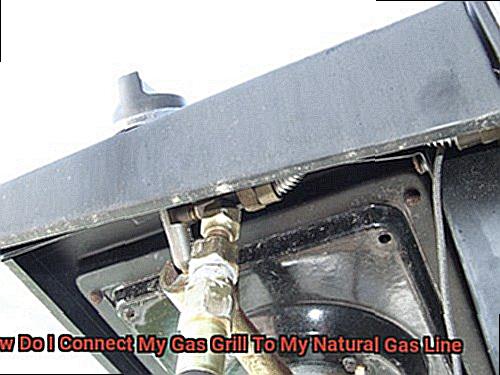
Attaching the Regulator and Hose to the Grill and Connecting it to Your Natural Gas Line
Picture this: the sun is shining, and the smell of your favorite foods grilling on your brand new gas grill fills the air. But before you can start cooking, you need to know how to attach the regulator and hose to your grill and connect it to your natural gas line. Don’t worry; we’ve got you covered with these simple steps.
First things first, make sure you have all the necessary tools and equipment at hand, including a screwdriver, an adjustable wrench, Teflon tape, and a gas line. Once you’re ready to go, let’s get started.
- Step 1: Locate the gas inlet on your grill and remove the protective cap. This step may seem simple, but it’s crucial to ensure a successful connection.
- Step 2: Attach the regulator to the gas inlet using a screwdriver. Make sure you follow the manufacturer’s instructions on orientation and securely fasten it.
- Step 3: Connect one end of the hose to the regulator and the other end to the gas line using an adjustable wrench. Double-check everything is correctly aligned and tightened to avoid any potential gas leaks.
- Step 4: Wrap Teflon tape around the threads of the gas line connection in a clockwise direction. This will provide additional sealing and prevent any gas leaks.
- Step 5: Turn on your natural gas supply and check for any leaks by applying a soap-and-water solution to all connections. If you see bubbles forming, immediately shut off the gas supply, tighten connections or seek professional assistance.
By following these steps, you’re now ready to take your grilling game to the next level. Remember always to prioritize safety and follow guidelines when using natural gas grills.
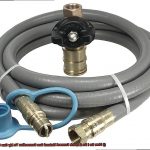
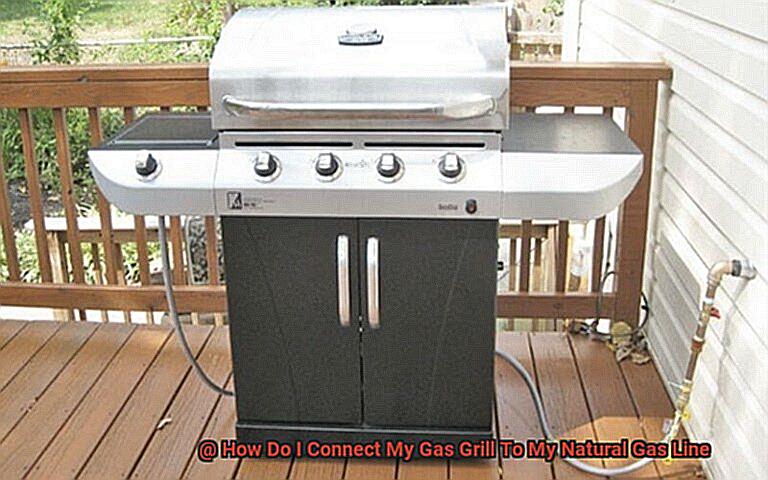
Using a Flexible Hose Approved by Your Local Gas Company
Before you do, make sure to prioritize safety by using a flexible hose approved by your local gas company. Here’s why:
- Safety First: A flexible hose that has been tested and certified by your local gas company meets safety standards and regulations for use with natural gas. This ensures that it can withstand the pressure and flow of gas, reducing the risk of leaks or other hazards.
- Easy Installation: A flexible hose provides easy installation and flexibility, making it a convenient option for connecting your gas grill to your natural gas line. Plus, it can be easily disconnected if needed for cleaning or maintenance.
- Compliance with Local Regulations: Different regions may have specific requirements for the type of hoses that can be used with natural gas lines. By using a flexible hose approved by your local gas company, you can ensure that you are complying with these regulations and avoiding any potential penalties or fines.
To ensure safe and effective installation, check with your local gas company to find out the specific requirements for hoses in your area before purchasing a flexible hose. Once you have an approved hose, properly connect it to both the gas grill and natural gas line using pipe thread sealant and a wrench. Don’t forget to check periodically for any signs of wear or damage and address any issues immediately.
Testing for Leaks Using a Soapy Water Solution
Safety should be your top priority, and testing for leaks is a crucial step in ensuring that your grill is safe to use. Luckily, one of the most effective and widely used methods for testing leaks is using a soapy water solution.
Mixing a solution of water and dish soap in a spray bottle is the first step in testing for leaks. Don’t skimp on the soap because the more bubbles, the better. Turn on the gas supply but leave the grill off, allowing gas to flow through the connections. Spray the soapy water solution on all gas connections, including the hose, regulator, and valves. Cover every inch of each connection and look for any bubbles forming in the soap mixture. If you see bubbles forming, this is an indication that there is a gas leak.
It’s important to ensure that all valves and connections are secure and tightened correctly before performing this test. If you detect a leak using the soapy water solution method, turn off the gas supply immediately and fix the issue before attempting to use the grill again.
Remember to test for leaks each time you connect your grill to a natural gas line. Even small leaks can be dangerous and lead to accidents or damage to your property. By using a soapy water solution, you can easily identify any leaks and prioritize safety.
g02SY-fdlss” >
Conclusion
In conclusion, connecting your gas grill to your natural gas line can revolutionize the way you cook outdoors. No more running out of propane mid-grill or dealing with the hassle of constantly replacing tanks. But before you start, it’s critical to prioritize safety and follow proper procedures.
Firstly, confirm that your grill is compatible with natural gas and purchase a conversion kit that meets safety standards. Then, shut off the gas supply and disconnect the propane tank from your grill before installing the connection kit. Be sure to replace old orifices with new ones from the conversion kit and attach the regulator and hose correctly.
When connecting your grill to the natural gas line, use a flexible hose approved by your local gas company. Before igniting your grill, always test for leaks using a soapy water solution – safety should never be compromised when working with gas grills.
If you’re unsure about any step in this process, consider consulting with a professional plumber or gas technician for installation assistance.