Ready to dive into the smoky world of homemade meat smoking? Don’t let those expensive store-bought smokers scare you away. We’ve got your back with a wallet-friendly solution that’ll have your taste buds dancing.
In this guide, we’re taking DIY to a whole new level. Get ready to transform ordinary cuts of meat into tender, mouthwatering masterpieces using our cheap homemade smoker. We’re talking big flavors without breaking the bank.
But what makes our homemade smoker so affordable? It’s all about resourcefulness and quality. With a little creativity and some everyday household items, you’ll be blown away by the smoky wonders you can create.
Join us as we explore genius hacks like turning an old filing cabinet into a smoking machine or using terra cotta flower pots to build a mini smoker. And hey, why not repurpose that traditional charcoal grill into a versatile smoking apparatus? These budget-friendly alternatives will have you smokin’ like a pro in no time.
Whether you’re an adventurous culinary explorer or just looking for some delicious weekend cookout ideas, our step-by-step guide has got you covered. Get ready to take your outdoor cooking game to new smoky heights.
So, grab your apron and let’s embark on this affordable smoking journey together. Trust us, your taste buds will thank you later.
Let’s get started.
Contents
What is a Homemade Smoker?
Smoking food has long been revered as a time-honored technique that imparts a tantalizing smoky flavor and transforms ordinary dishes into culinary masterpieces. However, professional smokers can be prohibitively expensive. Fear not. Enter the world of homemade smoking, where with a little ingenuity and some simple materials, you can craft your very own smoker and unlock a world of flavorful possibilities.
Unleash Your Imagination: The Versatility of Homemade Smokers
Unlike their commercial counterparts, homemade smokers offer unparalleled versatility. These DIY wonders can be tailored to suit your unique culinary preferences. Whether you crave succulent ribs, mouthwatering brisket, delectable fish, or even perfectly smoked vegetables, a homemade smoker allows you to experiment with different materials, sizes, and designs to create a customized smoking experience.
Savvy Savings: Embrace the Cost-Effectiveness
Who says you need to break the bank to savor the delights of smoked cuisine? Homemade smokers provide a budget-friendly alternative to their extravagant commercial counterparts. By repurposing items found around your home, such as metal drums or old refrigerators, you can embark on your smoking journey without emptying your wallet. With the satisfaction of creating something truly unique with your own hands, your taste buds and your bank account will thank you.
DIY Smoker Options: Crafting Your Flavorful Haven
Ready to ignite your passion for homemade smoking? Discover an array of DIY smoker options that cater to every size and portability preference. From transforming a humble charcoal grill into a smoke-infusing marvel to converting an old refrigerator into a smoking sanctuary, our step-by-step instructions will guide you through each creation process. Need something compact and convenient? Fear not. We’ll show you how to fashion an aluminum foil packet smoker that delivers mouthwatering results.
Mastering the Art: Tips for Smoking Success
While homemade smokers may lack the bells and whistles of their professional counterparts, fear not, intrepid smoker. With some insider tips and tricks, you can achieve smoking perfection. Controlling airflow, maintaining consistent temperatures, and selecting the perfect wood chips or chunks are just a few secrets to unlock tantalizing flavors and succulent textures that rival those crafted by the experts.
Benefits of Making a Cheap Homemade Smoker
Are you ready to elevate your grilling skills and embark on a culinary adventure? Imagine the satisfaction of crafting your very own smoker, tailored to your exact specifications.
Building a cheap homemade smoker not only saves you money but also unlocks a world of flavor possibilities.
In this article, we’ll explore the exciting benefits of diving into the realm of DIY smokers.
Cost-Effective:
No need to drain your wallet on an expensive store-bought smoker. By utilizing affordable materials and readily available tools, you can create a functional smoker without emptying your bank account. Say goodbye to financial limitations and hello to deliciously smoked meats on a budget.
Customization:
Why settle for a cookie-cutter smoker when you can have one that fits your unique needs? With a homemade smoker, you have the freedom to customize every aspect of its design. From the size and shape to the overall aesthetic, let your imagination run wild and create a smoker that truly reflects your style.
Learning Experience:
Building a cheap homemade smoker is not just about saving money; it’s an opportunity for personal growth and skill development. Through this hands-on project, you’ll gain valuable knowledge about smoker mechanics, learn various construction techniques, and become well-versed in different tools and materials. Expand your DIY repertoire while honing your craft as a smoking enthusiast.
Versatility:
Unlike store-bought smokers that come with limitations, homemade smokers offer unparalleled versatility. Experiment with different smoking methods, explore unique flavors, and embrace various cooking styles. Seamlessly adapt and upgrade your homemade smoker as your preferences evolve, without being confined by pre-manufactured models.
Pride of Ownership:
There’s an indescribable joy in knowing that you’ve created something extraordinary with your own two hands. Building a cheap homemade smoker instills a sense of pride and accomplishment. Every time you fire it up and produce mouthwatering dishes, you’ll bask in the satisfaction of being a true pitmaster. Share your stories and impress your family and friends with your DIY prowess.
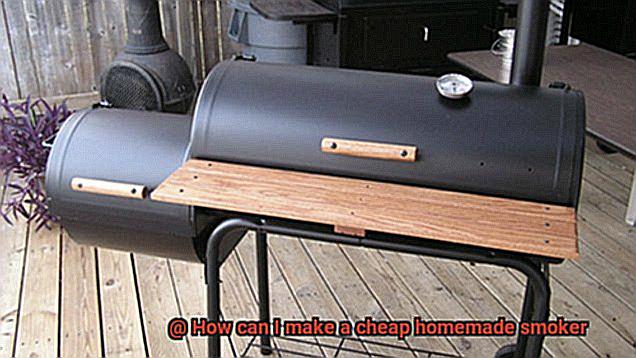
How to Make a Cheap Homemade Smoker Using a Charcoal Grill
Are you ready to take your backyard barbecues to new heights? With a little ingenuity and some affordable materials, you can transform your ordinary charcoal grill into a homemade smoker that will impress your taste buds and wow your guests.
Whether you’re craving juicy smoked ribs or delectable smoked salmon, this DIY project will elevate your grilling game without breaking the bank. Get ready to immerse yourself in the step-by-step process of crafting your very own budget-friendly homemade smoker using a charcoal grill.
Step 1: Gather Your Materials
To embark on this flavor-filled journey, gather the essential materials – a charcoal grill with a lid, a metal or aluminum pan, wood chips or chunks for smoking, aluminum foil, and a trusty thermometer to monitor the temperature inside the smoker.
Step 2: Prepare Your Grill
Kickstart your smoker creation by removing the cooking grate from the charcoal grill. By freeing up space, you’ll ensure optimal airflow and even heat distribution throughout your smoking chamber.
Step 3: Harness the Power of Heat Sink
Enhance your smoking experience by placing a water-filled metal pan or tray at the bottom of the grill. Acting as a heat sink, this ingenious addition helps regulate and maintain a consistent temperature inside your smoker. Additionally, it prevents any drippings from making direct contact with the hot coals, minimizing flare-ups.
Step 4: Infuse Flavor with Soaked Wood Chips
For that authentic smoky essence, soak your wood chips or chunks in water for approximately 30 minutes before use. This ensures they produce copious amounts of smoke and last longer during the smoking process, enhancing the flavors that will tantalize your taste buds.
Step 5: Assemble Your Smoking Setup
Ignite a small amount of charcoal in a chimney starter until it achieves a mesmerizing glow and is blanketed in ashen gray. Gently pour the hot charcoal onto one side of the charcoal grate, creating a cozy bed for your smoking adventure. Now, place an aluminum foil packet filled with the soaked wood chips or chunks atop the fiery coals, allowing them to smolder and release their aromatic smoke.
Step 6: Maintain Temperature Harmony
Reattach the cooking grate to your grill and secure the lid in place. Ensure all vents are open, granting the precious gift of unrestricted airflow. Employ your trusty thermometer to diligently monitor the temperature within your homemade smoker. Aim for the sweet spot between 225-250 degrees Fahrenheit (107-121 degrees Celsius) for low and slow smoking bliss.
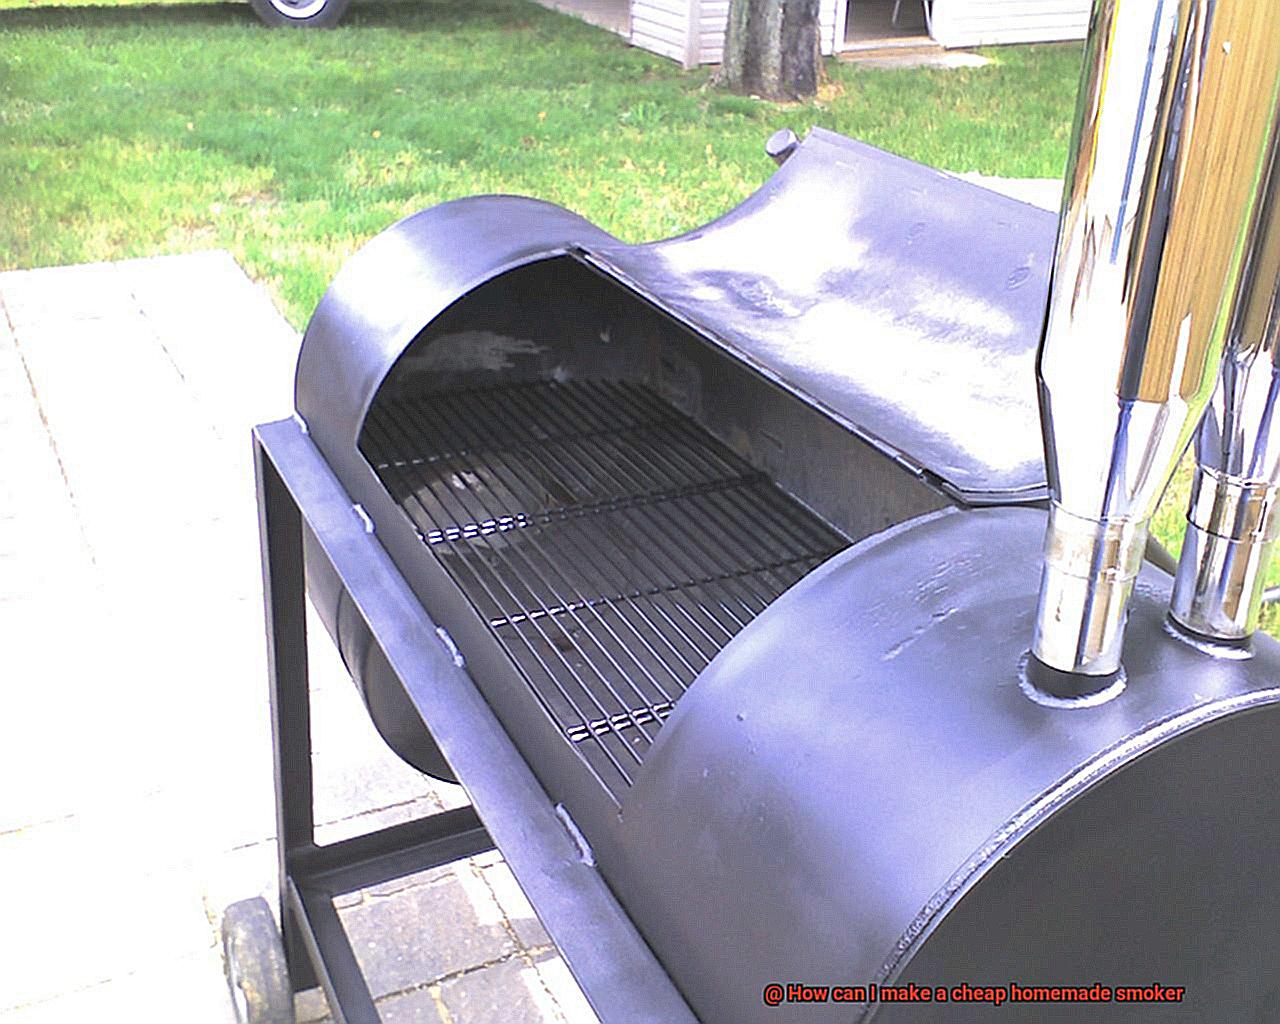
How to Make a Cheap Homemade Smoker Using a Metal Trash Can or Drum
Indulge your taste buds in the savory delights of smoked meats with a homemade smoker made from a metal trash can or drum. Not only is this DIY project cost-effective, but it also allows you to unleash your inner smoke master. Discover the joy of creating delicious, smoky flavors right in your own backyard without breaking the bank.
Materials Needed:
Embark on your smoking adventure armed with a clean metal trash can or drum, a cooking grate, charcoal, wood chips, a thermometer, a drill, and aluminum foil. These readily available materials will set you up for smokin’ success and culinary triumphs.
Preparing the Smoker:
Start by ensuring your metal trash can or drum is pristine. Bid farewell to any lurking chemicals or residues that might impact the quality of your smoked goodies. Prioritize safety.
Once cleanliness is achieved, employ your trusty drill to create ventilation holes near the bottom for essential airflow. And don’t forget to drill additional holes near the top to release tantalizing plumes of smoke.
Setting Up the Fire Bed:
Ignite your fire bed for an epic smoking experience. Position a metal grate or rack halfway up inside the can to provide stability for your food as it absorbs those heavenly smoky flavors.
On one side of the can, amass charcoal and generously sprinkle wood chips or chunks to elevate the smokiness factor. Ignite the fire bed and witness the mesmerizing dance of flames, accompanied by an aroma that will make mouths water.
Controlling Temperature:
Mastering temperature control is critical in achieving smokin’ success. Affix a reliable thermometer to the lid or insert it through one of the ventilation holes. This invaluable tool allows you to monitor and adjust the temperature accordingly.
Fine-tune the airflow by modifying the ventilation holes to maintain that coveted sweet spot. Remember, practice makes perfect, so don’t be discouraged if it takes a few tries to achieve smoke-infused perfection.
Smoking Techniques:
With your homemade smoker primed and ready, it’s time to explore the world of smoking techniques. From hot smoking, which involves cooking the food directly over the heat source, to cold smoking, where the food luxuriates in smoky flavors away from direct heat, your culinary horizons will expand exponentially.
Delight in succulent meats, tantalizing fish, and even smoky vegetables as you experiment with different flavors and textures.
Safety Precautions:
While reveling in the smoky delights of your homemade smoker, prioritize safety above all else. Safeguard yourself by donning heat-resistant gloves when handling scorching surfaces or sizzling food. Keep a trusty fire extinguisher within reach for any unexpected flare-ups.
And always ensure proper ventilation to prevent unwanted carbon monoxide buildup and maintain a safe cooking environment.
How to Make a Cheap Homemade Smoker Using an Old Refrigerator or Freezer
Are you ready to elevate your backyard barbecues and become the envy of your neighborhood? Look no further. With a little ingenuity and resourcefulness, you can transform an old refrigerator or freezer into a cheap homemade smoker. Imagine the intoxicating aromas and tantalizing flavors that will waft through the air as you smoke your favorite meats, fish, or veggies.
Join us as we dive into the detailed process of turning an old appliance into a culinary masterpiece that will leave everyone wanting more.
Step 1: Prepare and Purify
The first step in this exciting journey is to find an abandoned refrigerator or freezer that’s just begging for a new purpose. Make sure the appliance still has its doors intact and functioning seals.
Once you’ve secured your treasure, it’s time to embark on a thorough cleaning mission. Remove all shelves, drawers, and racks from the inside, giving them a separate scrub-down.
Armed with warm water and mild detergent, eradicate any remnants of dirt, grime, or food residue. Rinse everything meticulously and allow it to bask in the sun until bone-dry.
Step 2: Transform with Precision
With your appliance sparkling clean, it’s time to unleash your inner handyman and make some modifications. Grab your trusty power drill and create a series of evenly spaced ventilation holes near the bottom of the appliance.
These tiny portals will facilitate the perfect airflow, maintaining a consistent temperature within your smoker. For optimal smoke release, wield a jigsaw and carve out an opening in the top or side of the appliance, ensuring it sits near the pinnacle for maximum circulation.
Step 3: Embrace Aesthetic Appeal
Why settle for functionality alone when you can indulge in visual splendor? Embrace your creative side by adorning your homemade smoker with a fresh coat of high-temperature paint. This not only serves as a shield against rust but also adds a touch of elegance to your backyard oasis, turning it into a true focal point that will impress your guests.
Step 4: Integrate Essential Elements
Now it’s time to install the grates and thermometer that will enhance your smoking experience. Utilize cooking grates from an old grill or invest in ones specifically designed for smokers. Ensure they are securely positioned, allowing ample space for the free flow of air. Next, carefully drill a small hole near the top of the smoker and delicately insert a thermometer probe. This ingenious addition will enable you to monitor the internal temperature with ease, without compromising the precious heat inside.
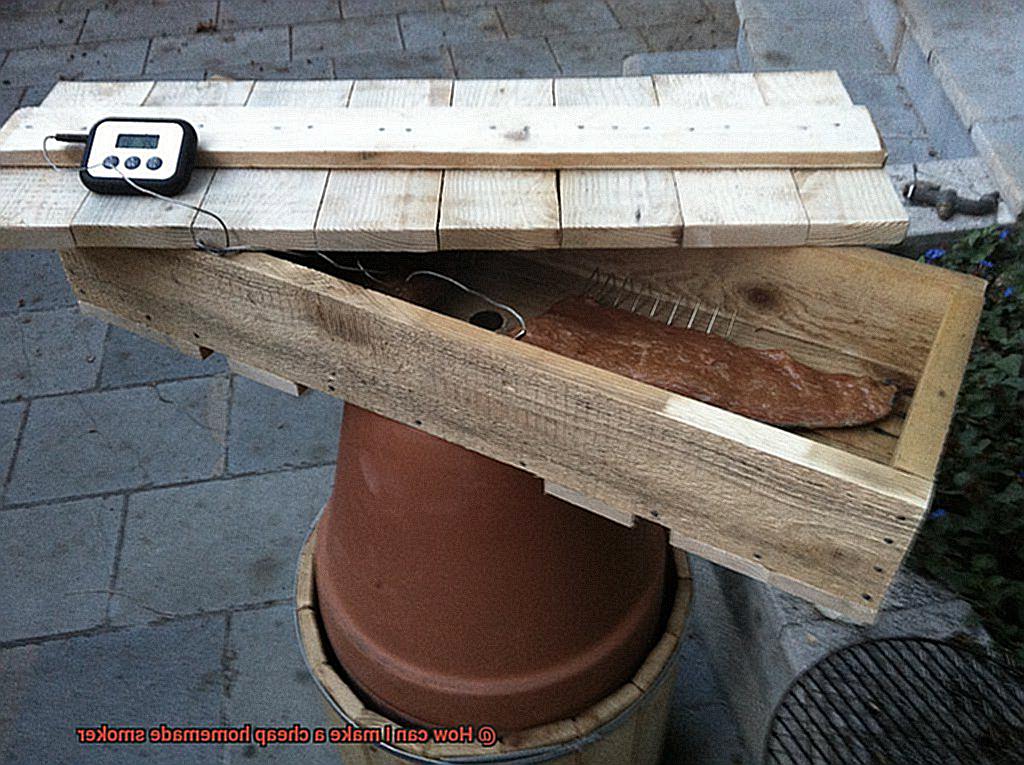
How to Make a Portable and Compact Aluminum Foil Packet Smoker
Are you ready to elevate your barbecuing game? Look no further, as we guide you through the process of creating a portable and compact aluminum foil packet smoker. This ingenious DIY project allows you to infuse your favorite dishes with mouthwatering smoky flavors, all while enjoying the convenience and ease of a portable setup. Get ready to impress your friends and family with delicious smoked meats, veggies, and more. Let’s dive into the steps and materials needed to construct your own aluminum foil packet smoker.
Materials Needed:
To get started on this project, gather the following materials:
- Heavy-duty aluminum foil: Choose a durable option that won’t tear easily, ensuring your smoker lasts for many cooking sessions.
- Wood chips: Select your preferred wood chips according to the flavor profile you desire for your dishes.
- Charcoal briquettes: These will provide the necessary heat source for smoking your food evenly.
- Cooking grate or wire rack: Find a small-sized grate or rack that fits snugly inside your aluminum foil packet.
- Thermometer: Use a digital meat thermometer with a probe to monitor the temperature inside your smoker accurately.
Step 1: Prepare the Aluminum Foil Packet
Start by tearing off a large sheet of heavy-duty aluminum foil, approximately 2 feet long. Fold it in half lengthwise, creating a square shape that will hold all your ingredients securely. Next, fold the edges inward by about 1 inch all around, ensuring a tight seal that prevents smoke and heat from escaping.
Step 2: Add Wood Chips and Charcoal
On one side of the aluminum foil packet, place a generous handful of soaked wood chips. Soaking the chips beforehand helps them produce more flavorful smoke. On the other side, add a layer of charcoal briquettes according to your desired cooking temperature. Adjust the amount of charcoal based on the heat intensity you need for your specific recipe.
Step 3: Create Airflow Vents
To regulate the temperature inside your smoker, use a sharp knife or scissors to carefully poke several holes in the top of the aluminum foil packet. These strategically placed holes will act as vents, allowing proper airflow and preventing your food from becoming overcooked or undercooked. Ensure the vent holes are neither too large nor too small, striking the ideal balance for the perfect smoking process.
Step 4: Set Up the Cooking Grate or Wire Rack

Place the cooking grate or wire rack on top of the aluminum foil packet, ensuring it sits securely without any wobbling. This grate will serve as a stable surface for your food to rest on while it absorbs the delicious smoky flavors.
Tips for Optimal Smoking Temperature and Flavor
Whether you’re a novice or a seasoned griller, achieving the perfect smoking temperature and flavor can take your culinary prowess to new heights. In this definitive guide, we will explore expert tips and techniques to help you create delectable smoked dishes using your homemade smoker.
So, grab your apron and get ready to embark on a journey of flavor and aroma.
Understanding the Art of Temperature Control:
The key to unlocking mouthwatering results lies in understanding the optimal smoking temperature for different types of meat. While each variety has its own preferred temperature range, a general guideline is to maintain a steady heat between 225-250 degrees Fahrenheit. This low and slow cooking method allows the meat to cook evenly while absorbing the rich smoky flavors.
To achieve and maintain this temperature, it is crucial to equip your homemade smoker with a reliable thermometer. Whether you opt for a digital probe thermometer or an analog thermometer placed near the meat, accurate readings are essential for ensuring perfect results.
Fueling Flavor with Quality Charcoal or Wood:
The fuel source you choose for your homemade smoker can greatly impact the flavor profile of your smoked dishes. Opt for good-quality charcoal or wood that burns evenly and consistently. Lump charcoal or hardwood chunks are preferred over briquettes as they provide a cleaner burn and produce less ash, allowing the natural flavors of the meat to shine through.
Mastering Airflow for Temperature Control:
Regulating airflow within your homemade smoker is crucial for maintaining the desired temperature. Most smokers come equipped with adjustable vents or dampers that allow you to control the oxygen flow.
Opening the vents increases heat by providing more oxygen to the fire, while closing them reduces airflow and lowers the temperature. Experiment with different vent settings to find the perfect balance for your desired cooking temperature.
Enhancing Flavor with Soaked Wood Chips or Chunks:
To elevate the flavor profile of your smoked dishes, consider adding soaked wood chips or chunks to your homemade smoker. Different types of wood impart distinct flavors, allowing you to customize your culinary creations.
Mesquite wood lends a strong and smoky taste, hickory adds a sweet and savory flavor, while fruitwoods like apple or cherry offer a milder and slightly fruity essence. Soak the wood chips or chunks in water for at least 30 minutes before using them in the smoker. This prevents them from burning too quickly and creates more smoke for optimal flavor infusion.
xL6CIJ1nEQU” >
Conclusion
Creating your own inexpensive homemade smoker is not only a cost-effective solution, but it also allows you to customize and personalize your smoking experience. By following these easy steps, you can transform ordinary household items into a versatile smoking apparatus that will have your taste buds dancing with delight.
Firstly, gather the necessary materials: a large metal container such as an old filing cabinet or an oil drum, some grates or racks for holding the food, and a source of heat such as charcoal or wood chips. These items can often be found at thrift stores or salvage yards for a fraction of the cost of a store-bought smoker.
Next, prepare your container by thoroughly cleaning it and removing any unwanted residue or debris. This will ensure that your food remains uncontaminated and safe to eat. Remember, cleanliness is key when it comes to cooking.
Once your container is clean and dry, it’s time to start transforming it into a functional smoker. Drill several small holes near the bottom of the container to allow for proper airflow. This will help regulate the temperature inside and ensure even smoking throughout.
Now that you have prepared the base of your smoker, it’s time to add the grates or racks. These will hold your food while allowing smoke to circulate around it. You can easily find affordable grates at hardware stores or repurpose wire mesh from old barbecue grills.
To generate smoke and heat, use charcoal briquettes or wood chips. Simply place them in a separate metal pan inside the smoker and light them up. As they smolder, they will release flavorful smoke that infuses your food with deliciousness.
Finally, place your desired meat, fish, or vegetables on the racks inside the smoker and close the lid tightly. Let nature work its magic as the smoke envelops your food, imparting irresistible flavors that will make you proud of your homemade creation.
In conclusion, making a cheap homemade smoker doesn’t have to be complicated or expensive. With a little creativity and resourcefulness, you can create a smoker that rivals its store-bought counterparts.