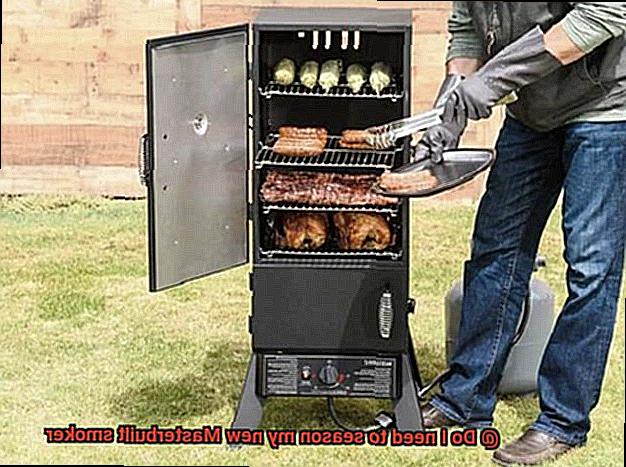
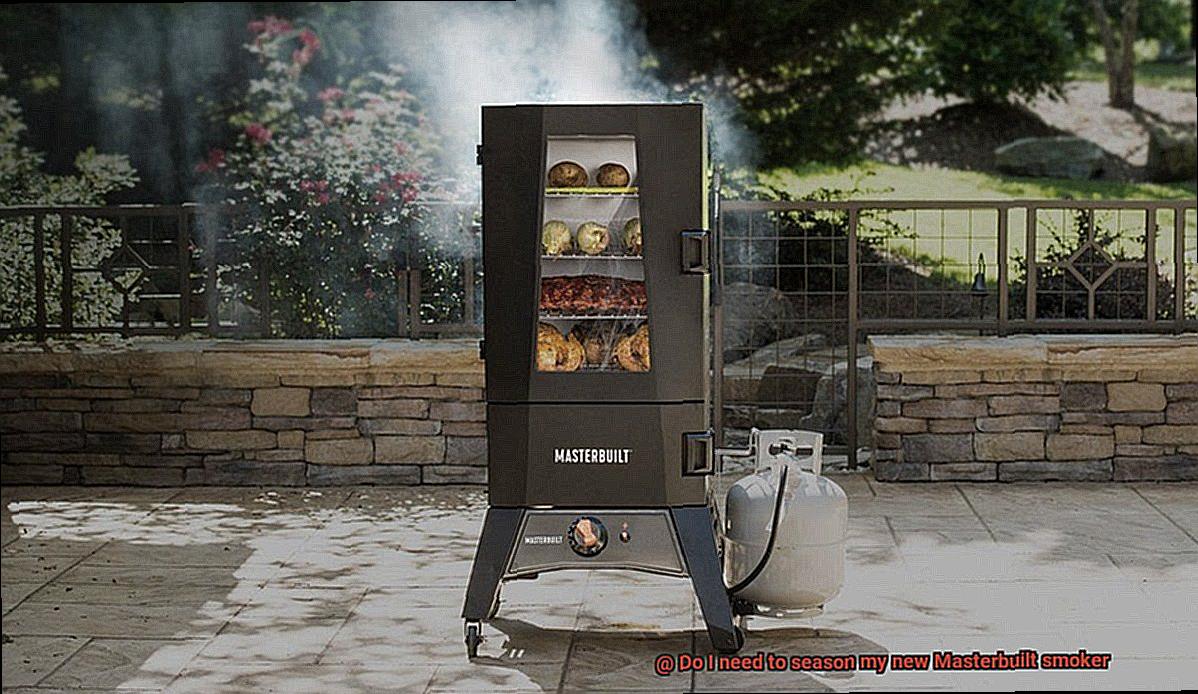
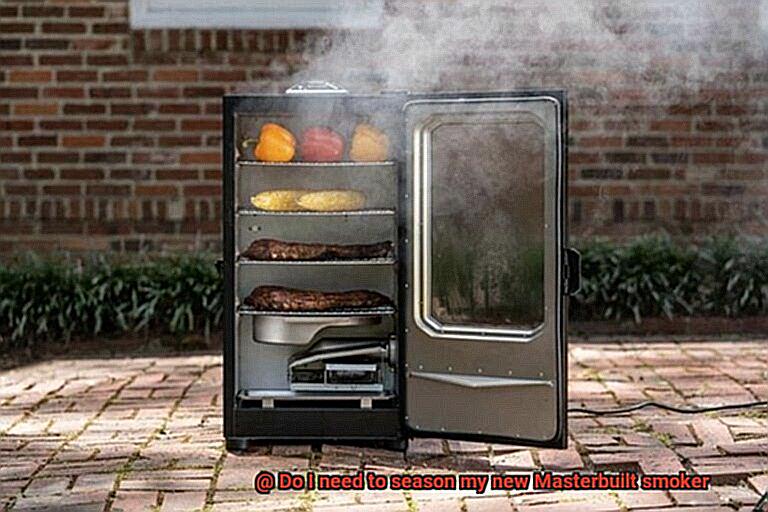
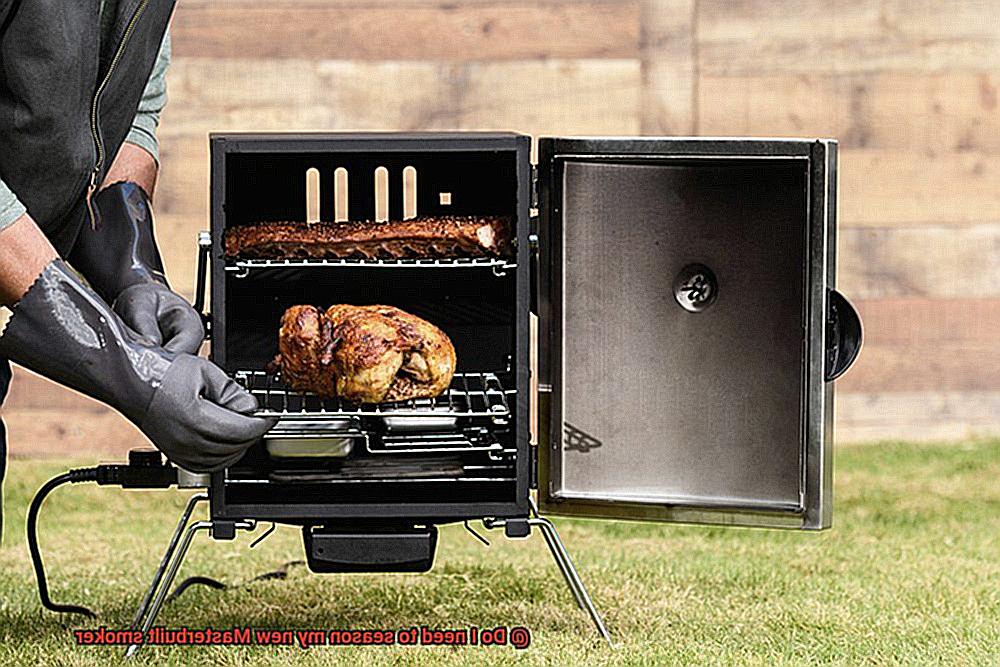
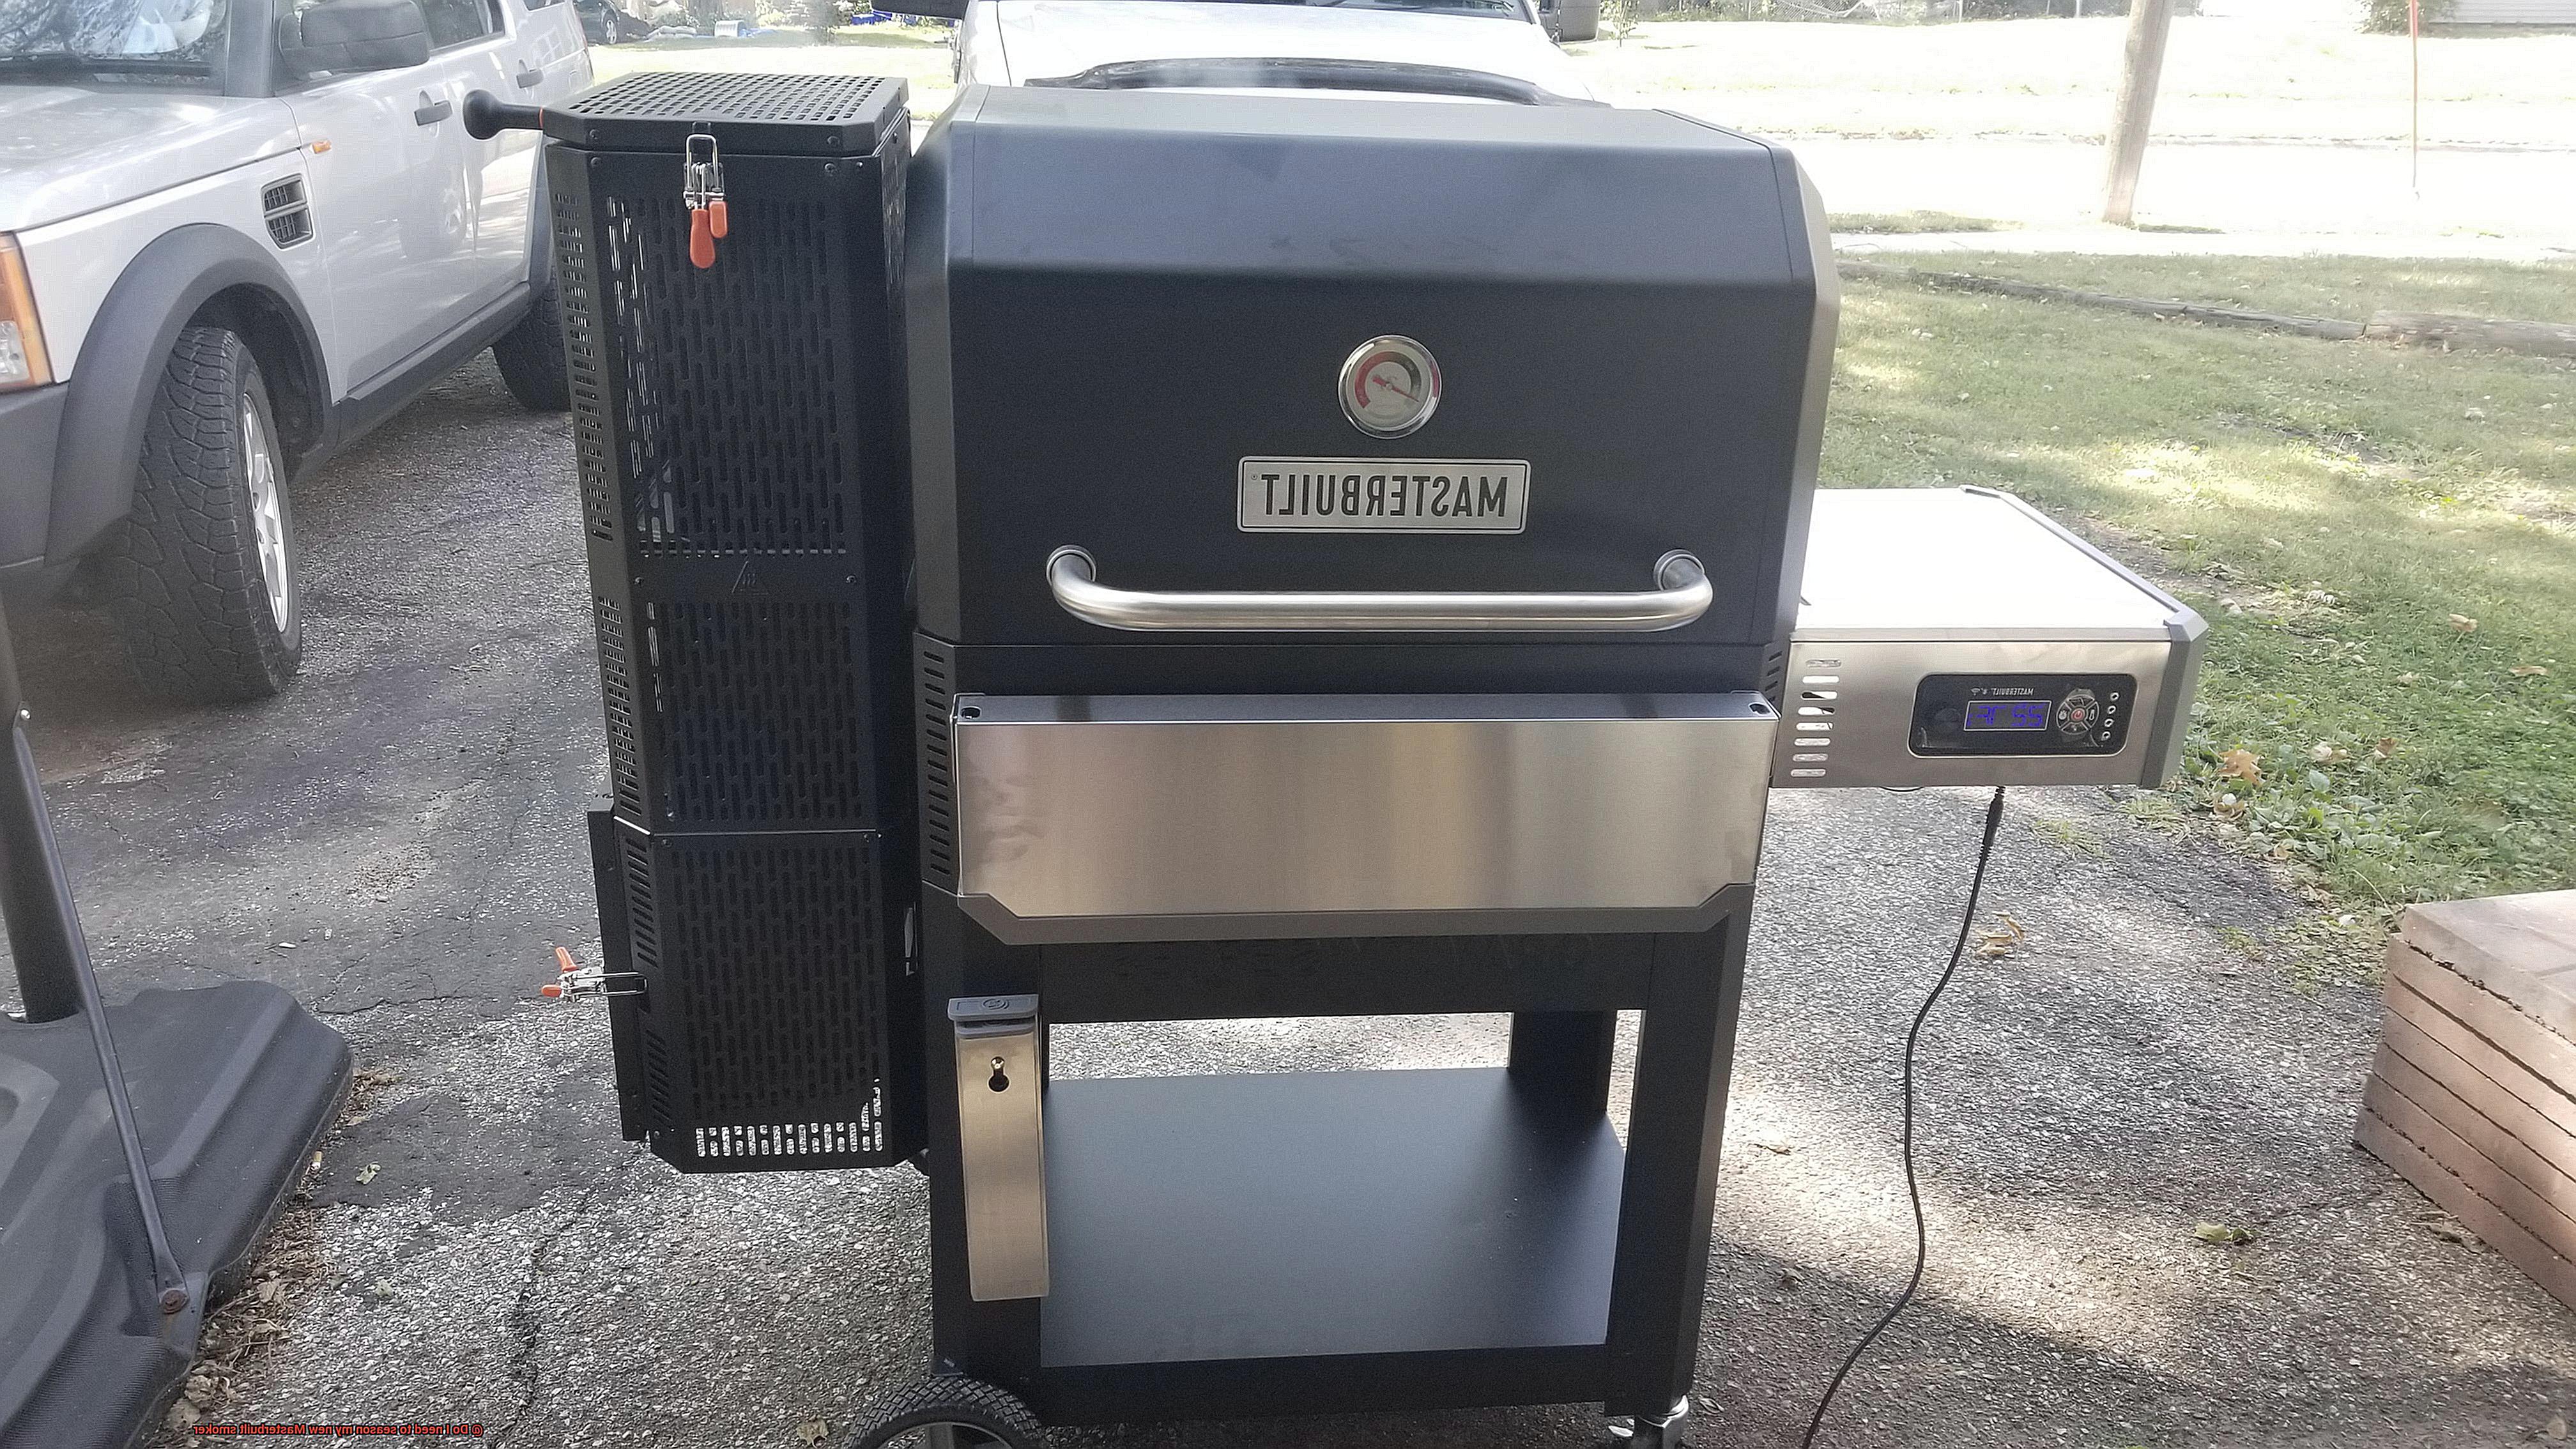
Are you the proud new owner of a Masterbuilt smoker? Congratulations. But before you start smoking up a storm, there’s one important step you need to take: seasoning your smoker. Don’t worry, it’s not as complicated as it sounds.
Seasoning a smoker is like giving it a warm-up before the big game. It ensures that your smoker is ready to perform at its best and protects it from rust and corrosion. Plus, it eliminates any unwanted chemicals or debris left over from manufacturing.
To season your Masterbuilt smoker, start by giving it a thorough cleaning and removing any plastic or packing materials. Then, apply a thin layer of oil to the interior surfaces and heat the smoker to 275 °F for a couple of hours. Once done, allow the smoker to cool before wiping away any excess oil.
Skipping this crucial step can lead to unpleasant flavors and even damage to your smoker’s interior. So don’t cut corners – season your Masterbuilt smoker for optimal performance and longevity.
In conclusion, whether you’re an experienced pitmaster or new to smoking meats, taking the time to season your Masterbuilt smoker is well worth it. Not only will it ensure delicious results every time, but also protect your investment in this quality piece of equipment. So get ready for some mouth-watering smoked meats – after seasoning your new Masterbuilt smoker first.
Contents
What Is the Purpose of Seasoning Your Smoker?
If you’re ready to take your love for smoked meat to the next level, investing in a new Masterbuilt smoker is a great idea. However, before you start cooking up a feast, it’s essential to properly season your smoker. But why is this step so important?
Firstly, seasoning your smoker is necessary to remove any manufacturing residue or chemicals that may have been left behind during the production process. These substances can affect the flavor of your food and even harm your health. By seasoning your smoker, you’ll ensure that it’s safe to use and that your food tastes as delicious as possible.
Secondly, seasoning your smoker creates a protective layer of oil on the interior surfaces, which helps prevent rust and corrosion. This layer of oil also makes it easier to cook and clean your smoker by preventing food from sticking to the grates.
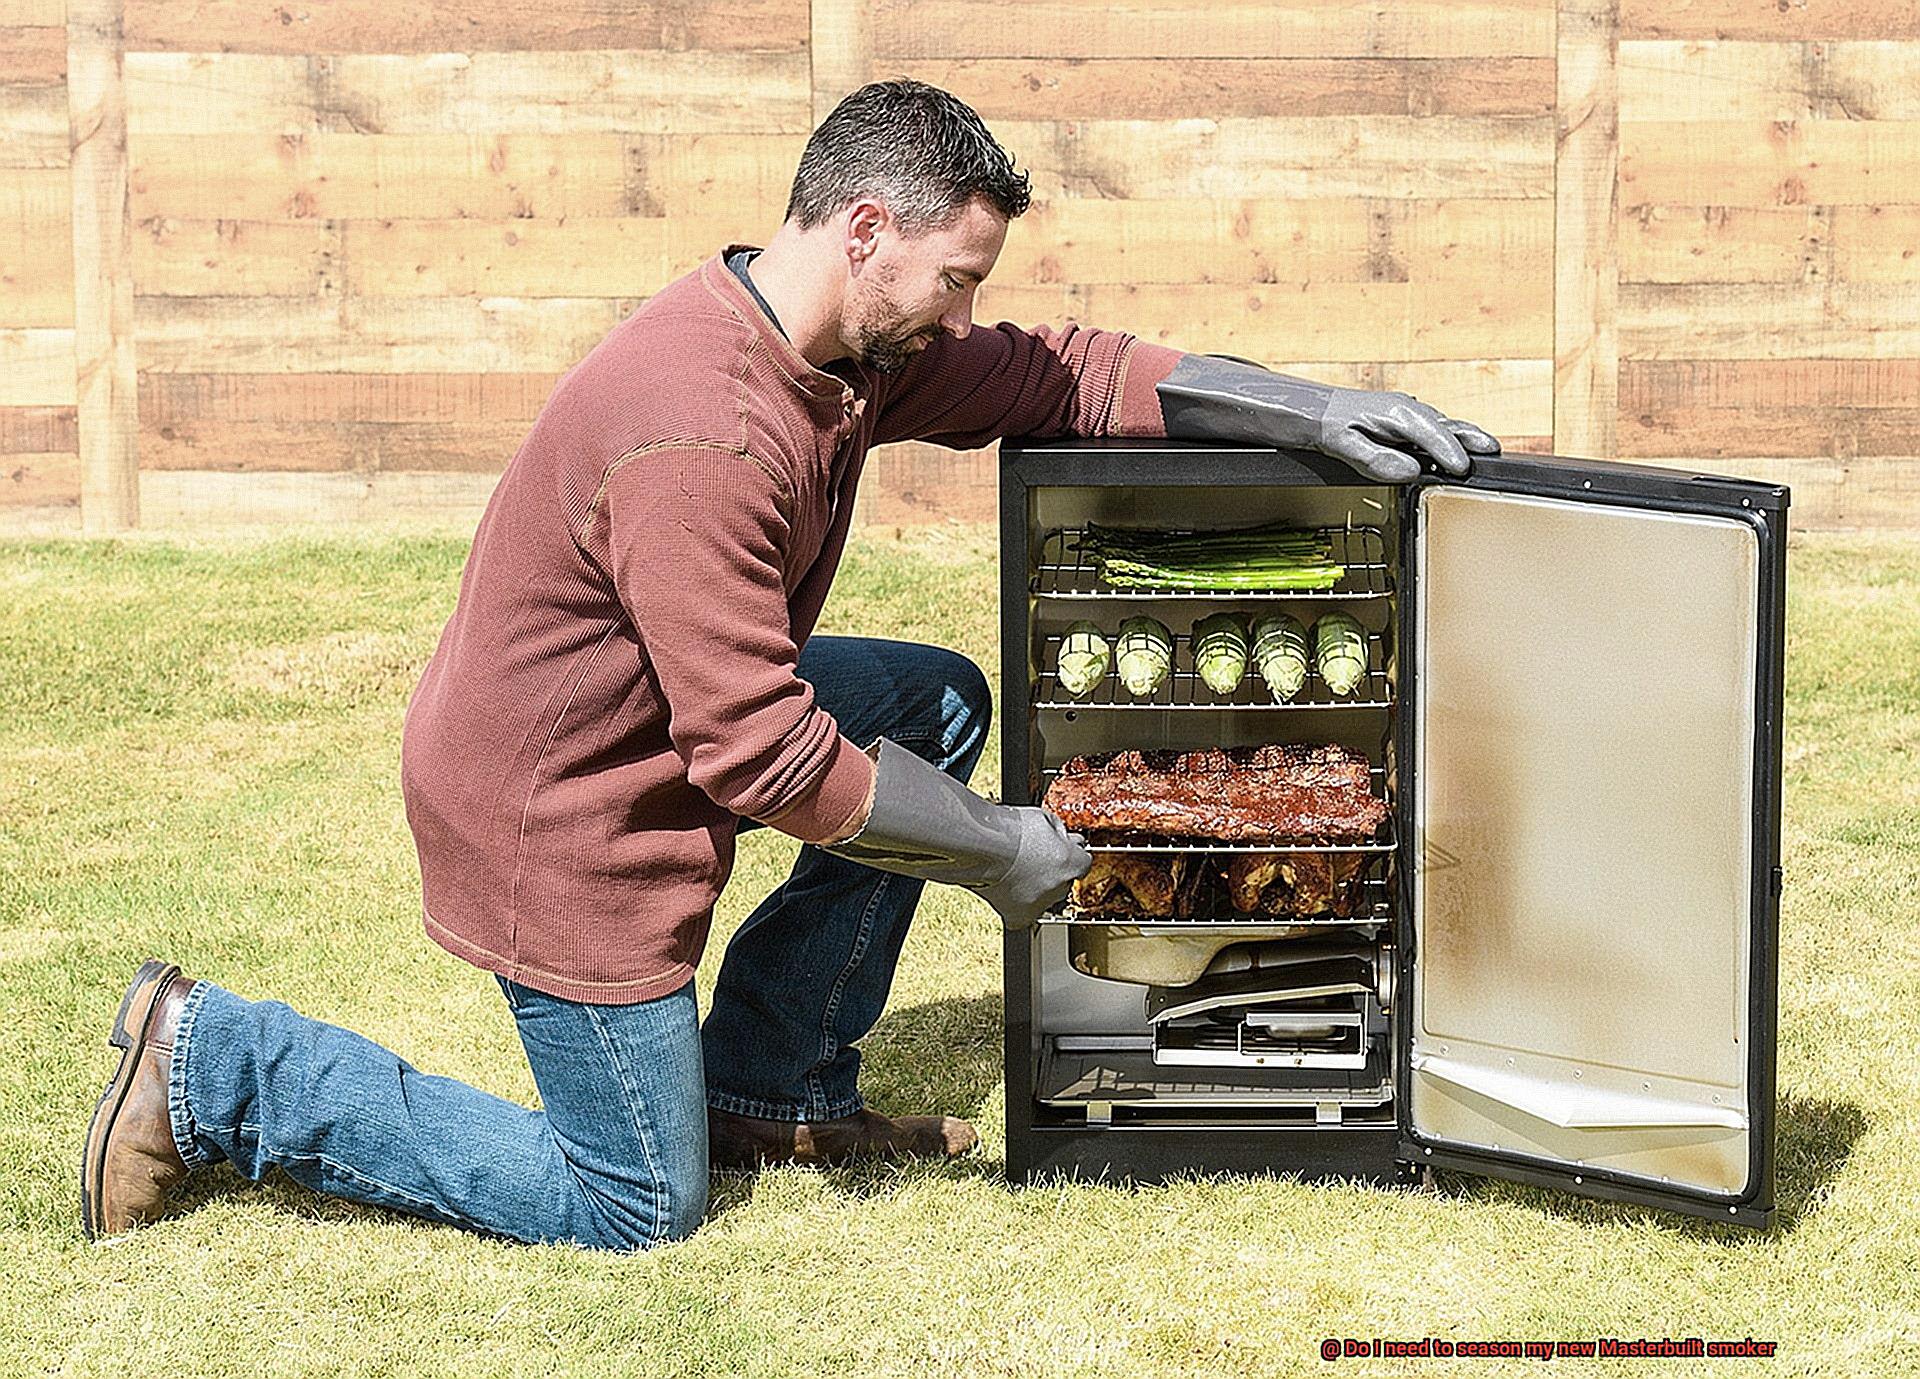
So, how do you properly season your new Masterbuilt smoker? Begin by wiping down all interior surfaces with a damp cloth to remove any debris or dust. Next, apply a thin layer of high-heat cooking oil such as vegetable or canola oil to all interior surfaces evenly and thoroughly.
Then, turn on your smoker and set the temperature to 275°F. Allow the smoker to heat up for 2-3 hours until the oil has baked onto the interior surfaces, creating a dark brown or black layer of seasoning. Once this process is complete, allow your smoker to cool down completely before using it for the first time.
To summarize, the purpose of seasoning your new Masterbuilt smoker is three-fold: removing any manufacturing residue or chemicals, creating a protective layer of oil on interior surfaces, and preventing food from sticking to grates. Properly seasoning your smoker is essential for ensuring that every dish you prepare is safe, flavorful, and perfectly cooked with that smoky flavor you love.
How to Prepare Your Smoker for Seasoning
Before you start cooking, it’s essential to prepare your smoker for seasoning to ensure that your food tastes great and the smoker lasts longer. Here are five simple subtopics to help you prepare your Masterbuilt smoker for seasoning like a pro.
Step 1: Follow the Manufacturer’s Instructions
Firstly, it’s crucial to read the manufacturer’s instructions on how to prepare your smoker for seasoning. Different smokers have different instructions, so it’s essential to read them carefully. Make sure you have all the necessary equipment, such as gloves, cleaning brushes, and a bucket of water.
Step 2: Clean the Interior
The first thing you need to do is remove any packaging materials and clean the inside of the smoker with warm, soapy water. Make sure to rinse it thoroughly and let it dry completely before proceeding. Cleaning the interior will help remove any dust or debris that may have accumulated during shipping.
Step 3: Season with Cooking Oil
Next, you need to season the smoker with a cooking oil of your choice. This process helps prevent rusting and creates a non-stick surface for your food to cook on. Coat the entire interior of the smoker with a thin layer of cooking oil using a cloth or brush. You can use any type of cooking oil, such as vegetable oil or canola oil.
Step 4: Heat Up the Smoker
Once the smoker is coated with oil, you need to heat it up to a high temperature for about 2-3 hours. This process helps the oil penetrate the metal and create a protective layer that prevents rusting. During this process, you may notice some smoke coming out of the smoker, which is normal.
Step 5: Cool Down and Wipe Off Excess Oil
After 2-3 hours, turn off the heat source and let the smoker cool down completely before wiping off any excess oil with a clean cloth. Wiping off excess oil will prevent it from dripping onto your food and affecting the taste.
What Oils Should You Use to Season Your Smoker?
One of the most critical steps in achieving those mouth-watering, smoky flavors is seasoning your smoker with the right oils. But with so many options available, it can be challenging to know which oils to use. Fear not, dear grillers. Here’s everything you need to know to select the best oils for seasoning your Masterbuilt smoker.
First up, we have vegetable oil, a tried and true favorite for seasoning smokers. This is due to its high smoke point, which means it can withstand high temperatures without burning or smoking excessively. Additionally, vegetable oil has a relatively neutral flavor that won’t affect the taste of your food. This makes it an excellent option for new pitmasters or those who prefer their smoked meats unadulterated. Plus, it’s easy to find in most grocery stores.
Another oil that works well for seasoning smokers is canola oil. Like vegetable oil, canola oil also has a high smoke point and doesn’t have a strong flavor. It’s widely available at most grocery stores and is a convenient option that works great for seasoning your smoker.
If you’re looking to add some extra oomph to your smoked meats, consider using peanut oil. This oil has a slightly nutty taste that can add depth and richness to your dishes. However, it’s essential to note that peanut oil has a lower smoke point than vegetable and canola oils. So be sure to keep an eye on your smoker’s temperature to prevent it from burning.
Finally, some people swear by using flaxseed oil to season their smokers. Although it has a low smoke point, when heated, it creates a hard polymer that can protect your smoker’s surfaces from rust and corrosion. However, flaxseed oil can be harder to find and is more expensive compared to other oils.
How to Apply the Oil
Before you get started, it’s crucial to season it with oil. Not only will this process remove any manufacturing residue, but it will also protect the interior surfaces from rust and corrosion. Here are five easy steps to properly apply oil to your new Masterbuilt smoker.
Step 1: Clean the Interior Surfaces
The first step in applying oil to your new Masterbuilt smoker is to clean the interior surfaces. Use a damp cloth to wipe away any debris or dust. This will ensure that the oil properly adheres to the surface.
Step 2: Choose the Right Oil
It’s important to choose a high-heat cooking oil such as vegetable oil or canola oil. These oils have a high smoke point, which means they won’t break down at high temperatures.
Step 3: Apply the Oil Evenly
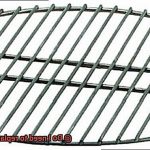
Using a clean cloth or paper towel, apply a thin layer of oil evenly to all surfaces inside the smoker, including the grates, walls, and drip pan. Be careful not to overdo it, as too much oil can cause flare-ups and affect the flavor of your food.
Step 4: Preheat the Smoker
Preheat the smoker to around 275°F for 2-3 hours. This will help to bake in the oil and create a non-stick surface on your smoker’s grates. During this process, make sure to keep the smoker well-ventilated by leaving the vents open.
Step 5: Allow the Smoker to Cool Down
Once the curing process is complete, turn off the smoker and allow it to cool down completely before using it for the first time. This is important because it ensures that any excess oil or residue has been burned off and will not affect the flavor of your food.
It’s worth noting that seasoning your smoker with oil should be done periodically throughout its lifespan. This will help maintain its performance and prevent any rust or corrosion from forming on its surfaces.
How Long Does It Take To Season Your Smoker?
It’s an excellent investment to enhance your cooking skills. Before you start cooking, though, it’s essential to season your smoker correctly. The big question is, how long will it take? Let’s explore the different factors involved in the seasoning process.
The time it takes to season your smoker depends on the type of smoker you have and the seasoning method you use. For traditional smokers, the process involves coating the interior with oil and heating it for several hours. The duration can vary from 2-6 hours, depending on the size of your smoker and the temperature you use. So set aside enough time for this crucial step.
If you own a pre-seasoned Masterbuilt smoker, good news. You won’t need as much time to season it. A quick wipe-down with a damp cloth and an hour of low-temperature heating should suffice. It’s that simple.
It’s important to note that seasoning your smoker is a one-time process. Once done correctly, you won’t need to repeat it every time you use your smoker. So, no more worries about any metallic taste or rust affecting your food quality.
Here are some key takeaways to remember:

- Traditional smokers need 2-6 hours for seasoning, while pre-seasoned Masterbuilt smokers require an hour of low-temperature heating.
- Proper seasoning is crucial for optimal performance and longevity.
- Once seasoned correctly, you don’t need to repeat the process every time you use your smoker.
Benefits of Seasoning Your Smoker
So, you’ve invested in a brand-new Masterbuilt smoker, and you’re eager to start cooking mouth-watering meals. However, before you fire up the grill, it’s crucial to season your smoker. Seasoning your smoker is a critical step that should not be skipped. It involves heating your smoker to high temperatures for an extended period to burn off any oils or residue from the manufacturing process.
Why is seasoning your smoker so important? Let’s dive into the benefits:
Eliminates Unwanted Odors and Flavors
During the manufacturing process, your smoker may pick up unpleasant odors and flavors that can affect the taste of your food. By seasoning your smoker, you eliminate these unwanted smells and tastes, ensuring that your food is delicious and appetizing.
Prevents Rust and Corrosion
Moisture and other elements during the manufacturing process can cause rust and corrosion on the metal surfaces of your smoker. Seasoning creates a protective layer on the surface of your smoker, preventing moisture from seeping in and causing damage over time. This means that your smoker will last longer and remain in top condition.
Improves Performance
Seasoning your smoker creates an even heat distribution, which allows for consistent cooking temperatures throughout the cooking process. This ensures that your food is cooked evenly and prevents hot or cold spots from forming. The result is perfectly cooked meals every time.
Tips for Maintaining a Properly-Seasoned Smoker
If you want your Masterbuilt smoker to deliver perfectly cooked and flavor-packed meals every time, you need to prioritize its maintenance. Here are five sub-sections that explain the importance of regularly cleaning and maintaining a properly-seasoned smoker:
Clean Your Smoker After Each Use
Cleaning your smoker after every use is essential for keeping it in top condition. Failing to do so will result in the buildup of ash, grease, and food particles, which can affect the flavor of your food and reduce the lifespan of your smoker. Therefore, make sure to clean your smoker thoroughly using mild soap and water or a specialized smoker cleaner.
Keep Your Smoker Dry
Moisture is the enemy of a properly-seasoned smoker, as it can cause rust and other damage. That’s why it’s important to store your smoker in a dry place when not in use and cover it with a waterproof cover if it will be exposed to the elements. By doing so, you’ll protect your smoker from moisture-related damage.
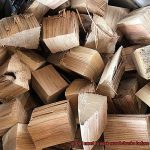
Use High-Quality Wood Chips
The type of wood chips you use has a significant impact on the flavor of your food. Make sure to choose high-quality wood chips that are appropriate for the type of meat you’re smoking. Using low-quality wood chips can leave unwanted flavors on your food and damage the interior of your smoker.
Don’t Use Harsh Cleaning Chemicals
Harsh chemicals can strip away the seasoning on your smoker, which affects its performance and longevity. Therefore, avoid using harsh chemicals when cleaning your smoker. Instead, use mild soap and water or a specialized smoker cleaner that won’t damage the seasoning.
Re-Season As Needed
Over time, the seasoning on your smoker may wear away due to frequent use. When this happens, you’ll need to re-season your smoker to ensure that it continues to perform at its best. Re-seasoning involves coating the interior surfaces with oil and heating them up to a high temperature for a period of time.
Common Mistakes When Seasoning a Masterbuilt Smoker
Seasoning a Masterbuilt smoker is an exciting step towards creating delicious smoked meats and other foods. However, making common mistakes during the seasoning process can affect the flavor and quality of your food. Here are some mistakes to avoid:
Mistake #1: Improper Cleaning
Before seasoning your new Masterbuilt smoker, it’s crucial to clean the interior with warm soapy water and a scrub brush. Neglecting this step can lead to unpleasant-tasting food.
Mistake #2: Rushing the Process
Seasoning a smoker takes time, and it’s essential to be patient. Heating the smoker to a specific temperature and maintaining it for a certain amount of time is crucial. Rushing this process can lead to uneven heat distribution and unevenly cooked food.
Mistake #3: Overusing Oil
Oil helps prevent rust and corrosion in your smoker, but using too much can cause it to become sticky and difficult to clean. The build-up of smoke residue from excess oil can also negatively impact the flavor of your food.
Mistake #4: Underusing Wood Chips
Wood chips add flavor to your food and maintain a consistent temperature inside the smoker. Without enough wood chips, you may end up with bland-tasting food or even burnt food.
ArZgVVHb1n0″ >
Conclusion
In conclusion, seasoning your brand-new Masterbuilt smoker is a crucial step that cannot be overlooked. This process eliminates any unwanted chemicals or debris left over from manufacturing and protects it from rust and corrosion. More importantly, it guarantees that your smoker performs at its peak while producing finger-licking smoked meats every time.
To season your Masterbuilt smoker correctly, start by cleaning the interior surfaces meticulously and removing any plastic or packing materials. Then, apply a thin layer of oil evenly to all interior surfaces before heating the smoker to 275 °F for a couple of hours. Once done, allow the smoker to cool down before wiping away any excess oil.
Maintaining a properly-seasoned smoker requires regular cleaning after each use, keeping it dry, using high-quality wood chips, avoiding harsh cleaning chemicals, and re-seasoning as needed.
Avoid common mistakes such as improper cleaning, rushing the process, overusing oil or underusing wood chips. Follow these tips and guidelines to ensure that your Masterbuilt smoker performs at its best for years to come while delivering mouth-watering smoked meats every time.