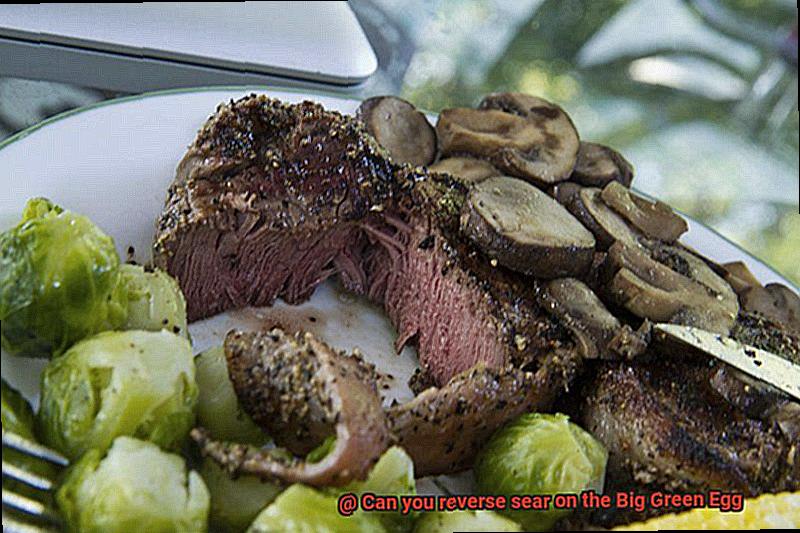
Do you love a perfectly cooked steak?
That juicy, pink center with a mouthwatering crust? Well, get ready to discover the game-changing technique of reverse searing on the Big Green Egg.
This cooking method is a game-changer, giving you tender and evenly cooked steaks every single time. But what exactly is reverse searing?
It’s all about slow and low cooking on your Big Green Egg, followed by a quick sear at the end for that irresistible crust. Today, we’re going to dive into this process step by step, unlocking the full potential of your Big Green Egg.
Get ready to take your steak game to the next level.
Contents
Benefits of Reverse Searing on the Big Green Egg
This cooking method combines the best of both worlds – slow cooking and high-temperature searing – to create meats that are perfectly cooked, bursting with flavor, and irresistibly tender. Today, we’ll dive into the various benefits of reverse searing on the Big Green Egg that will leave you craving for more.
Controlled and Even Cooking:
Reverse searing ensures that your meat is cooked evenly from edge to center by starting with low heat and gradually increasing the temperature. The Big Green Egg’s unrivaled heat retention capabilities guarantee a controlled cooking process, preventing any risk of overcooking or drying out your prized cuts.
Retains Natural Juices and Flavors:
Indirect heat in reverse searing allows the natural juices to redistribute throughout the meat, resulting in a final product that is moist and tender. Say goodbye to dry, lackluster meats. With reverse searing on the Big Green Egg, every bite is an explosion of succulence.
Precise Doneness Control:
No matter if you prefer your steak medium-rare, medium, or well-done, reverse searing on the Big Green Egg enables you to achieve your desired level of doneness with precision. By monitoring the internal temperature using a meat thermometer, you’ll never have to worry about undercooking or overcooking your meat again.
Infused with Additional Flavors:
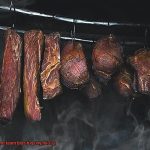
The versatility of the Big Green Egg shines when it comes to adding extra flavors to your meats. Utilize wood chips or chunks to infuse a smoky aroma that perfectly complements the natural flavors of your meat. Enhance the taste even further by incorporating herbs, spices, or marinades during the slow cooking process, resulting in an unforgettable burst of flavors.
Ideal for Larger Cuts:
Reverse searing on the Big Green Egg is a game-changer for larger cuts of meat, such as roasts or whole chickens. The indirect heat method ensures even cooking throughout the entire piece, leaving you with flawlessly cooked meat from edge to center.
Time and Effort-Saving:
With reverse searing, you can set up your Big Green Egg, let it work its magic at a lower temperature, and reclaim precious time. There’s no need for constant monitoring or flipping your meat. Instead, you can focus on other tasks or simply enjoy quality time with loved ones while the grill does its work.
Setting Up the Grill for Indirect Cooking
If you’re ready to take your grilling game to the next level, it’s time to learn the art of setting up the grill for indirect cooking. And what better way to do it than on the Big Green Egg? This versatile charcoal grill is a master at creating mouthwatering dishes with ease.
To begin, fill the firebox of your Big Green Egg with natural lump charcoal. Avoid using briquettes, as they can impart unwanted flavors to your food. Once the firebox is filled, light your fire using either a charcoal chimney or a few pieces of charcoal and a lighter. Let the fire burn until it has developed a layer of white ash – this is when it’s ready to go.
Now that your fire is roaring, it’s time to add the ConvEGGtor or platesetter to the equation. These handy accessories act as a barrier between the fire and your food, ensuring that heat is distributed evenly for perfect cooking results. Properly position the ConvEGGtor or platesetter with the feet facing down and resting on the fire ring. This creates an air gap between the accessory and the fire, allowing for better airflow and heat distribution.
With the ConvEGGtor or platesetter in place, install the cooking grate – this is where all the magic happens. Your food will be placed on this grate for indirect cooking perfection.
Now comes the fun part – controlling the temperature of your Big Green Egg. To do this, adjust the vents on the grill. For low and slow cooking, partially close the bottom vent to limit airflow and reduce heat. The top vent can be adjusted to allow for smoke release and temperature control. It may take a bit of practice to find your perfect temperature, but don’t worry – you’ll get the hang of it in no time.
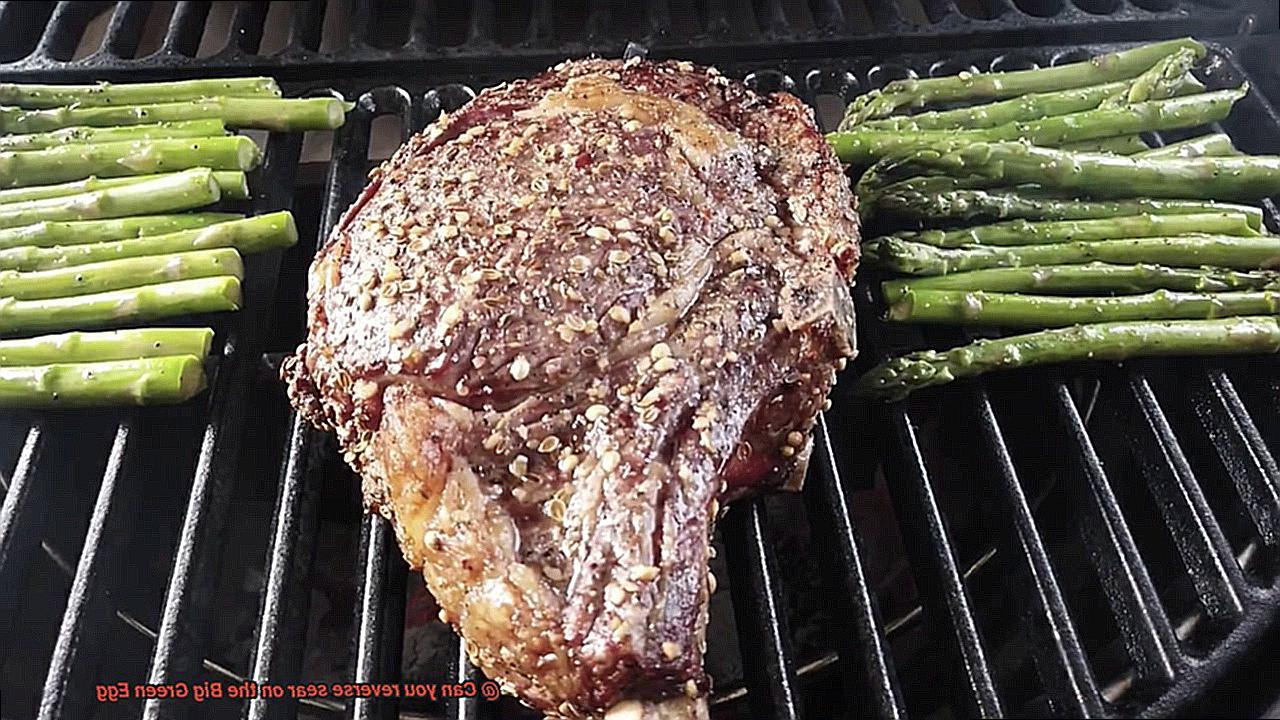
Before you start grilling, preheat your Big Green Egg. This ensures that it reaches the desired temperature and provides consistent heat throughout the cooking process. Once preheated, it’s time to start cooking your food using indirect heat. Place your meat or vegetables on the cooking grate, opposite to where the fire is located. This allows for indirect heat to circulate around the food, cooking it slowly and evenly.
Throughout the cooking process, monitor the temperature and make any necessary adjustments to the vents. This will help maintain a consistent temperature and ensure that your food is cooked to perfection. Whether you’re cooking up a juicy steak or a tender pork shoulder, indirect cooking on the Big Green Egg is ideal for achieving delicious results.
Preheating the Grill and Placing the Meat
The art of reverse searing on the Big Green Egg combines slow cooking with a final burst of high heat, resulting in exquisitely tender and flavorful meat. To achieve this mouthwatering outcome, proper preheating of the grill and careful placement of the meat on the cooking grate are essential. Let’s explore the steps to master this grilling technique.
Step 1: Preheating the Grill
Begin by removing the cooking grate and adding a layer of natural lump charcoal to the firebox. Light the charcoal using a chimney starter until it’s covered with a thin layer of white ash. Gently pour the lit charcoal into the firebox and replace the cooking grate. Maximize airflow by fully opening both the bottom and top vents, allowing the Big Green Egg to preheat to around 225°F (107°C) for optimal slow cooking.
Step 2: Seasoning and Placing the Meat
Enhance the flavor of your meat by seasoning it with your favorite rub or marinade. Give it a few minutes to absorb the flavors. With utmost care, place the seasoned meat on the cooking grate using tongs or a spatula to prevent cross-contamination. Close the lid to infuse your meat with tantalizing smoky goodness. Keep a watchful eye on the internal temperature using an instant-read thermometer.
Step 3: Reaching Desired Doneness
Different cuts of meat have specific temperature guidelines for doneness, so consult a reliable cooking chart or guide for accurate information. Once your meat reaches the desired internal temperature, it’s time for the searing phase.

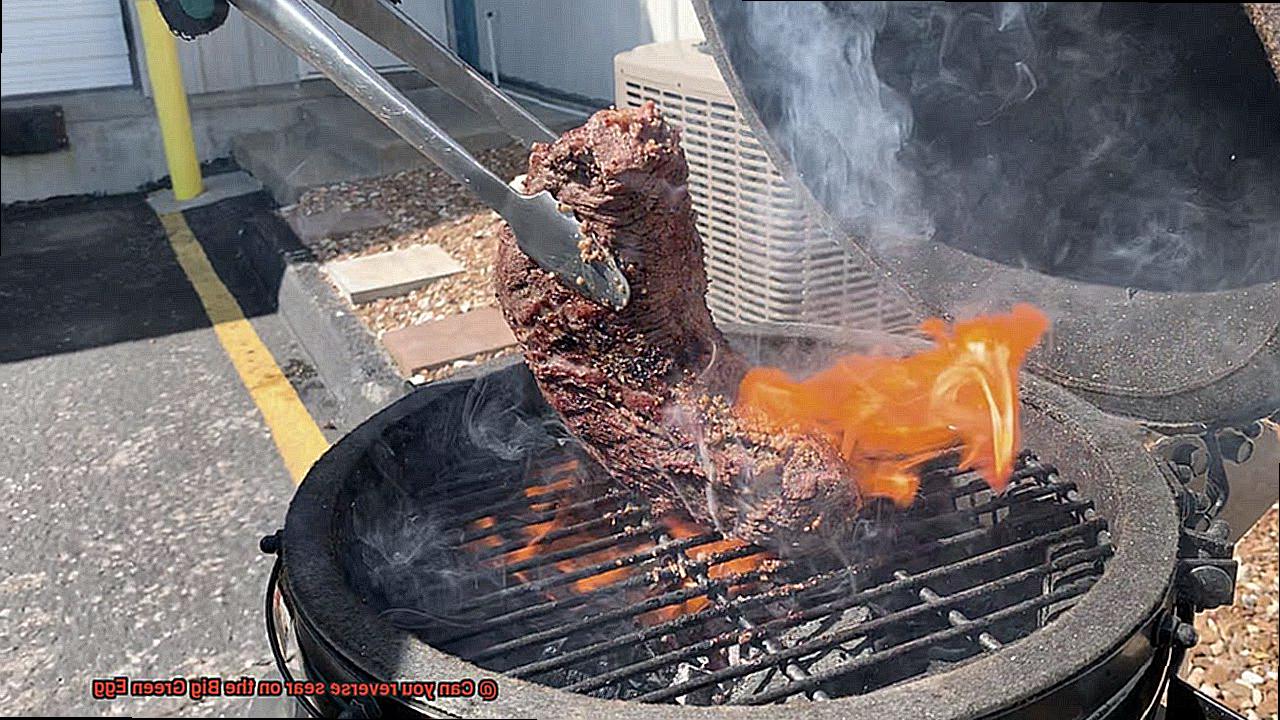
Step 4: Searing the Meat
Temporarily remove the meat from the grill and increase the temperature for direct searing. Open both vents fully, allowing maximum airflow and raising the temperature to around 500°F (260°C). Place a searing grate on top of the cooking grate and return the meat to achieve a delectable crust. Sear each side for a few minutes until you achieve a caramelized, golden-brown exterior.
Monitoring Internal Temperature of the Meat
Mastering the art of reverse searing on your Big Green Egg requires more than just natural lump charcoal and a delicious rub or marinade. The key to achieving grilled perfection lies in monitoring the internal temperature of the meat. Trust me, this is the secret that will elevate your grilling game to new heights.
Why is monitoring internal temperature so crucial? Let’s break it down.
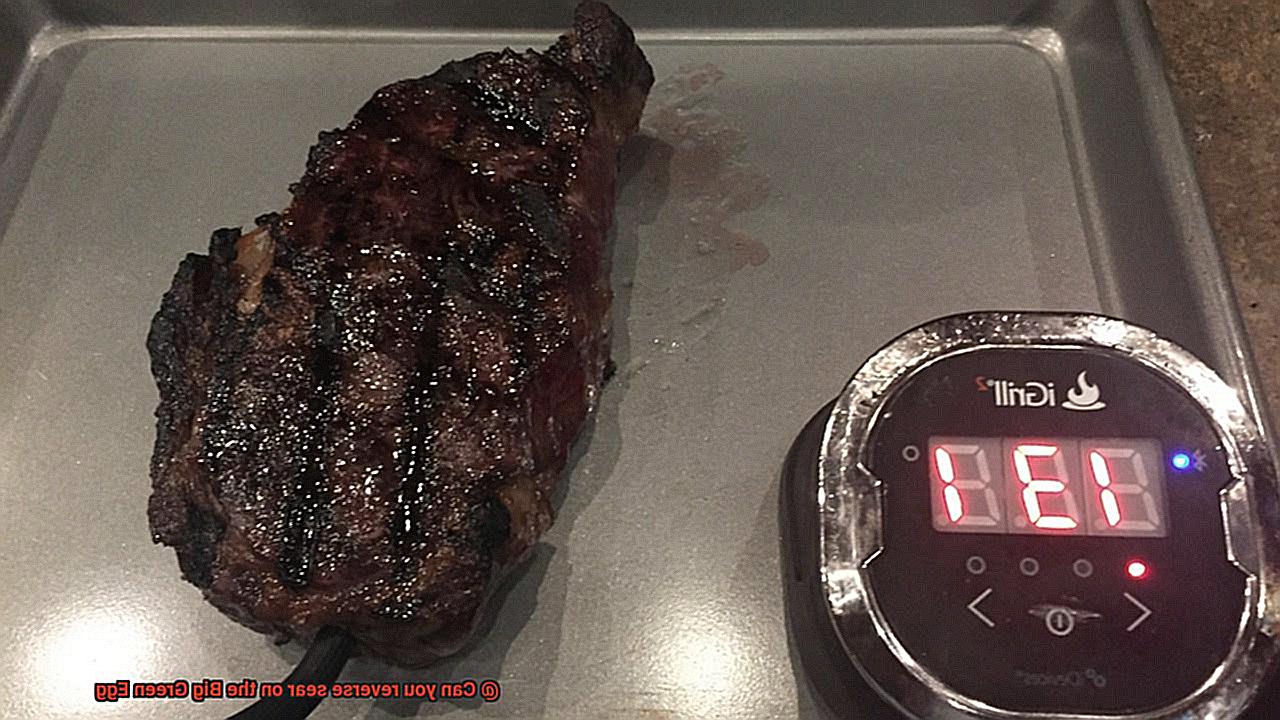
First and foremost, monitoring the internal temperature ensures that your meat is cooked to perfection. Each type of meat has its own recommended internal temperature range for optimal doneness. For instance, a medium-rare steak should reach around 135°F (57°C), while pork and chicken require higher temperatures to ensure they are safe to eat. By keeping a close eye on the internal temperature, you can achieve your desired level of doneness without risking undercooking or overcooking your meat.
Now, let’s talk about how to effectively monitor the internal temperature. There are several methods you can employ, such as using a thermometer or a probe thermometer. These handy tools enable you to insert a probe into the thickest part of the meat and obtain an accurate reading of its internal temperature. To ensure accurate results, it’s essential to follow the manufacturer’s instructions for proper insertion and use of the thermometer.
However, simply inserting a thermometer won’t guarantee success. You must also interpret and understand the temperature readings to determine the cooking progress. Is your steak medium-rare yet? Is your chicken fully cooked? By attentively monitoring the internal temperature, you can confidently answer these questions and cook your meat to perfection.
While monitoring internal temperature is crucial, there are common mistakes that should be avoided. Relying solely on visual cues, such as meat color or clear juices, can lead you astray. These indicators may be helpful but aren’t always accurate. To truly ascertain if your meat is cooked to the right temperature, using a thermometer is essential.
Now, let’s explore the benefits of using a digital thermometer with alarms or wireless capabilities. These modern marvels make monitoring the internal temperature a breeze. You can set an alarm to sound when your meat reaches the desired temperature, eliminating the need for constant checking. Some even offer wireless capabilities, enabling you to monitor the temperature from your phone or tablet while you relax with a cold beverage. Talk about convenience and accuracy.
When selecting a reliable thermometer suitable for use with the Big Green Egg, conducting research and reading reviews is highly recommended. Look for thermometers with wide temperature ranges, ease of use and cleaning, and durable construction for long-lasting use.
Removing the Meat and Increasing Airflow
When it comes to grilling, achieving food safety is just as important as creating delicious flavors. In this article, we will explore two key steps that can significantly improve food safety: removing the meat from the refrigerator and increasing airflow. By following these guidelines, you can ensure that your grilled dishes are not only tasty but also safe to consume.
Step 1: Optimal Temperature with Room Temperature Meat
To ensure even cooking and minimize the risk of bacterial growth, it is crucial to remove the meat from the refrigerator and allow it to come to room temperature before grilling. By doing so, you prevent the outer layers of the meat from overcooking while the center remains undercooked. This simple step promotes consistent cooking throughout the meat, reducing the risk of foodborne illnesses.
Step 2: Harnessing the Power of Airflow
Proper airflow is essential for maintaining a safe grilling environment. The Big Green Egg offers excellent control over air intake, allowing you to optimize airflow during cooking. To achieve this, fully open both the bottom and top vents on your grill. This maximizes the flow of air and ensures a precise searing temperature.
To further enhance airflow, consider using a heat deflector or plate setter on the grill’s grate. These barriers act as shields against direct heat, preventing any unwanted flare-ups that could lead to uneven cooking or charring. Elevating your meat with a raised grid or cooking grate with legs also promotes better airflow and prevents hot spots, ensuring that your food cooks evenly.
In addition, leaving sufficient space between each piece of meat on the grill is vital. This allows for proper circulation of air and prevents steaming, which can result in soggy or undercooked food. Creating space between each piece also helps to develop those coveted crusty sear marks that add texture and flavor to your grilled dishes.
Reaching a High Temperature to Sear
Prepare to unlock the secrets of reaching scorching temperatures for searing on the mighty Big Green Egg. Known for its versatility and ability to deliver mouthwatering flavors, this grill requires a few essential steps to achieve that perfect sear.
Let’s start with the first crucial step: preheating. Just like an oven, preheating your grill is essential for reaching those blistering temperatures required for searing. Begin by igniting your charcoal and allowing it to burn until it transforms into a mesmerizing white ash color. This process typically takes around 15-20 minutes, but keep a vigilant eye on it as factors like charcoal quantity and weather conditions can influence the timeframe.
Now that your grill is preheated, it’s time to embrace the art of airflow. The Big Green Egg is equipped with a dual-function metal top vent and a stainless steel bottom vent, granting you complete control over the circulation of air. To achieve those sky-high temperatures, fling open both vents wide and let the oxygen fuel the flames. It’s akin to giving your grill a revitalizing breath of fresh air.
Choosing the right charcoal is also pivotal in reaching those scorching temperatures. Lump charcoal reigns supreme for grilling on the Big Green Egg since it burns hotter and cleaner than its briquette counterparts. And if you’re truly seeking to elevate your game, opt for hardwood lump charcoal to infuse your culinary creations with a tantalizing smoky essence. Trust us; your taste buds will sing with gratitude.
But wait, we can’t neglect our trusty grill grates. Before embarking on the preheating journey, take a moment to lavish some love upon those grates. A dirty or clogged grate can impede heat transfer and lead to uneven searing. Arm yourself with a brush and rid your grates of any lingering residue or debris, ensuring they are primed and ready to weave their magic.
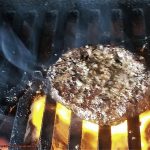
Alright, now that everything is in place, it’s time to sear with flair. Whether it’s a succulent steak, a tender chicken breast, or delectable vegetables, the key lies in placing them directly on the scorching grates. This creates those coveted sear marks that awaken primal cravings. Remember to let your food sear undisturbed for a few minutes on each side before flipping or moving it. This allows for proper caramelization and elevates the taste and texture of your culinary masterpiece.
Placing the Meat on Direct Heat Side of Grill
To begin, ensure that your grill is preheated to the perfect temperature. The ideal range is typically around 225-250°F for that delectable low and slow cooking. With your grill heated and ready, it’s time to introduce the star of the show – your meat.
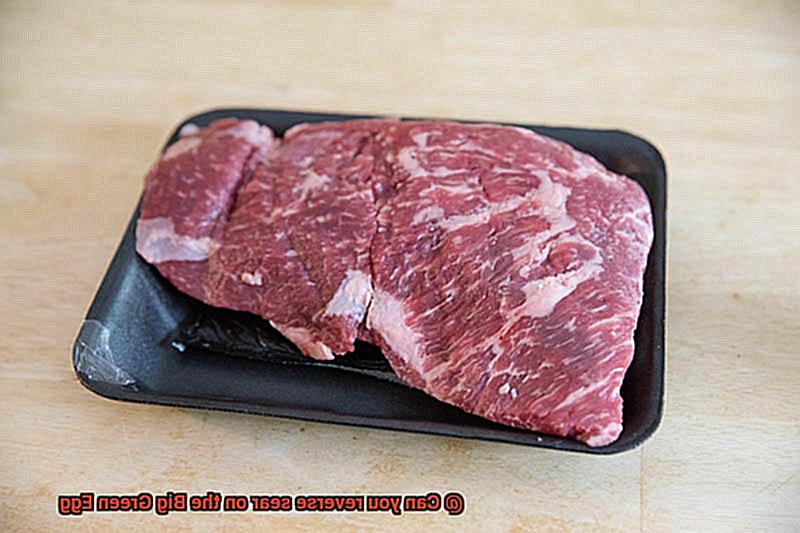
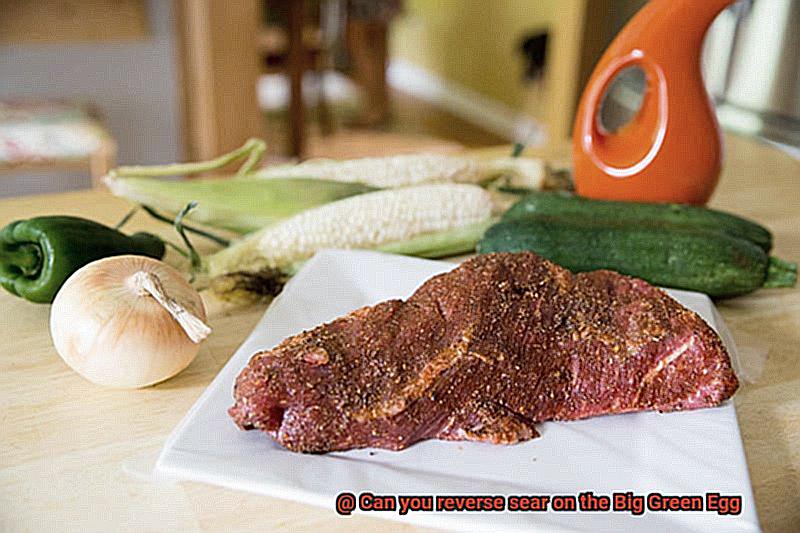
But hold on a moment. Before you place that beautiful piece of meat onto the grill, allow it to come to room temperature. This ensures even cooking and allows the flavors to truly shine through. And don’t forget to season your meat. Whether you prefer a simple salt and pepper sprinkle or a complex rub, coat your meat with love and flavor.
Now, let’s get down to business. When placing your meat on the direct heat side, be mindful of potential flare-ups. The high heat can ignite flames, so wield those long-handled tongs or spatula with care as you carefully position your meat on the grill grates. Safety first, my friends.
Once your meat sizzles on the direct heat side, close the lid and let the magic unfold. Cooking times vary depending on thickness and type of meat, so keep a watchful eye. And don’t forget your trusty meat thermometer. Ensure that your meat reaches the perfect internal temperature for your desired level of doneness.
As your meat cooks, witness the creation of captivating grill marks and an irresistible crust. This is where the reverse sear technique truly shines – a symphony of flavors and textures melding together in culinary harmony.
Once your meat has reached its promised land of deliciousness, remove it from the grill and allow it to rest. I know it’s tempting to dive right in, but trust me on this one. Resting your meat for a few minutes allows the juices to redistribute, resulting in a final product that is nothing short of perfection.
Sealing in Juices and Resting Before Serving
Before you eagerly slice into your masterpiece, there is a crucial step that must not be overlooked: sealing in the juices and allowing it to rest.
Sealing in the juices is the key to achieving that melt-in-your-mouth texture and the burst of flavor we all crave. When you employ the reverse sear method on the Big Green Egg, you begin by slow-cooking the meat at a low temperature until it reaches the desired internal temperature. This gentle cooking process allows the meat fibers to unwind, resulting in a juicy and tender outcome. But how do you ensure that those precious juices remain intact?
This is where the resting period comes into play. Resting is a magical step that allows the juices to redistribute throughout the meat, ensuring every bite is moist and delectable. To properly rest your meat, simply remove it from the grill or oven and let it sit undisturbed for approximately 10-15 minutes. During this time, the juices have an opportunity to reabsorb into the meat, maximizing its flavor and tenderness.
However, it is not enough to just place your meat on a plate and call it a day. To maintain its warmth and prevent any moisture from escaping, it is advisable to loosely tent it with foil or a clean kitchen towel during the resting process. This not only helps to retain heat but also enhances the overall juiciness of your meat.
You may be wondering why resting is even necessary. Well, aside from sealing in juices and enhancing flavor, resting also makes carving a breeze. When meat is cooked, its proteins contract, causing it to become firm. Resting helps reverse this process, making your meat more tender and easier to slice.
So, the next time you fire up your Big Green Egg for a reverse sear masterpiece, always remember to seal in those precious juices and give your meat the rest it deserves. Your taste buds will thank you for the moist, tender, and flavorful experience that awaits. Happy grilling.
zDpuGnoq02g” >
Conclusion
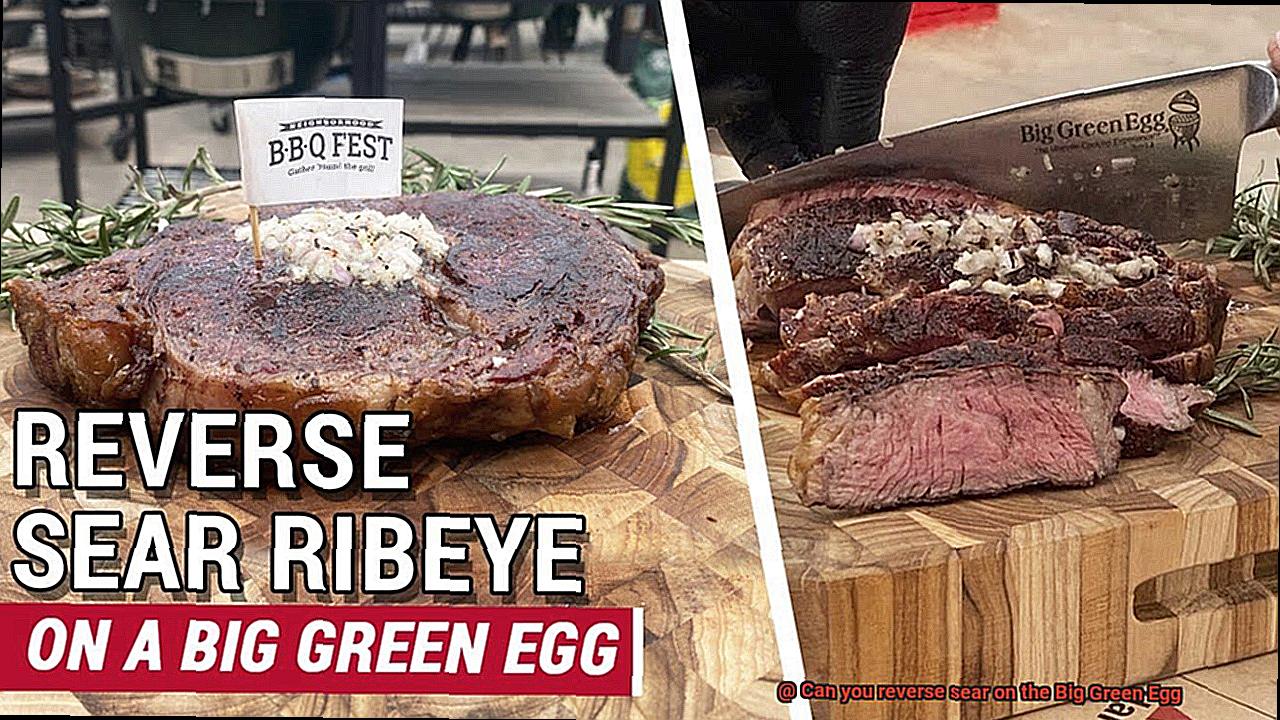
Yes, you can absolutely reverse sear on the Big Green Egg.
This cooking technique involves first slow-cooking your meat at a low temperature and then finishing it off with a high-heat sear. The Big Green Egg’s versatility and precise temperature control make it an ideal tool for reverse searing.
By starting with a low and steady heat, you allow the meat to cook evenly and reach the desired internal temperature without overcooking the exterior.
Then, when it’s time for that mouthwatering caramelization and beautiful crust, you crank up the heat on your Big Green Egg to achieve that perfect sear.