Picture this: you’re outside on a warm summer day, the grill is fired up, and you’re ready to cook some corn on the cob. You grab a few ears of corn, but then the question hits you – can you just throw corn on the cob on the grill? It’s not as simple as it seems.
Sure, some people prefer to toss their corn directly on the grill, while others wrap it in foil or remove the husk and silk before grilling. However, if you want perfectly grilled corn every time, there are a few things you should consider before throwing it on the grill.
First off, throwing your corn directly onto the grill can be risky business. The husk can burn quickly and unevenly cooked kernels are no fun for anyone. But don’t worry – we’ve got plenty of tips and tricks up our sleeves to help you achieve that perfect ear of grilled corn.
From soaking your corn in water to oiling up the husk, there are various methods to ensure that your corn is cooked to perfection. Whether you like it slightly charred or perfectly cooked through and through, we’ve got you covered.
In this blog post, we’ll explore different ways of grilling corn on the cob so that whether you’re a novice or an expert griller, you’ll be able to impress everyone at your next barbecue with your perfectly grilled ears of corn. So let’s get started.
Contents
What is Grilling Corn on the Cob?
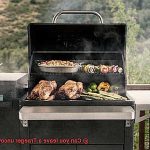
Summertime barbecues are incomplete without the smoky and sweet flavors of grilled corn on the cob. This cooking method enhances the natural sweetness of the corn and gives it a charred exterior that appeals to the taste buds. To achieve perfectly cooked and flavorful corn, follow these simple steps.
Preparing the Corn
To begin, remove the husks and silk from each ear of corn. Rinse them under cold running water and pat them dry with paper towels to remove any dirt or debris. Preparing the corn before grilling is crucial to ensure even cooking.
Brushing the Corn
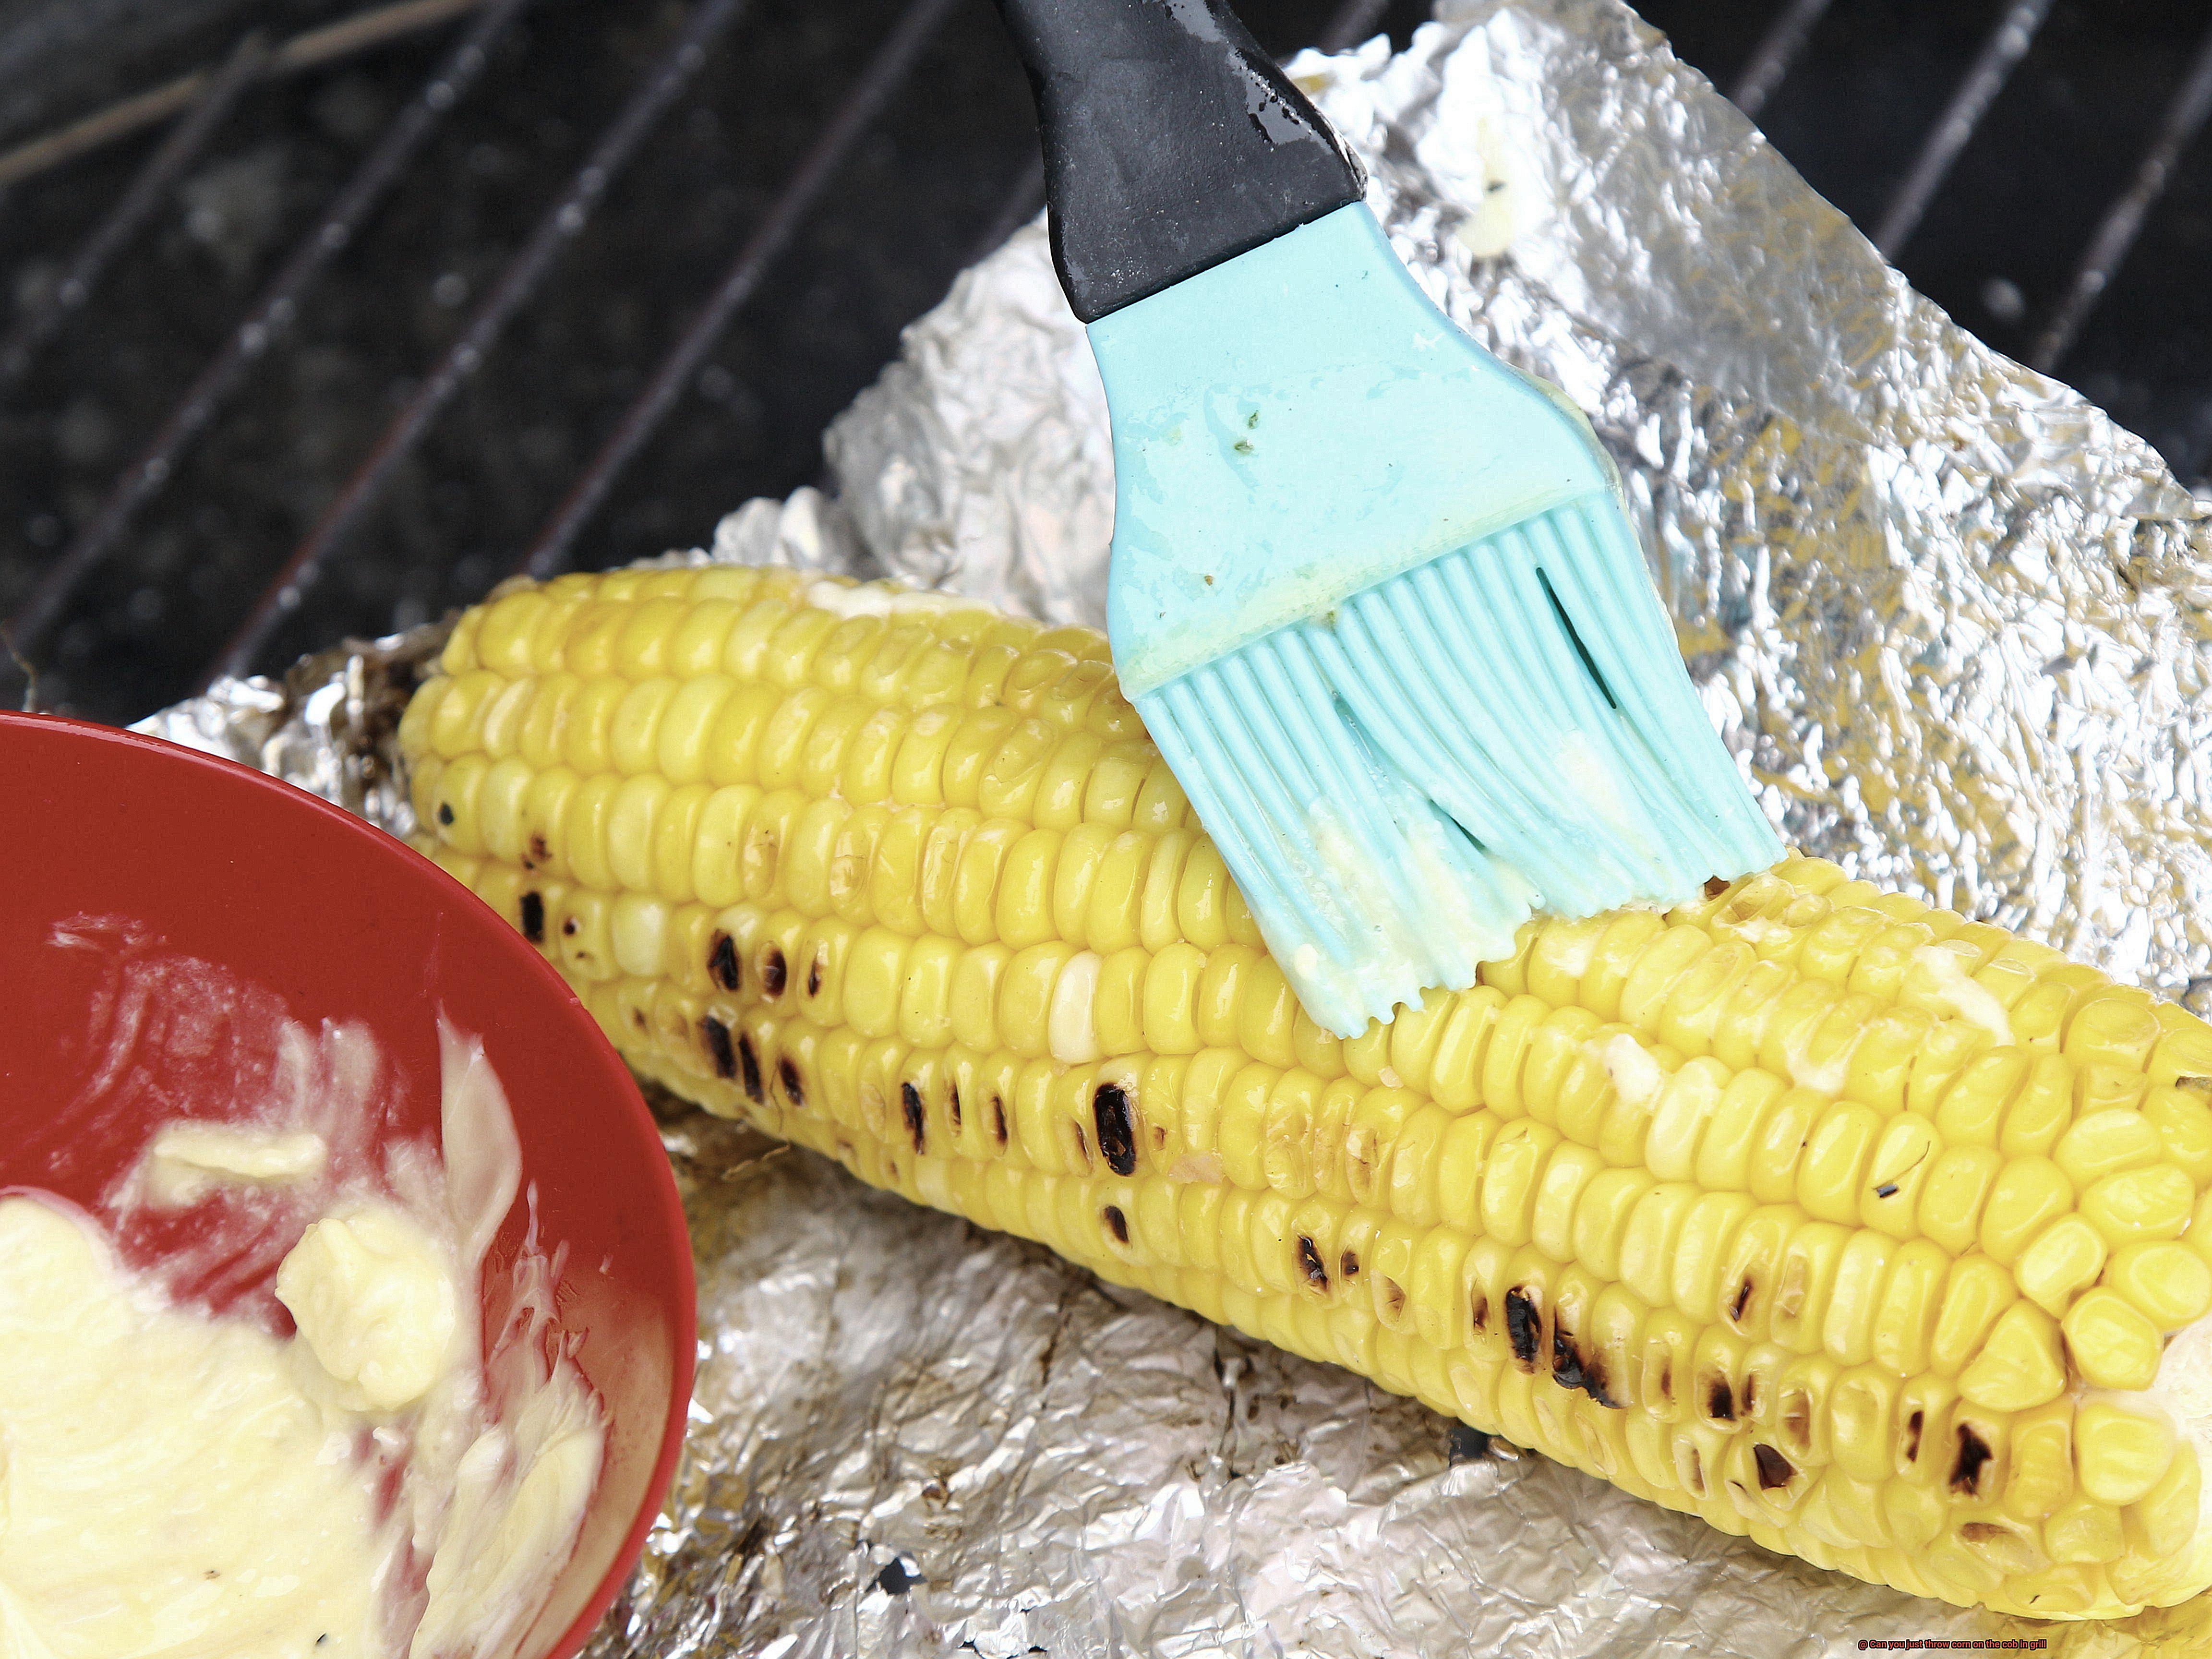
To prevent the corn from sticking to the grill grates, brush each ear of corn with a light coating of oil or melted butter. This step not only prevents sticking but also enhances flavor and texture.
Grilling the Corn
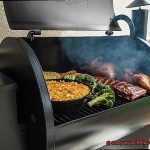
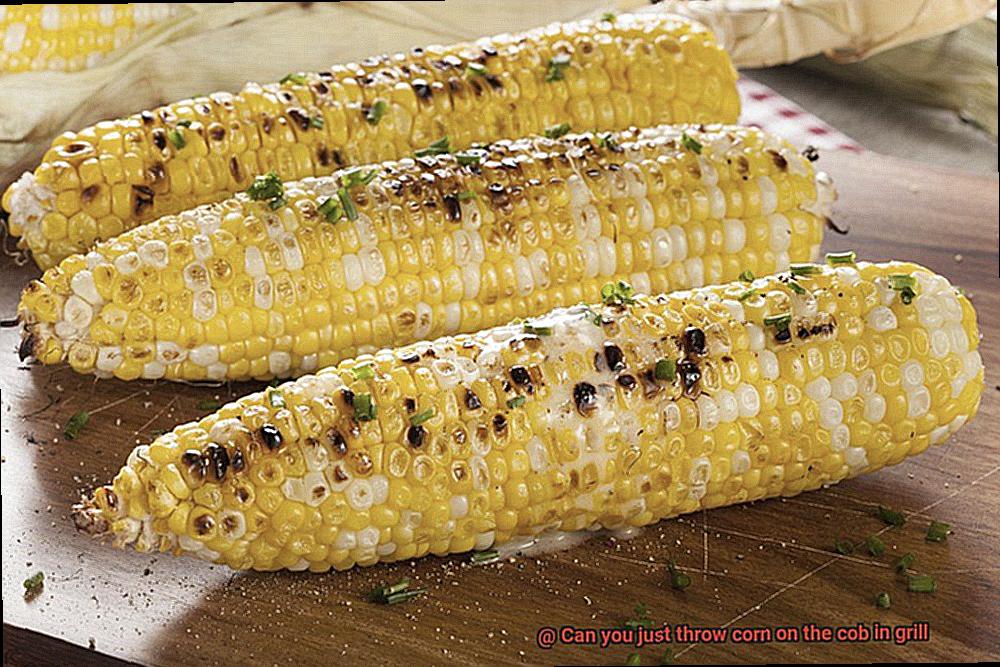
Preheat your grill to medium-high heat and place the ears of corn directly on the grates. Turn them every few minutes to ensure even cooking and to prevent burning. The corn is done when it is tender and slightly charred, which typically takes about 10-15 minutes.
Soaking Method
For those who want to go the extra mile, experts suggest soaking the ears of corn in water before grilling. This helps prevent the corn from drying out and burning. Soak for about 10-15 minutes before brushing with oil or butter and placing on the grill.
Adding Some Flavor
Elevate your grilled corn on the cob by adding some seasoning or herbs to your butter or oil used for brushing. This simple addition can create a unique taste profile that will make your grilled corn stand out.
Serving Suggestions
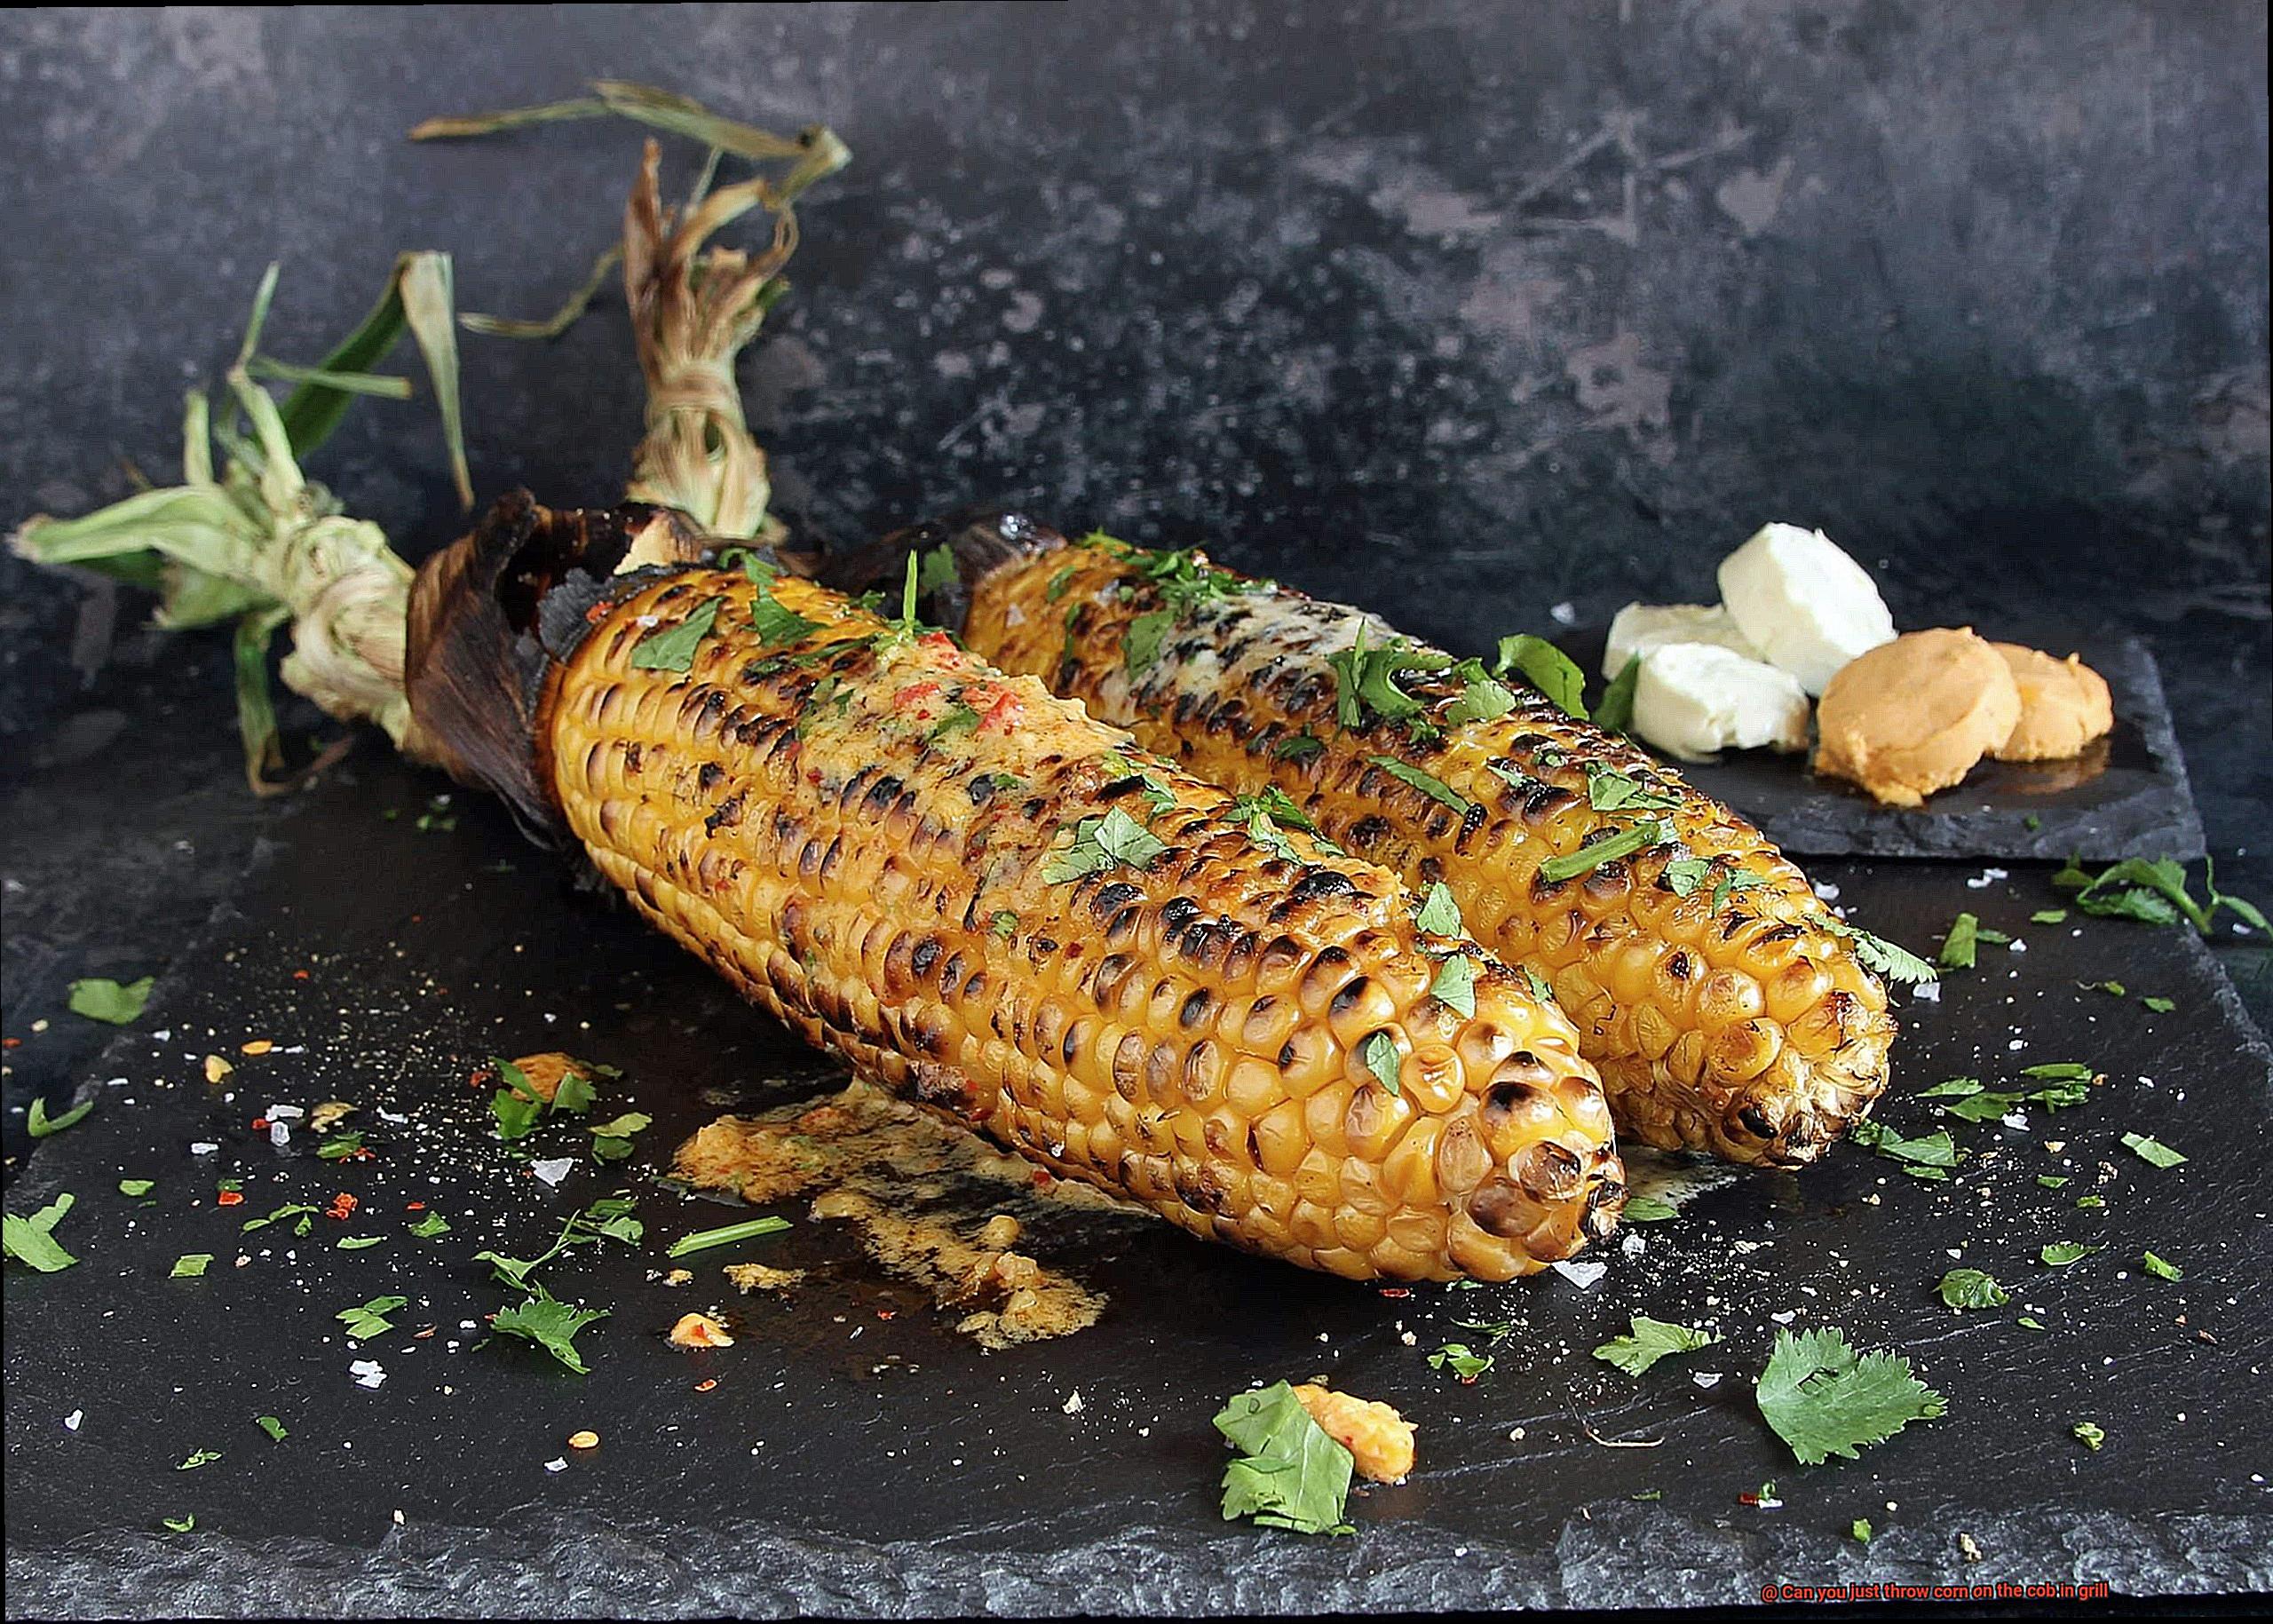
Grilled corn on the cob can be served plain or with a variety of toppings, such as butter, salt, pepper, cheese, and herbs. It is a versatile dish that can be enjoyed as a side dish or as a main course when paired with other grilled meats and vegetables.
Can You Just Throw Corn on the Cob in Grill?
Summertime is the perfect season for grilling, and corn on the cob is a staple in many barbecues. However, throwing your corn on the grill without proper preparation can lead to uneven cooking, dry or burnt kernels, and disappointment. So, can you just throw corn on the cob in the grill? Yes, technically. But should you? Absolutely not.
To achieve maximum flavor and even cooking, it’s best to prepare your corn before grilling. Soaking your corn in water for at least 30 minutes is an excellent first step. This helps prevent the husks from burning and makes them easy to remove after cooking. Once soaked, gently remove any excess silk from the ears and brush them with oil or butter to prevent sticking.
Another option is to remove the husks entirely, revealing the beautiful golden kernels beneath. Then, wrap each ear in aluminum foil with butter or seasoning, ensuring more even cooking and preventing the kernels from drying out. This method also creates an elegant presentation that will impress your guests.
Preparing the Corn Before Grilling
Grilled corn on the cob is the quintessential summer food, but to ensure it’s cooked to perfection, preparing the corn before grilling is crucial. Follow these simple steps to impress your guests with perfectly grilled corn every time.
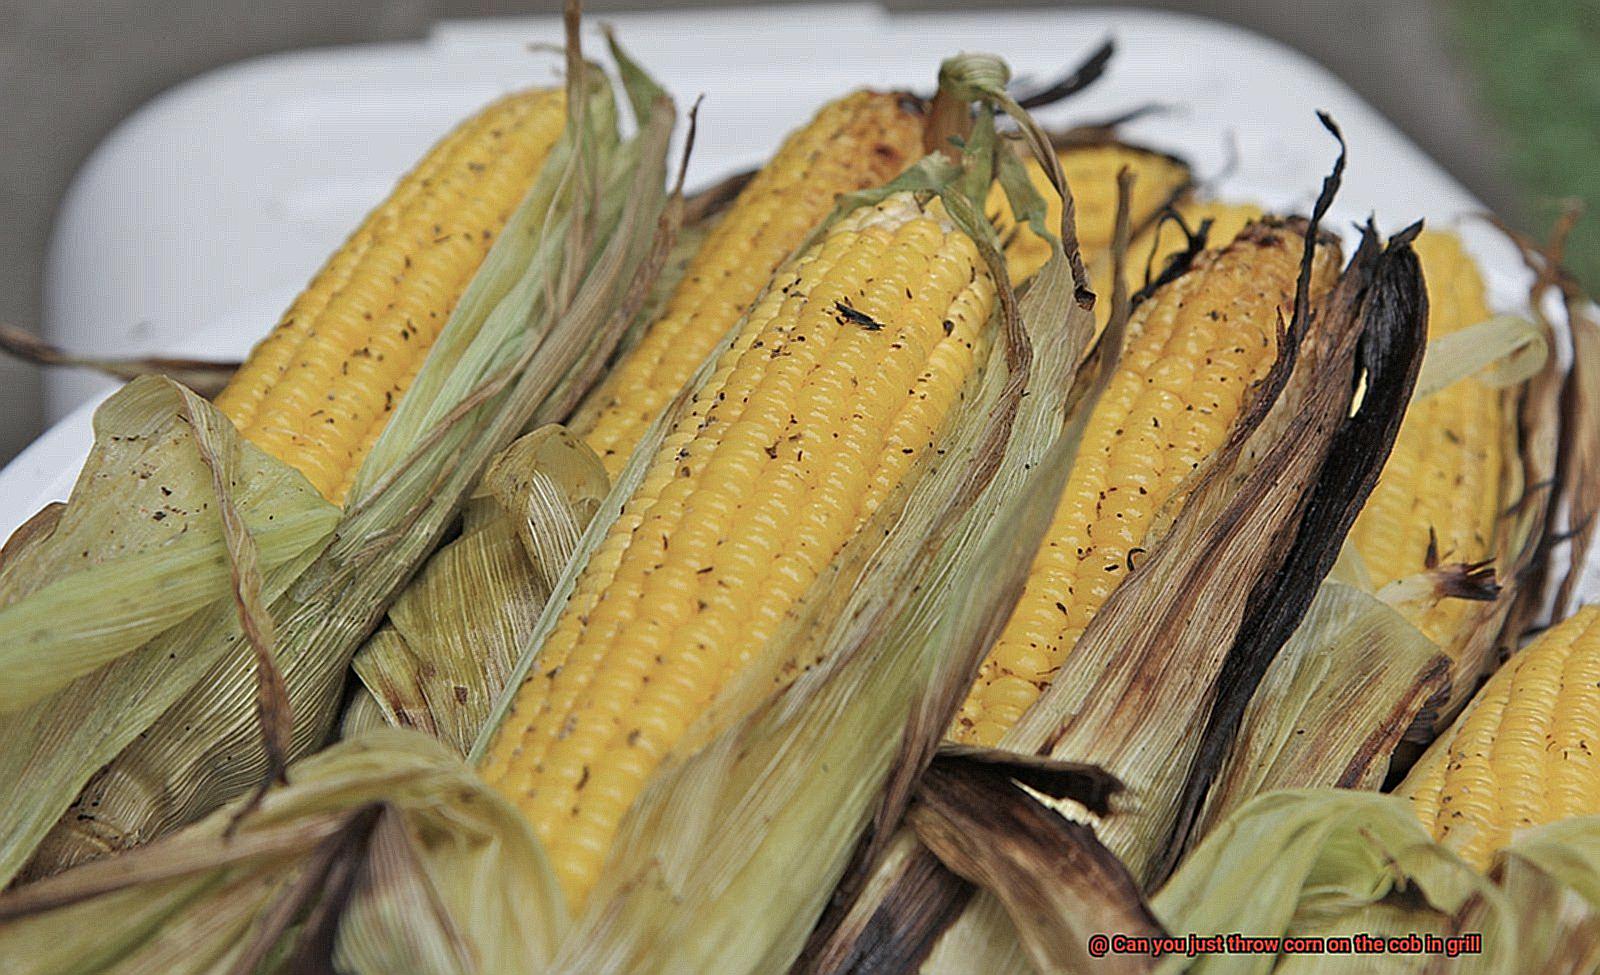
First, remove the husks and silk from the corn. This can be done easily by pulling down on the husks and peeling them off the cob. It’s important to remove all of the silk as well, as it can burn and leave a bitter taste on the corn.
Next, rinse the corn under cold water to remove any remaining silk or debris. Soaking the corn in cold water for at least 30 minutes before grilling is also recommended. This helps to prevent the corn from drying out and burning on the grill.
If you want to add some flavor to your grilled corn, brush it with oil or butter before grilling. You can use a pastry brush or simply rub the oil or butter onto the corn with your hands. Adding seasoning such as salt, pepper, or herbs can also enhance the flavor of grilled corn.
For a juicy result, wrap each ear of corn tightly in foil and place them on the grill over medium heat. Turn them occasionally to ensure even cooking. This method helps to trap in moisture and steam, resulting in tender and juicy corn.
Preheating the Grill for Grilling Corn on the Cob
Summer is here, and nothing screams summer cookouts like grilled corn on the cob. But before you get started, let’s talk about the crucial step that is often overlooked – preheating your grill. Preheating your grill is essential for achieving perfectly grilled corn on the cob. It ensures even cooking, beautiful char marks, and prevents sticking.
First, grab your wire brush and give your grates a thorough cleaning to remove any debris from previous grilling sessions. Next, turn your grill to high heat and close the lid to let it heat up for at least 10-15 minutes. The ideal temperature for grilling corn on the cob is around 400-450 degrees Fahrenheit. Remember to consult your grill’s manual for specific preheating instructions as different types of grills may require varying preheating times.
Now that your grill is preheated, it’s time to oil your corn before placing it on the grates. Brush some vegetable oil or melted butter onto the corn to prevent sticking and make it easier to handle when turning it during cooking.
With these simple steps, you can achieve perfectly grilled corn on the cob every time. But wait, there’s more. Grilling is all about experimenting with flavors and spices, so why not try something new? Here are some ideas to spice up your grilled corn game:
- Sprinkle some chili powder and lime juice for a Mexican-inspired twist
- Top with crumbled feta cheese and chopped fresh basil for a Mediterranean flavor
- Spread some garlic butter and grated parmesan cheese for an Italian flair
- The possibilities are endless, so don’t be afraid to get creative.
Placing the Corn on the Grill Grates
As the warm summer breeze rolls in, there’s nothing quite like the taste of grilled corn on the cob. However, achieving that perfect char and juicy kernels requires more than just throwing your corn on the grill. As an expert on this topic, let me share with you some of my favorite methods for placing corn on the grill grates.
To start, preheating your grill is crucial to ensure even cooking and prevent burnt kernels. Aim for a medium-high heat when preheating your grill. Once heated, there are a few options for placing your corn on the grates.
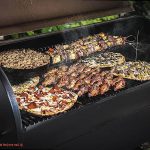
The most common method is to place the corn directly on the grates, turning occasionally to ensure even cooking. However, this method can be hit or miss and may lead to burnt or charred kernels.
To up your game, consider using a foil packet or grill basket. For foil packets, wrap each ear of corn in aluminum foil before placing them on the grill. This method steams the corn as it cooks and results in tender and juicy kernels that burst with flavor. Alternatively, a grill basket elevates the corn above the grates while still allowing for direct heat. This not only prevents burning but also makes it easy to turn multiple ears of corn at once.
No matter which method you choose, keep a close eye on your corn as it cooks. Cooking times may vary depending on the size of your ears and heat of your grill. Aim for 10-15 minutes of cooking time, turning occasionally until the kernels are tender and slightly charred.
Turning and Cooking Times for Perfectly Grilled Corn on the Cob
Grilling corn on the cob is a summer staple, but achieving perfectly grilled corn requires mastering the art of turning and cooking. To start, preheat your grill to a medium-high heat of around 400-450°F. While the grill heats up, remove any loose outer husks and silk from the corn.
Once the grill is hot, place the corn directly on the grates and let it cook for 5-7 minutes until the husks begin to char and turn a beautiful golden brown. But don’t leave the corn unattended. Keep an eye on it because different grills can have varying cooking times depending on their heat output.
After the first 5-7 minutes, it’s time to turn the corn over using tongs. Be gentle to avoid damaging the kernels and let it cook for another 5-7 minutes on the other side. To check if your corn is ready, gently squeeze the husks – they should feel soft but not mushy.
Now, if you want to take your grilled corn up a notch, try basting it with melted butter or olive oil before and after turning. This will add some extra flavor while keeping the corn moist and preventing it from drying out during cooking.
To ensure that your grilled corn is cooked evenly and comes out tender, juicy, and bursting with flavor, here’s a recap of some key tips:
- Preheat your grill to a medium-high heat of 400-450°F.
- Remove loose outer husks and silk from each ear of corn.
- Place the corn directly on the grill grates and cook for 5-7 minutes.
- Turn each ear of corn over using tongs and cook for another 5-7 minutes.
- Baste with melted butter or olive oil before and after turning for extra flavor.
Soaking the Corn Before Grilling (Optional)
Look no further than the simple solution of soaking your corn before grilling. Sure, grilling corn on the cob may seem like a straightforward process, but achieving that perfect balance of juicy, tender, and flavorful can be an art form. That’s where soaking comes in.
Let’s dive into why soaking is essential when grilling with husks on. Soaking your corn in water allows the husks to absorb moisture, preventing them from burning and drying out too quickly on the grill. Not only that, but the water in the husks creates steam, which helps cook the corn evenly and ensures it stays moist and delicious.
To soak your corn, fill a large container with water and submerge the cobs for at least 30 minutes (but no longer than two hours). Some grillers like to add salt or sugar to the water for an added flavor boost. After soaking, remove the corn from the water and shake off any excess moisture before placing it on the grill.
While soaking is optional, it can make a substantial difference in the outcome of your grilled corn. However, if you prefer a more charred and smoky flavor, you may choose to skip this step. It’s all up to personal preference.
It’s also important to note that if you’re grilling without husks, skipping soaking is best. Wet corn can create steam that interferes with the browning process, so save yourself some time and skip it.
Adding Flavor to Your Grilled Corn with Seasonings and Herbs
Summer is in full swing, and nothing screams summer more than a perfectly grilled corn on the cob. But what sets apart a good grilled corn from a great one is the added flavor and seasoning. While it is possible to simply throw corn on the grill and let the heat do its work, adding seasonings and herbs can elevate the taste and make your corn dish stand out.
To add flavor to your grilled corn, start by brushing it with melted butter or olive oil before grilling. This not only adds moisture but also helps the seasonings stick to the corn. You can also mix in some minced garlic or herbs like rosemary, thyme, or basil into the butter or oil for an extra burst of flavor.
For those who love a bit of spice, chili powder is a popular option. Simply sprinkle some chili powder on the corn before grilling for some heat and smokiness. You can also mix chili powder with lime juice and a pinch of salt to create a tangy and spicy coating for your corn.
If you have a sweet tooth, adding honey or brown sugar to your grilled corn is a great option. Brush the corn with melted butter and honey or sprinkle brown sugar over it before grilling. The caramelization of the sugar will give your corn a deliciously sweet and crispy coating.
But why stop there? If you’re feeling adventurous, try experimenting with different spices and seasonings like cumin, smoked paprika, or even curry powder. These will add depth and complexity to your corn. You can also mix in different herbs like parsley, cilantro, or mint to give your corn a fresh and vibrant taste.
3YAMFn64VS4″ >
Conclusion
In summary, grilling corn on the cob is a summertime must-have that requires some TLC for optimal results. While it may be tempting to toss your cob directly onto the grill, taking the time to prepare it beforehand can mean the difference between a mediocre and an exceptional grilled corn experience.
From soaking your corn in water before grilling to brushing it with oil or butter and even adding seasoning and herbs for added flavor, there are countless ways to elevate your grilled corn game. And let’s not forget about preheating your grill and turning your corn for even cooking and beautiful char marks.
Grilled corn on the cob is a versatile dish that can be enjoyed as a side or main course when paired with other grilled meats and veggies. The sky’s the limit when it comes to toppings and seasonings, so get creative with different flavors and spices.
So, next time you’re firing up the grill, keep these tips and tricks in mind for grilling corn on the cob like a pro.