Are you an adventure seeker who loves to explore new places in your Jeep Wrangler?
Or maybe you’re a seasoned off-roader who enjoys pushing your limits on rough terrain. Whatever your style, keeping food and drinks fresh and cool is essential for any successful trip.
That’s where Yeti coolers come in. Yeti coolers are designed to keep your food and drinks chilled for days, no matter how harsh the conditions may be.
But when it comes to safely transporting them in your Jeep Wrangler, things can get tricky. With so many different models of Jeeps and coolers out there, figuring out how to use Yeti coolers in Jeep Wranglers can seem overwhelming.
But fear not. In this blog post, we’ve got everything you need to know about using Yeti coolers in your Jeep like a pro.
So, let’s dive into the world of Jeep Wranglers and Yeti coolers together, and get ready for an epic adventure with perfectly chilled refreshments along the way.
Contents
Choosing the Right Size Yeti Cooler
Firstly, consider the dimensions of your Jeep and the storage space where you intend to keep your cooler.
For a day trip or a short weekend getaway, a 20-35 quart cooler is suitable for most Jeeps. These coolers are compact and easy to carry around, but they still provide ample space for a small group of people.
If you’re planning a longer trip or going with a larger group, you may need a 45-65 quart cooler. These coolers can hold enough food and drinks for up to five people for several days.
They’ll take up more space in your Jeep, but they’re still manageable in size. For those extended trips with a large group of people, Yeti’s Tundra line offers sizes ranging from 75-350 quarts.
These coolers can hold enough food and drinks for up to 19 people for several days. However, be aware that these coolers are quite large and may require additional storage solutions in your Jeep, such as a roof rack or cargo carrier.
When packing your Yeti cooler, ensure that your items are packed securely and evenly with minimal air space. Pre-chilling your food before packing it into the cooler will also help to keep it cold for longer periods.
To prevent your Yeti cooler from sliding or turning while driving, be sure to use tie-down straps or bungee cords. It’s also essential to keep it out of direct sunlight and avoid opening it unnecessarily to maximize its results.
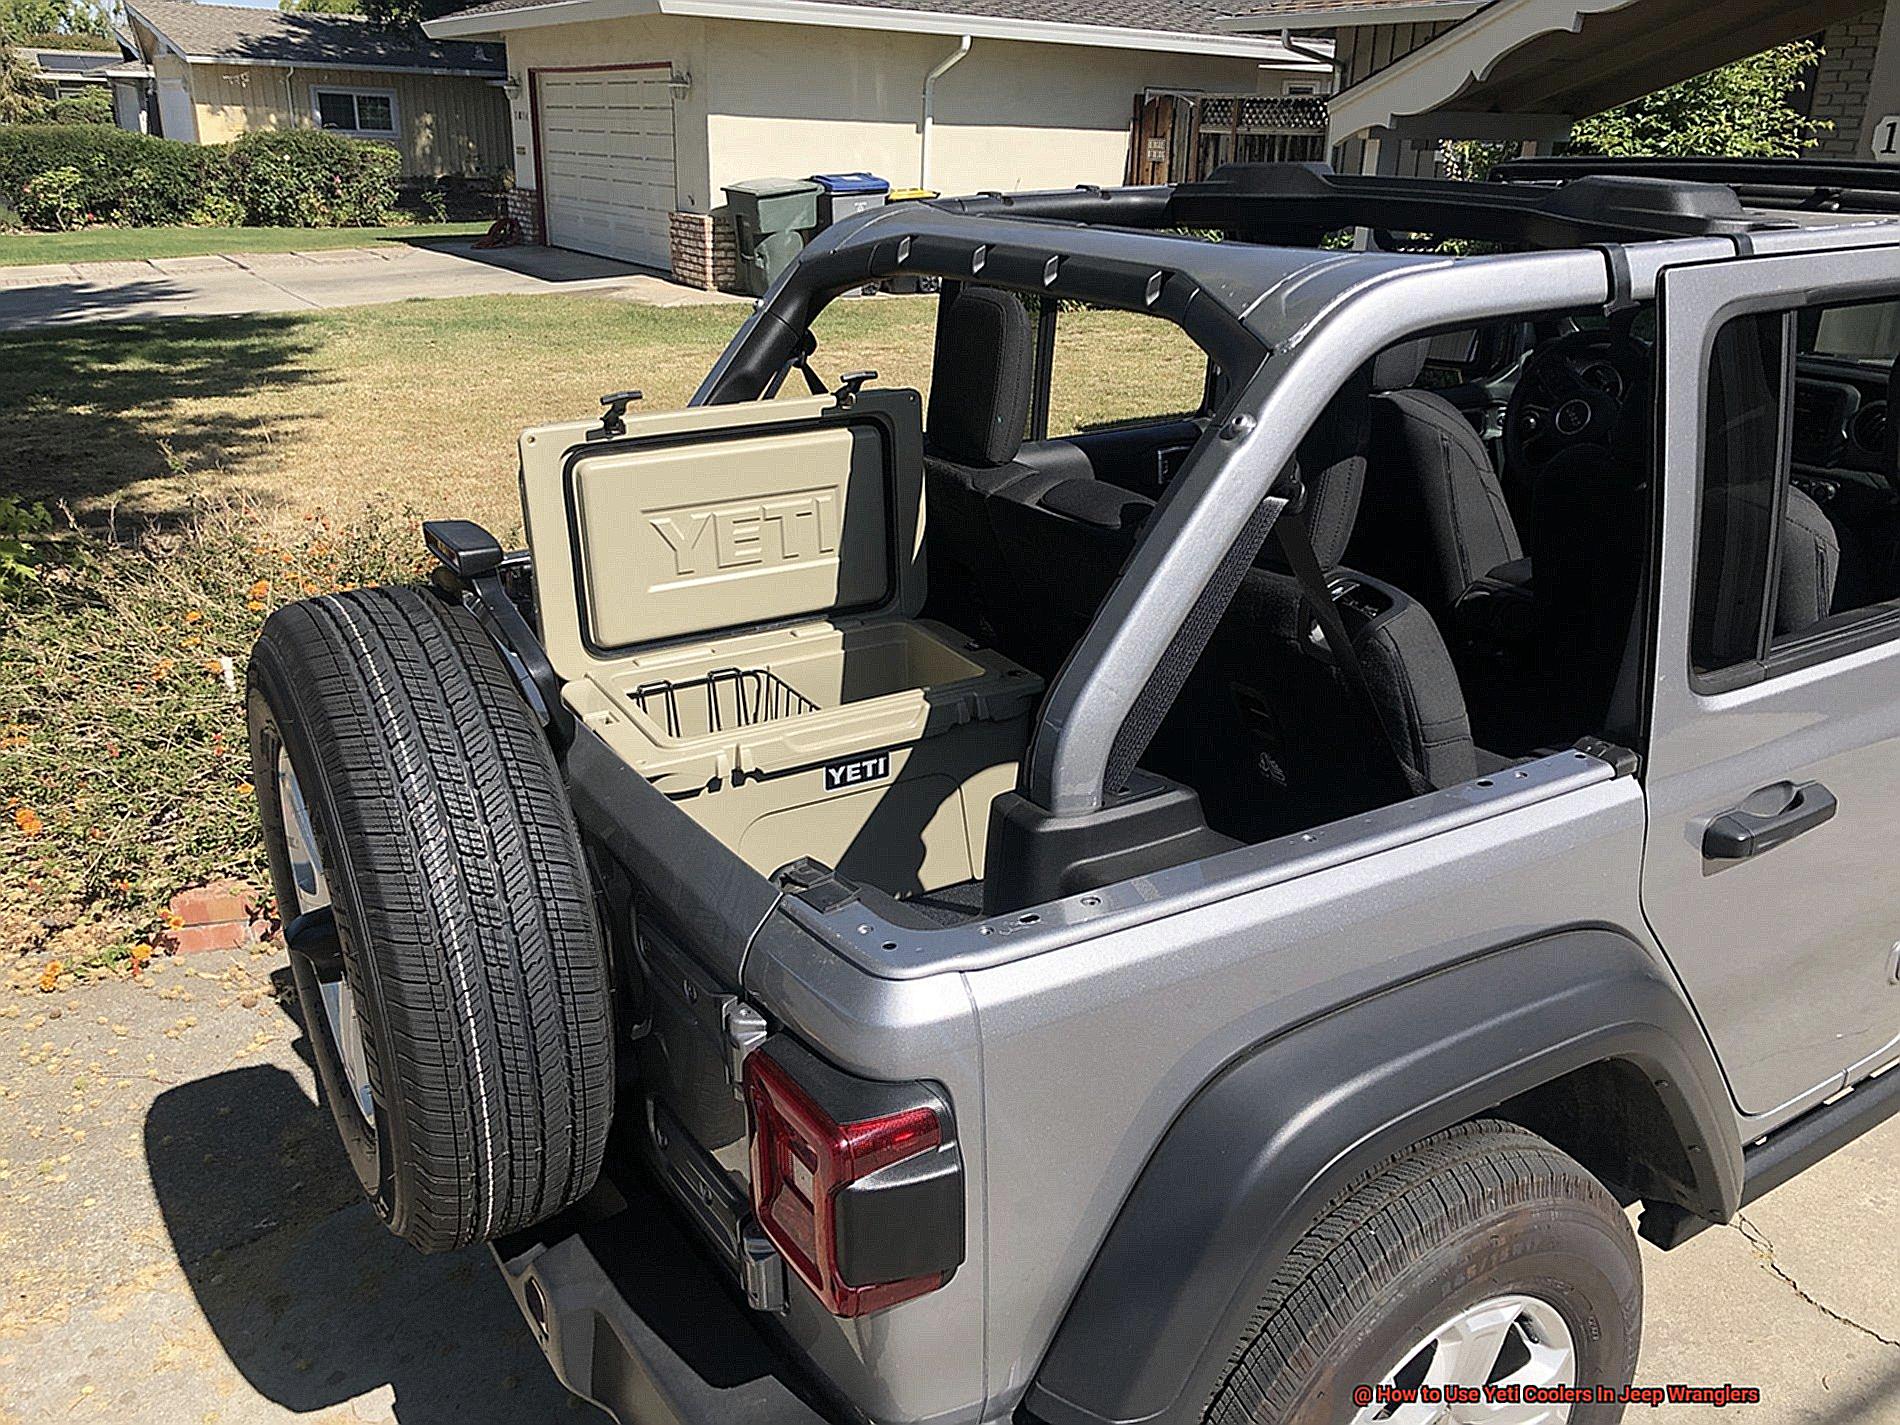
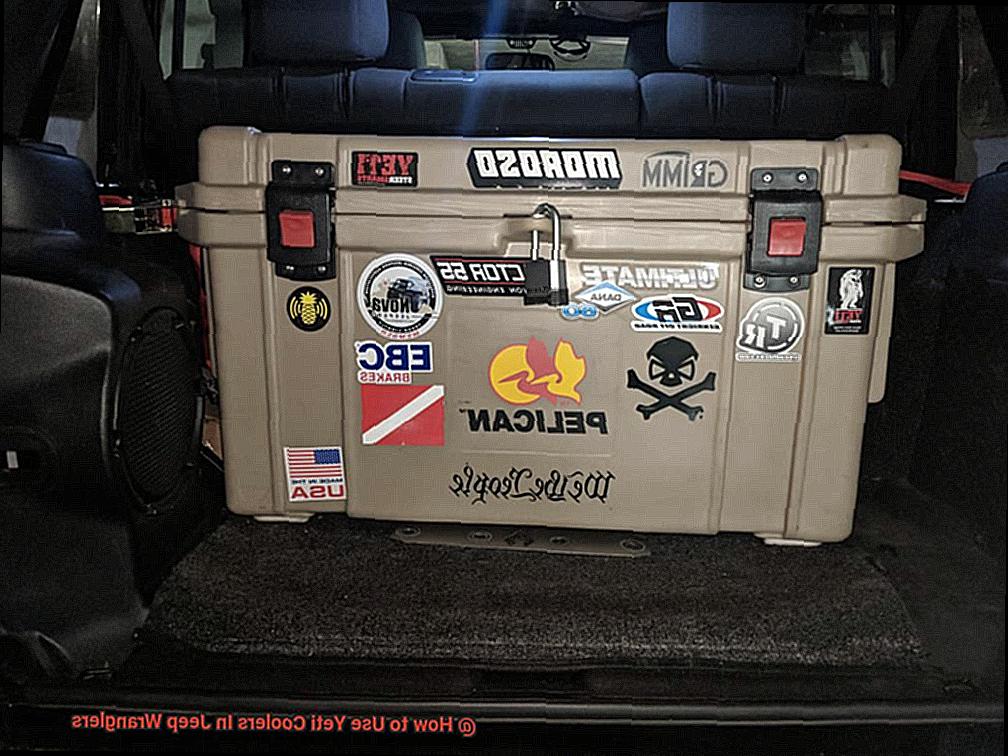
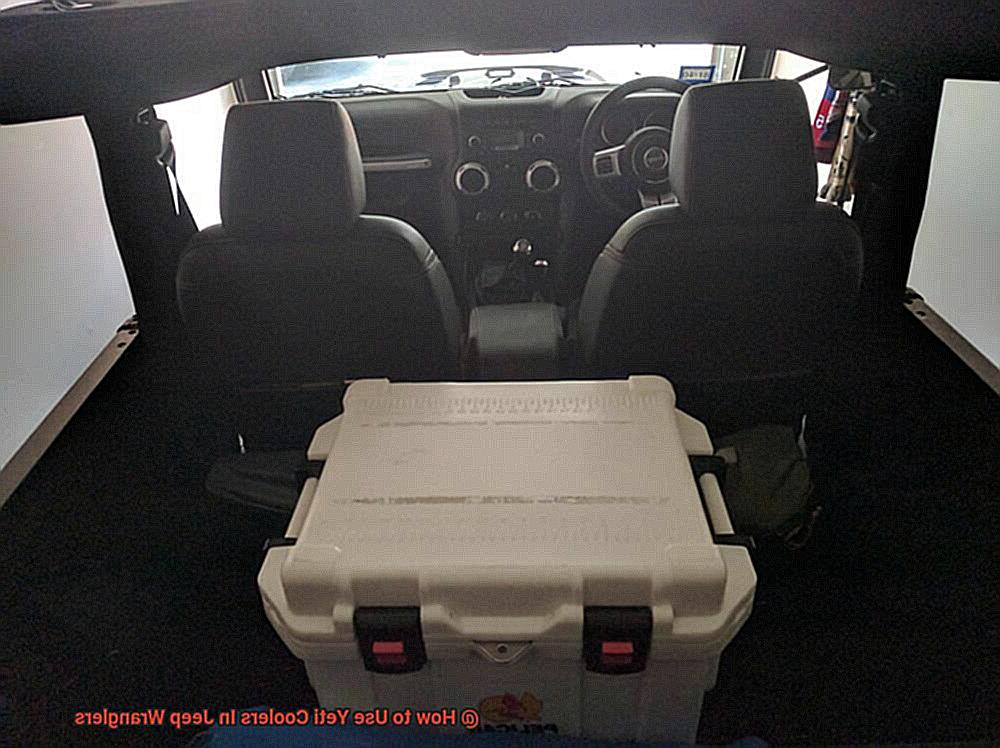
Securing the Cooler in Your Jeep
However, before you embark on your trip, it’s essential to know how to properly secure the cooler to prevent it from tipping over or sliding around on bumpy rides. After all, the last thing you want is for your expensive Yeti cooler to be damaged or cause injury to anyone in the car.
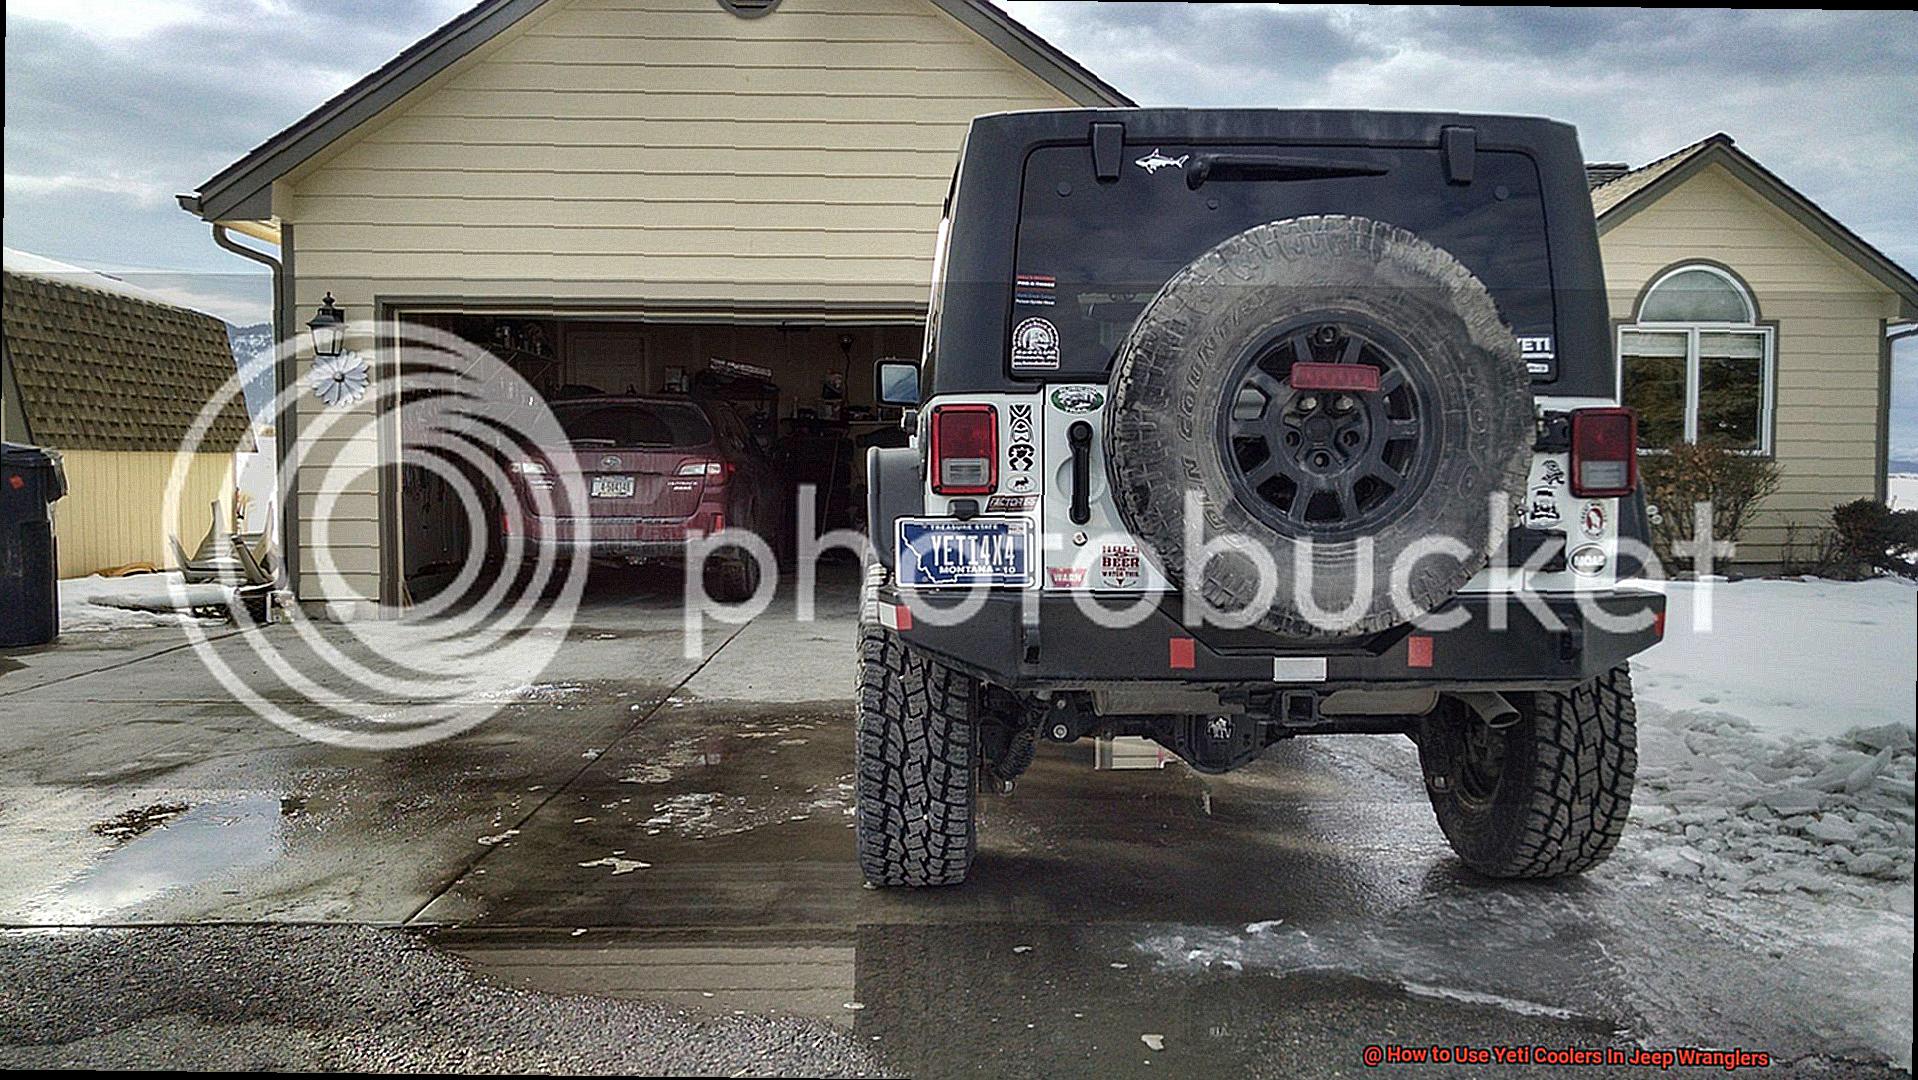
Firstly, choose a location that has enough space for your cooler without obstructing the driver’s view. The most common spots are the rear cargo area or backseat area, but if you have a hardtop Jeep Wrangler, you can also secure it on the roof rack.
Once you’ve selected the perfect spot, use a tie-down kit to fasten the cooler in place. A good tie-down kit will include straps and loops that can be attached to anchor points in your Jeep Wrangler, and you can even use ratchet straps for added protection.
It’s important to ensure that the cooler is level and centered in your Jeep. This will prevent it from shifting during bumpy rides and keep it secure.
If you have multiple coolers, make sure they are secured in different areas and never stacked on top of each other. Remember that your cooler may contain food and drinks that could spill in case of an accident, so always treat it with extra caution and care.
With proper tie-downs, you can enjoy off-road adventures worry-free, knowing that your Yeti cooler is safely secured.
Packing the Cooler for Maximum Efficiency
It’s not just about packing it securely, it’s also about packing it smartly for maximum efficiency. Here are some expert tips and tricks to help you pack your cooler like a pro.
First and foremost, don’t leave any empty spaces in your cooler. Fill them up with ice or items to maintain consistent temperatures throughout the cooler and avoid any air pockets that could lead to melting ice.
Remember, less air means less heat transfer. Secondly, pack your items in order of weight.
Start with heavier items on the bottom, like cans or bottles, and layer lighter items on top. This will help distribute weight evenly and prevent crushing or damage to more delicate items.
When packing food, it’s crucial to keep raw meats separate from ready-to-eat items. Use separate containers or bags for each type of food and store them on opposite sides of the cooler to reduce cross-contamination.
For longer trips or hotter temperatures, consider adding extra insulation to your cooler. You can use additional ice packs or frozen water bottles to keep temperatures down, or invest in an insulated cooler bag or blanket for added protection.
Pre-Chilling Items Before Packing
Pre-chilling is a crucial step in keeping your items fresh and chilled for an extended period. It’s like putting on sunscreen before hitting the beach; you won’t regret it later when you’re enjoying your time without a sunburn.
To pre-chill your items, it’s best to chill them for at least 12 hours before placing them in the cooler. You can use your refrigerator or freezer to chill them overnight or use a separate cooler packed with ice or ice packs.
However, note that pre-chilling only works if you have a high-quality cooler that can retain the cold temperature. Once you’ve pre-chilled your items, organize them in the order of their use.
Start with the items you’ll need last and place them at the bottom of the cooler. Then add the items you’ll use first on top.
This way, you won’t have to open the cooler frequently, which lets out cold air and warms up the contents. In addition to pre-chilling, freezing some of your food items, such as meats or vegetables, can also help keep everything cold.
Frozen items not only act as a block of ice that melts slowly but also keep other items chilled. In summary, always pre-chill your items before packing them in your Yeti cooler for maximum freshness and longevity.
Keeping the Cooler Out of Direct Sunlight
Direct sunlight can cause the internal temperature of the cooler to rise rapidly, leading to melted ice and ruined food and drinks.
So, to avoid this catastrophe, place your cooler in a shaded area or cover it with a blanket or tarp. If you’re on the road during the day, hang the cooler in the back of your Jeep, away from direct sunlight.
And don’t forget to secure it with a cargo net or straps to prevent sliding while driving. But wait, there’s more.
Opening the cooler frequently can cause warm air to enter, which increases the internal temperature. So, minimize opening it by packing it with ice packs or frozen water bottles.
By following these simple yet effective tips for keeping your Yeti cooler out of direct sunlight, you can ensure that your food and drinks stay chilled throughout your journey.
Additional Tips for Using a Yeti in Your Jeep
Before you go, check out these additional tips for using a Yeti cooler in your Jeep to ensure a safe and enjoyable adventure.
- Firstly, don’t underestimate the versatility of your Yeti cooler. It’s not just for keeping drinks cold. It can also serve as a seat, stool, table or gear storage container. Make the most of your investment and use it for multiple purposes.
- Secondly, secure your cooler properly with accessories such as tie-down straps, cargo nets, and locking systems. These will keep your cooler in place and prevent theft while driving on rough terrain.
- Thirdly, consider the type of ice or ice packs you use in your cooler. Dry ice is the best option for longer trips, but be sure to take safety precautions when handling it. Ice packs are a more convenient choice but may not last as long.
- Next, think about where you’ll place your cooler in your Jeep. It’s best to position it within easy reach of the driver’s seat to avoid having to pull over frequently. Additionally, use non-slip mats or liners to prevent sliding during sudden stops or sharp turns.
- Lastly, make sure you’re maintaining and cleaning your Yeti cooler after each use. Follow the manufacturer’s instructions for sanitizing and storing it properly to ensure it lasts for many adventures to come.
9qHU1CV5pJs” >
Conclusion
In conclusion, incorporating a Yeti cooler into your Jeep Wrangler adventure is a no-brainer.
Imagine having the ability to keep food and drinks cold for days on end, without worrying about spoiled products. To ensure a successful trip, it’s essential to choose the right size cooler based on the length of your journey and the number of people you’re traveling with.
Additionally, keeping the cooler from tipping over or sliding around during bumpy rides is crucial. Effective organization and pre-chilling items before packing will save money and keep everything fresh.
Direct sunlight can cause ice to melt and food to spoil, so be sure to keep your cooler in a shaded area. Lastly, tie-down straps, cargo nets, and locking systems are excellent ways to prevent sliding during sudden stops or sharp turns.
Investing in these accessories will provide added protection for your Yeti cooler. Overall, using a Yeti cooler in your Jeep Wrangler is an investment that pays off in spades.